
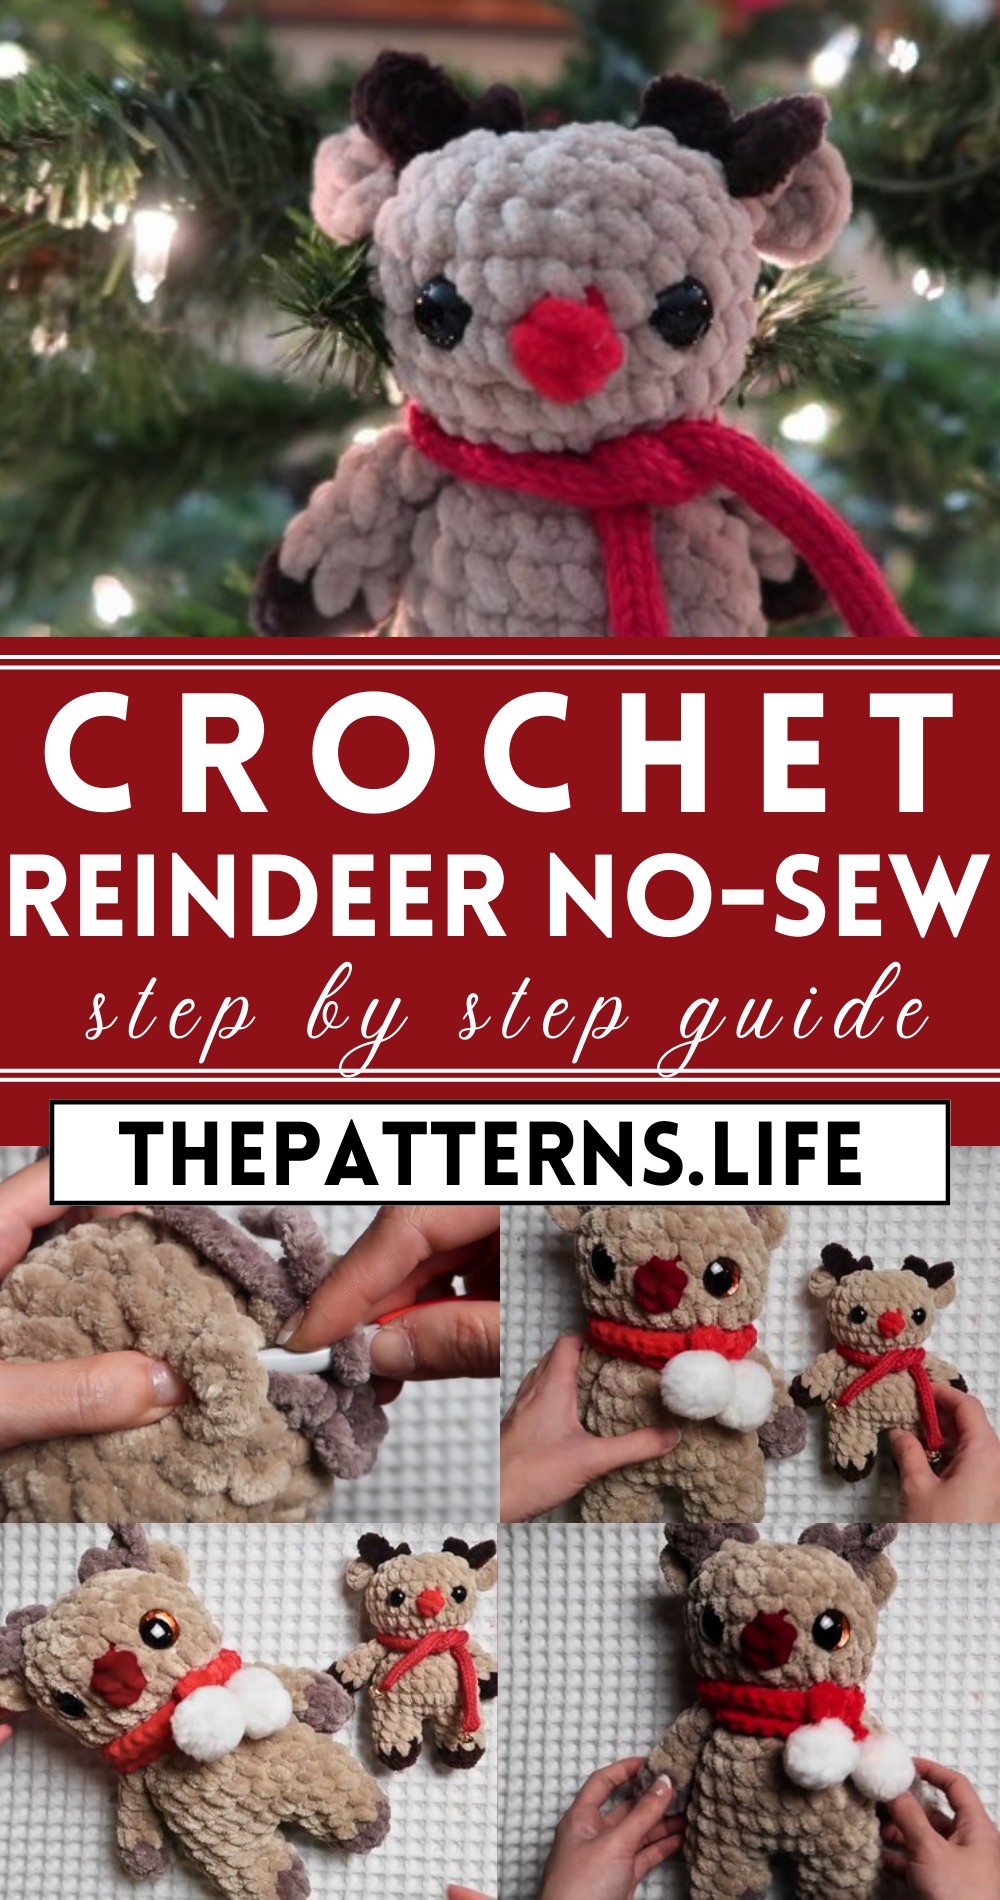
How To Crochet Reindeer No Sew Pattern
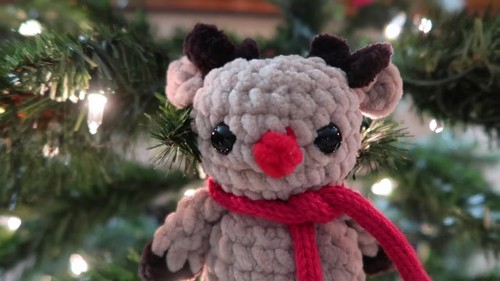
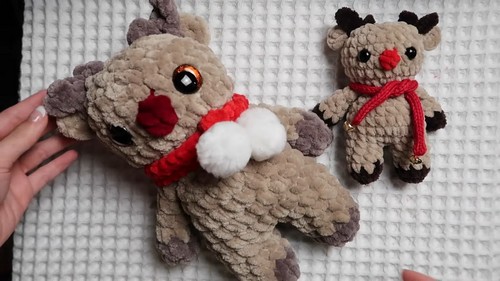
Get ready to make a charming no-sew crochet reindeer that’s perfect for decorating your home or gifting to a loved one. This guide will walk you through the process of crocheting a delightful reindeer, complete with all the details but without the fuss of sewing pieces together.
Crochet Reindeer No-Sew
Materials:
- Worsted weight yarn in desired colors
- Size 4 mm hook
- Stuffing
- Safety eyes
- Stitch markers
- Darning needle
- Pom poms (optional)
- Jingle bell (optional)
Abbreviations:
- SC: Single crochet
- SL St: Slip stitch
- Ch: Chain
- Inc: Increase
- Dec: Decrease
- FO: Fasten off
Body:
Create a magic ring and SC 8.
- Increase in the 8th SC.
- Continue SC, decreasing and increasing as needed to form a rounded shape.
- Stuff the body.
- Decrease to close the bottom.
Head:
- SC in the front loops of the body to create a neck.
- Increase to form a rounded head shape.
- Add the nose and antlers.
- Decrease to close the top of the head.
Legs:
- Create a magic ring and SC.
- Increase and decrease as needed to form a tapered shape.
- Stuff and finish.
- Attach the legs to the body.
Arms:
- Create a magic ring and SC.
- Increase and decrease as needed to form a tapered shape.
- Stuff and finish.
- Attach the arms to the body.
Ears:
- Create a magic ring and SC.
- Increase and decrease to form a pointed shape.
- Stuff and finish.
- Attach the ears to the head.
Scarf:
- Chain a desired length.
- SC in the second chain from the hook.
- Continue SC in the back loops.
- Finish and attach the scarf.
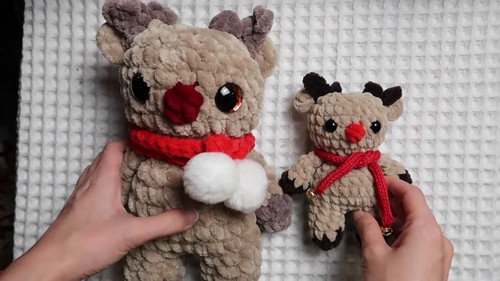
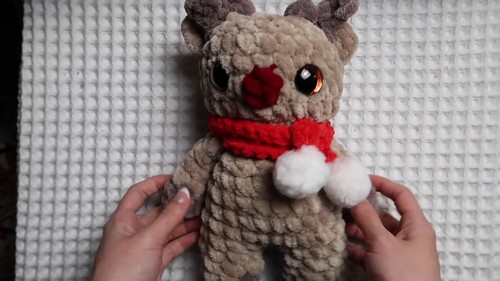
Optional:
- Add pom poms or a jingle bell to the scarf.
- Use different colors for the body, legs, head, and antlers.
- Customize the size of the reindeer.


