
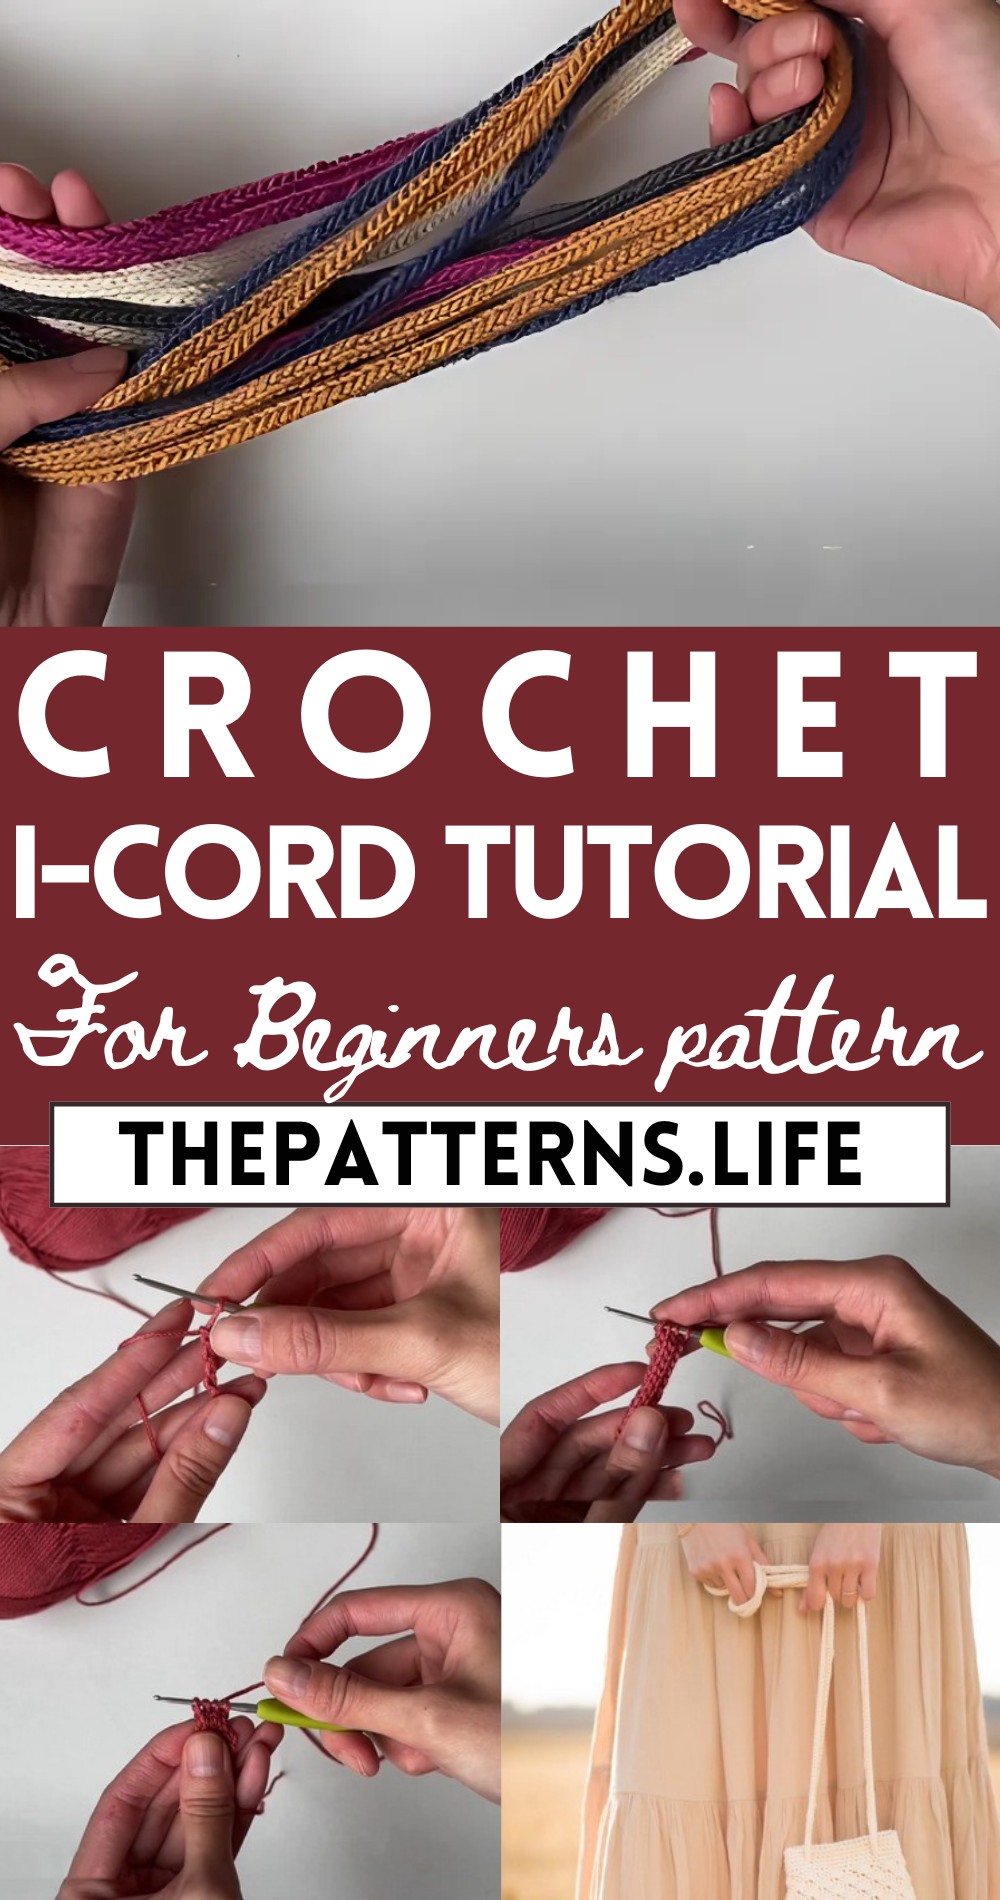
Crochet I-cord Pattern For Beginners
Tack on a stylish touch to your projects with the Crochet I-cord Pattern, perfect for making sturdy handles, edging, and decorative accents.
It is a versatile technique that brings both functionality and flair to your crochet projects. Ideal for making sturdy handles, elegant edging, and whimsical decorative touches, the I-cord is a must-have in any crocheter’s repertoire. This pattern is surprisingly simple yet incredibly useful, requiring just a few basic stitches to master.
Crochet I-cord
Whether you’re a newbie or a seasoned pro, it is a fun and simple way to add a unique touch to various projects. With its neat finish and smooth texture, the I-cord can be easily customized in thickness and length to suit your needs, making it a go-to solution for adding that perfect finishing touch.
Tip:
To ensure a uniform I-cord, maintain consistent tension throughout each stitch.
Material:
- Yarn
- Crochet hook
Crochet I-Cord Pattern:

Starting the I-Cord:
- Make a slip knot and insert your crochet hook.
- Chain 4. (You should now have four chains on your hook.)
- If you flip the chain over, you can see the back bumps of the chains, which is where you will be working.
Working in the Back Bumps:
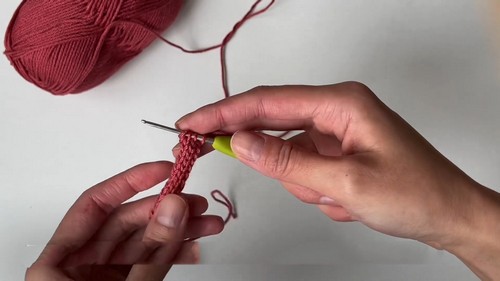
- Insert your hook into the second chain from the hook.
- Yarn over and draw up a loop.
- Insert your hook into the next chain, yarn over, and draw up a loop.
- Repeat this for the last chain.
- You should now have four loops on your hook.
Creating the I-Cord:
- Shift the working yarn to your right hand (or whichever hand is comfortable for you).
- Carefully remove three loops from the hook, making sure to keep them from twisting or unraveling.
- Yarn over and draw through the one loop remaining on the hook.

Working the Dropped Loops:
- Insert your hook into the first of the dropped loops.
- Yarn over and draw through the loop.
- Repeat this process for the rest of the dropped loops until you have four loops on your hook again.

Repeating the Process:
- Continue repeating the steps of removing three loops, yarning over and drawing through, and then working the dropped loops.
- Be careful to avoid letting the loops twist and not to pull too tightly to prevent unraveling.

Building the I-Cord:
- As you continue repeating the process, the length of your I-cord will begin to build up.
- Hold the dropped loops in one hand (the left hand in the provided text) and yarn over with the other hand, or do whatever is most comfortable for you.
Finishing the I-Cord:
- Carry on with the process until the I-cord reaches your desired length.
- Once done, the I-cord can be tried out as the straps for a Rosette Drawstring Bag.


