
No-sew Crochet Tiny Frog Amigurumi Pattern For Kids Toys
Hop into hilarity with our free crochet Tiny Frog Amigurumi Pattern – the cutest way to add a ribbit-ing little buddy to your collection!
Whether you’re an experienced crocheter or a beginner looking for a fun project, this tiny frog will hop right into your heart. Ideal for charming pocket gifts, whimsical decor, or even a quirky desk companion, this little guy brings a touch of humor and style to any setting.
Crochet Tiny Frog Amigurumi
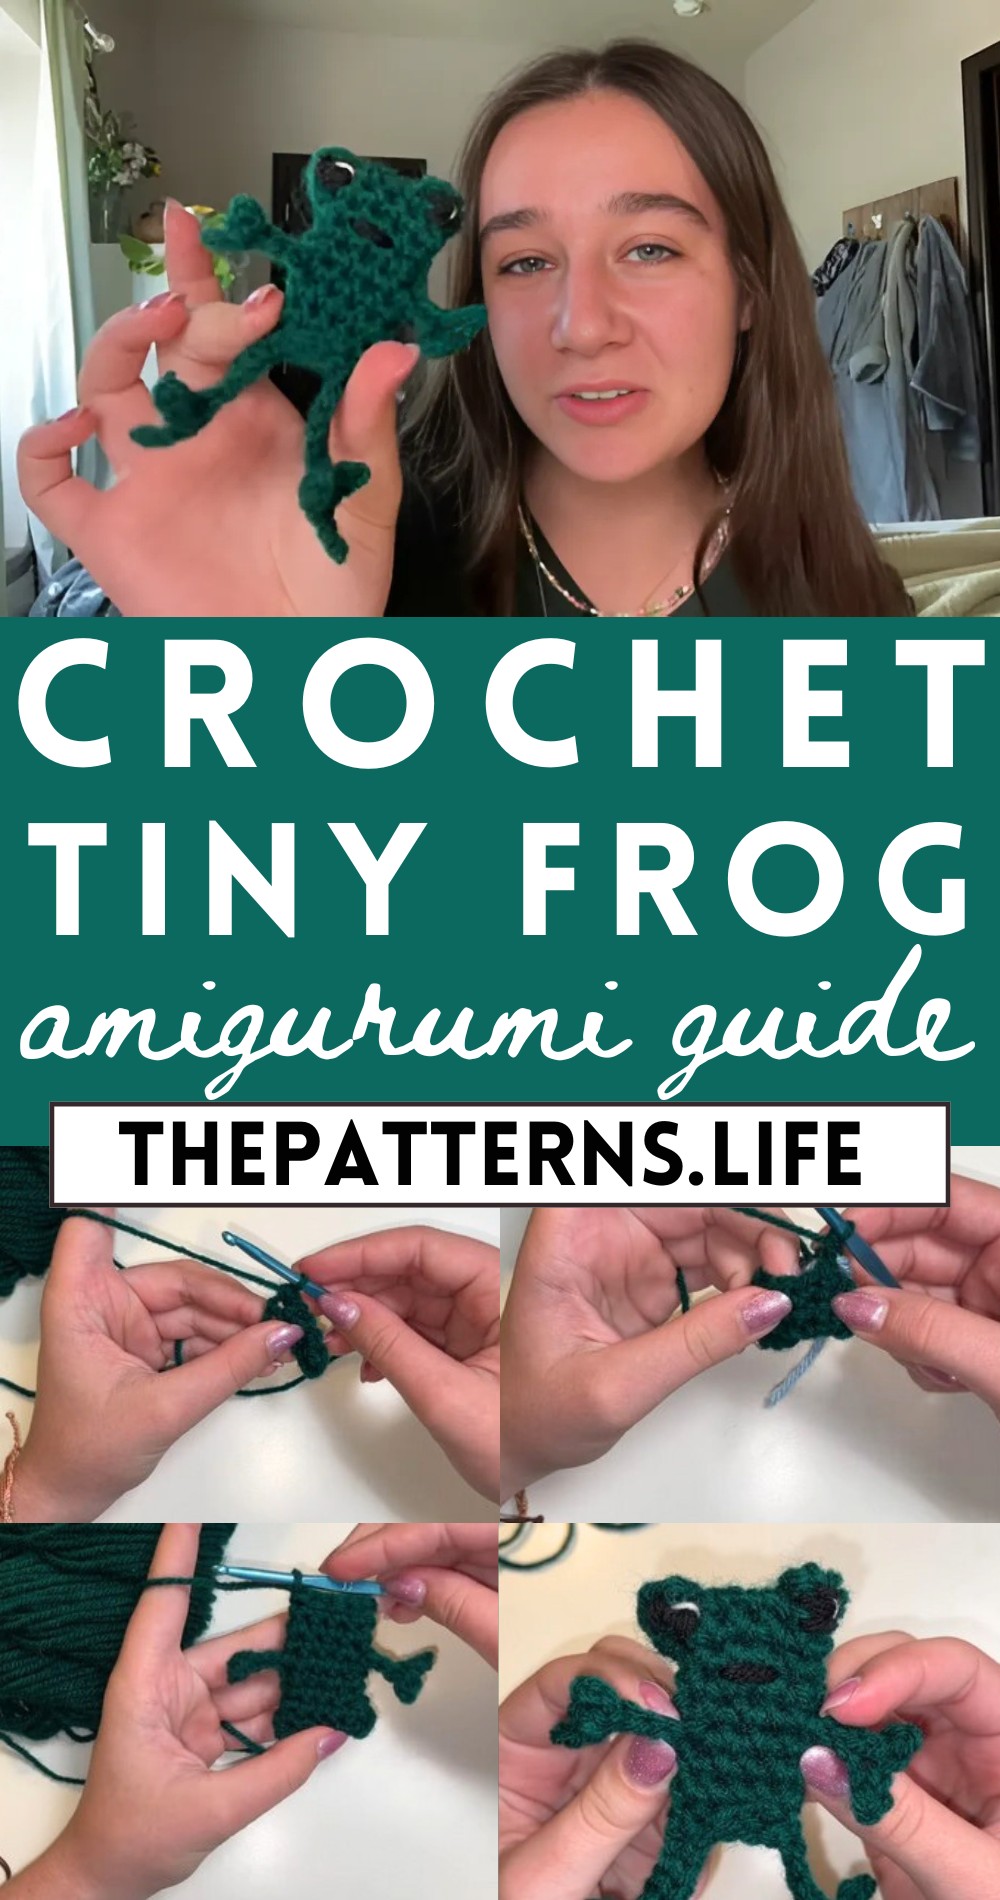
Get ready to jump into joy with the Crochet Tiny Frog Amigurumi Pattern! This playful and easy-to-follow pattern is perfect for creating your own ribbit-ing adorable amphibian buddy. Featuring simple stitches and vibrant yarn colors, you’ll have a blast watching this quirky critter come to life. Its compact size makes it a perfect pocket pal, ready to bring smiles wherever it goes.
Tip: Add a small keychain ring to turn your froggy friend into a delightful accessory for your bag or keys – hop to it!
Materials Needed:
- Yarn (color of your choice for the frog)
- Crochet hook suitable for the yarn
- Stitch marker (or a small piece of yarn in a different color)
- Yarn needle
- Scissors
- Black yarn for the eyes
- White yarn for eye highlights (optional)
Abbreviations:
- CH: Chain
- SC: Single Crochet
- SL ST: Slip Stitch
Pattern:
Body & Head:
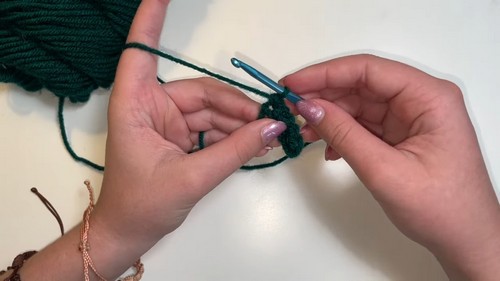
- Create a slip knot and chain (CH) 6.
- Single crochet (SC) in the second chain from the hook and in the next 4 chains (5 SC total).
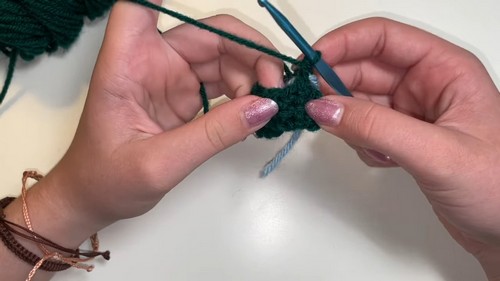
- In the last chain, perform a bobble stitch for the first eye.
- Flip to work on the back side of the chain, performing a SC in each of the next 3 stitches.
- Perform another bobble stitch in the last stitch for the second eye.
- Use a stitch marker to mark the end of your round, continuing in spirals without joining rounds.
- SC in each stitch around for 2 more rows.
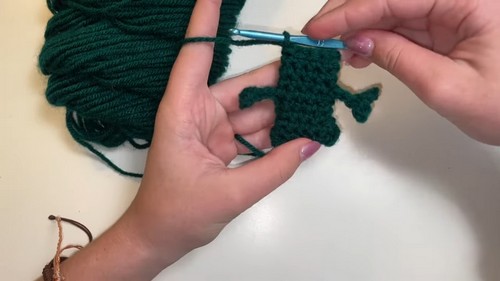
Arms:
- At the beginning of the next round, CH 6.
- Slip stitch in the second chain from the hook and the next, CH 2, then slip stitch into the second chain from the hook again, creating the fingers.
- Slip stitch down the remaining chains back to the body.
- SC in each stitch around until you reach the opposite side to create the second arm in the same manner.
- Continue with 4 rounds of SC around the body.
Legs:
- Slip stitch in the next 6 stitches above one arm to position for the first leg.
- Chain 9, slip stitch in the second chain from the hook and the next two chains.
- Chain 3, slip stitch in the second chain from the hook and back into the main leg chain, creating the first toe. Repeat for a total of 3 toes.
- Slip stitch back to the body.
- Repeat on the opposite side for the second leg.
- Add slip stitches as necessary to finish the shaping of the legs.

Closing the Body:
- You can opt to fasten off here for a finger puppet or continue to close the bottom.
- To close, slip stitch across the body’s bottom opening.
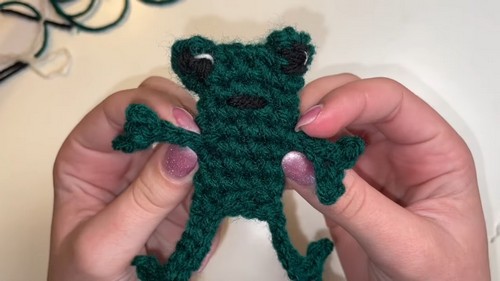
Eyes and Mouth:
- Sew in ends.
- For eyes, if not using safety eyes, thread a yarn needle with black yarn and stitch on eyes.
- Add a small piece of white yarn for each eye highlight, if desired.
- Stitch on a mouth with black yarn.
Finishing Touches:
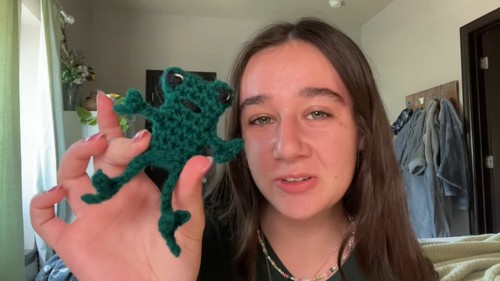
- Cut off any remaining yarn and use the needle to weave in ends securely. Adjust the position of the eyes and limbs to give your frog character and expression.
- And there you have it, your very own crochet tiny frog! I hope this pattern brings you as much joy to make as it does to have. Enjoy your crafting!


