Cone Amigurumi Crochet Pattern For Beginners
Stitch up a smile with the free crochet Cone Amigurumi Pattern—perfect for creating playful, quirky cones that bring joy to any nook or gift!
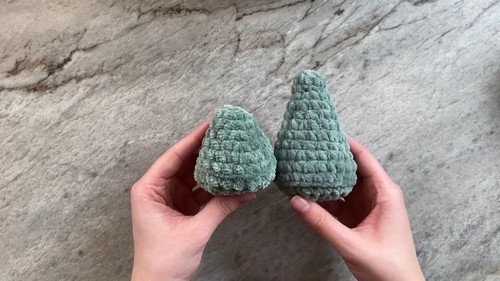
The Pattern exudes charm and sophistication, offering a delightful blend of playful design and elegant craftsmanship. These beautifully shaped cones can represent anything from delectable ice cream treats to charming evergreen trees, making them a versatile addition to any décor. Ideal for creating refined decorations, unique keepsakes, or thoughtful handmade gifts, this pattern suits both novices and seasoned crocheters.
Crochet Cone Amigurumi

Each cone perfect for brightening a child’s playroom or adding a sophisticated yet playful element to your living space. The pattern’s simplicity ensures a gratifying and swift crocheting experience, while allowing for creativity in color and embellishment choices. Indulge in the art of crochet with this exquisite pattern, and enjoy the timeless beauty and joy it brings to your collection.
Materials Needed
- Crochet hook
- Darning or sewing needle
- Stitch marker (a bobby pin can be used)
- Scissors
- Stuffing (e.g., polyfill)
- Super bulky yarn (in your color of choice)
Stitches and Terminology
- Single crochet
- Increase
- Decrease
- Magic ring
- Fastening off
- Working in the back loop only
Increase and Then Single Crochet Technique
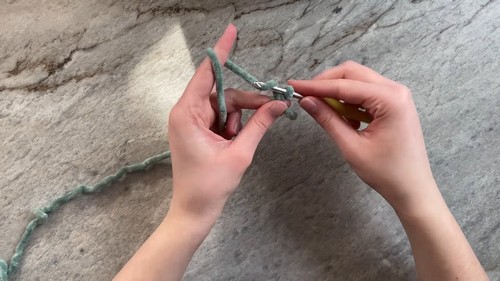
Start with a Magic Ring.
- Make 6 single crochets in the magic ring.
- You may close off the magic ring before working single crochets into them – this is up to your preference.
Rounds 2 and 3:
- Simply single crochet around.
Round 4 (Increasing to 12 Stitches):
- Conduct six increases all around.
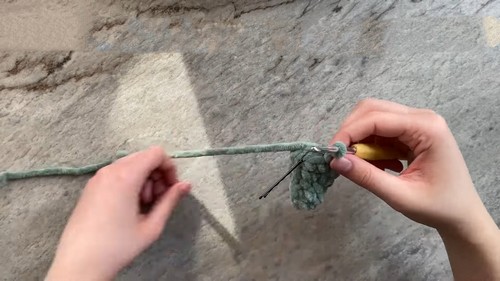
Continue Pattern:
- Repeat two rounds of single crochet followed by a round of increasing. After some rounds, the video jumps to where it has been increased to 24 stitches.
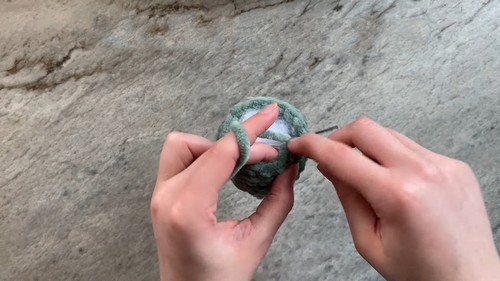
Closing Up the Bottom:
- Work in the back loop only to create a distinction between the bottom and the cone.
- Reduce from 24 stitches to 18 by doing two single crochets and then a decrease, repeated six times.
- Stuff the cone before fully closing, ensuring even distribution of stuffing and that it lays flat at the bottom.
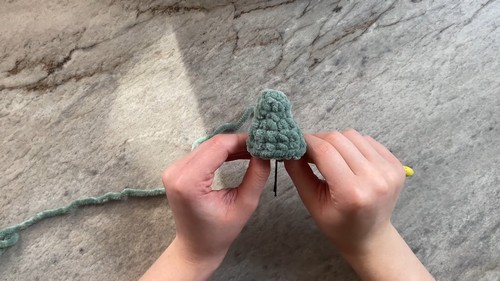
- Further decrease from 18 stitches to 12, then from 12 stitches to 6 using the same method.
- Finish off by slip stitching into the next stitch, cutting a long tail for sewing, and weaving the tail through the front loops of the remaining stitches to close the opening securely.
Constant Increase Method
Start with a Magic Ring:
- Make 6 single crochets in the magic ring.
Next Steps:
- Different from the previous technique, when increasing, the pattern uses a less conventional increase strategy to maintain a consistent shape, such as increasing to 9 stitches and then to 12 in subsequence, adjusting the single crochet to increase ratios to maintain the cone form.
Continuing the Pattern:
- The pattern proceeds with increasing rounds, similar to the first method described but following its own specific sequence until reaching the desired size.
Closing Up the Bottom:
- It mentions using the same method for closing up the bottom as previously described, which includes decreasing rounds and stuffing.
Additional Tips
- Shantel provides tips on achieving different looks with the cones, including adjusting the rows of single crochet between increases to change the length and slope of the cones.
- The video also discusses stitch marking, stuffing techniques, and the importance of consistent increases for an even shape.