Filet Crochet Guide For Clothing Step By Step Pattern
Get ready to weave some magic into your wardrobe! Free Crochet Filet Guide For Clothing Pattern, perfect for creating stylish and unique wardrobe pieces.
This Pattern is your go-to resource for creating beautiful, intricate clothing items that are both stylish and timeless. This guide offers a comprehensive look at filet crochet techniques, catering to both beginners and seasoned pros. Featuring step-by-step instructions, detailed diagrams, and various patterns, it offers all the tools you need to master the art of filet crochet.
Filet Crochet Guide For Clothing

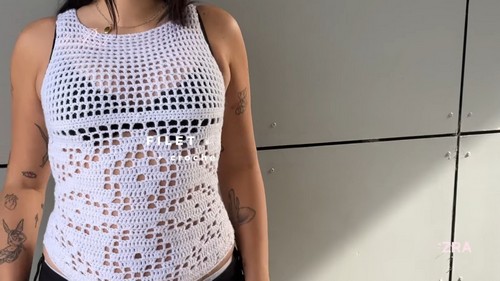
Whether you’re aiming to craft a chic top, a lovely dress, or a unique scarf, this guide ensures you have everything at your fingertips. This guide aims to introduce you to the essentials of filet crochet, helping you start your own projects and explore the endless creative possibilities this technique offers.
Tip:
Always use high-quality yarn for best results and long-lasting pieces!
Materials Needed:
- Acrylic 8 ply yarn (100% acrylic recommended)
- 3mm crochet hook
- Stitch markers
- Scissors
- A filet crochet chart for your design
Steps to Follow:
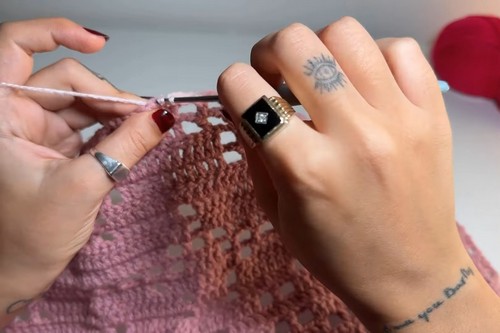
Understanding Filet Crochet Charts:
- Charts Basics: One box in a chart = 3 stitches. An empty box is indicated by “[1 double crochet, 2 chains, skip 2 stitches, 1 double crochet]” and a filled box by “[1 double crochet, 2 double crochets in the center, 1 double crochet]”.
Reading the Chart: For a chart with 27 boxes wide, it equates to 81 stitches (27 * 3).
Starting Your Crochet:
- Create a foundation chain calculated as: (number of boxes in a row * 3) + 4 for turning. So for 27 boxes, it’s 81 + 4 = 85 stitches.
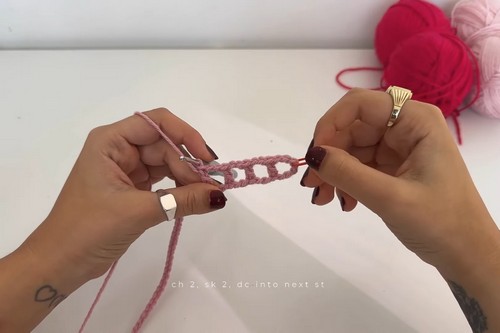
- Begin by double crocheting into the 7th stitch from the hook to form the first box, then follow the pattern (chain 2, skip 2, double crochet into the next) across to create a row of empty boxes as per your chart.
Reading and Following the Chart:
- Follow the chart meticulously, marking off completed boxes to track your progress. Use stitch markers to identify specific stitches if needed.
- Remember to chain 4 at the start of an empty box row and adjust according to whether the box at the start/end is full or empty as described.
Creating the Crochet Panel:
- Work your filet crochet according to your pattern/chart.
- After completing the panel, add three rows of single crochet along the top for edging, adjusting stitch count as necessary to ensure the next step of mesh stitch pattern aligns.
Adding the Mesh Stitch for Clothing:
- After the edging rows, transition to a mesh stitch pattern that uses (chain 1, skip 1, double crochet), starting with a chain 3 turn. Make sure to manage your stitch count to accommodate this pattern.
- For shaping (like armholes or necklines), incorporate decreases at the ends of rows as instructed.
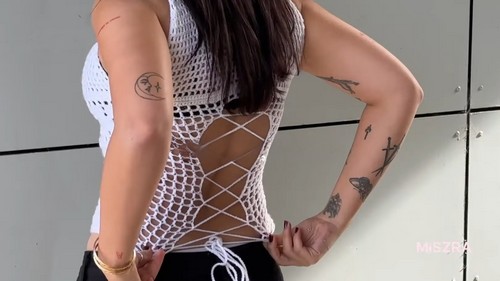
Finishing Touches & Assembly:
- Continue with the mesh stitch pattern for the desired length before transitioning to strap creation or specific shaping for your garment.
- Finish by creating straps as guided by the instructions. Performing decreases to achieve the correct shape for straps or garment edges.
Joining Panels:
- If your garment requires multiple panels, join these using single crochet stitches or another joining method as preferred, ensuring alignment of designs and patterns across panels.
Final Details:
- Add any edging, borders, or additional details like drawstrings or closures as needed to complete your garment. Fitting to the specific measurements and shape desired.
Weave in Ends:
- Securely weave in all loose ends for a clean, finished look.
Additional Tips:
- Gauge and Sizing: Before starting, create a gauge swatch to ensure your finished size matches your intention. Adjust hook size/yarn weight as necessary.
- Printing and Marking Chart: Print your chart and use a marker to track progress for clarity.