For Beginners Crochet Little Fans Stitch Pattern
Whip up some giggles with the Crochet Little Fans Stitch—turn yarn into mini fans that add a breezy, playful touch to your creations!
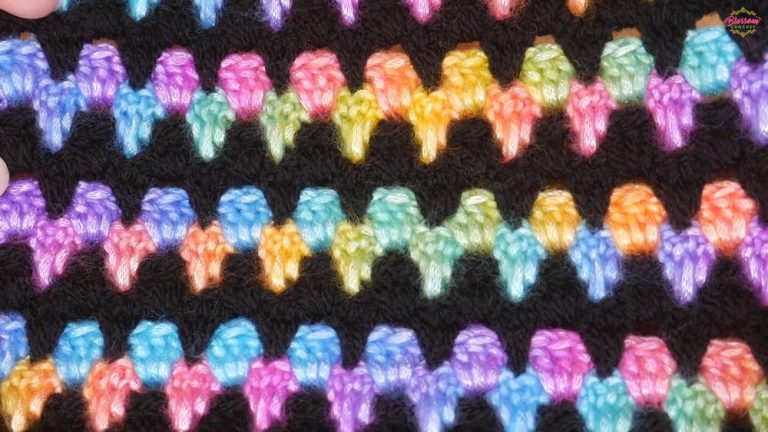
This stylish pattern is a favorite for adding a touch of sophistication to baby blankets, shawls, and lightweight sweaters. Its signature look of overlapping arches creates a textured, airy fabric that’s perfect for those who desire a blend of grace and charm in their crochet work.
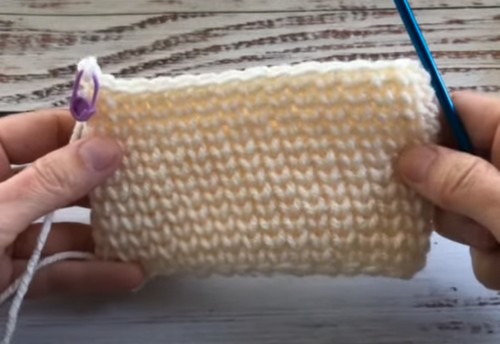
Crochet Little Fans Stitch Tutorial

Get a realm of elegance with the Crochet Little Fans Stitch, where each stitch unfurls like a delicate fan at a soirée. Whether you’re crafting a gift or adding to your own wardrobe, this stitch will elevate your creations to new heights of finesse. Envision cascading layers of intricate beauty, making every piece you crochet a timeless masterpiece.
Tip: For the best results, choose a lightweight yarn and a slightly larger hook than usual to enhance the airy, delicate appearance of the fans.
Materials Needed:
- Yarn (choice of color and type)
- Crochet hook (Size J, which is 6 mm, used in the video)
Base Chain:

- Start with a foundation chain that’s a multiple of 8, then add 4 more chains. For the sample in the video, 28 chains are used. Adjust the number of chains based on your desired width.
Row 1:
- Start from the sixth chain from the hook, execute a single crochet (SC).
- Chain 3, skip 3 chains, then place another SC.
- Repeat the pattern of chaining 3 and skipping 3 chains, followed by an SC, across the row.
- When you reach the last 2 chains, chain 1 and then make a double crochet (DC) in the last chain.

In Row 2:
- Chain 1, then turn your work.
- SC into the first stitch (beneath your chain).
- Chain 1.
- In the first chain-3 space, work your first little fan by creating a sequence of: DC, chain 1, four times. This gives you 4 DCs separated by chain spaces.
- SC in the next chain-3 space to anchor the fan.
- Chain 1, and repeat the fan in the next chain-3 space.

- Continue the pattern across, finishing with a SC into the second chain of the turning chain at the row’s end for a cleaner edge.
Row 3:

- Chain 3 (counts as a DC and chain-1).
- Turn your work. Skip the space beneath the chains, SC in the next space.
- Chain 3.
- Repeat SC in the next fan’s space, chain 3, across.
- Finish this row by chaining 1 and executing a DC into the top of the turning chain from the previous row for symmetry and stability.

Repeat:
- For subsequent rows, repeat Rows 2 and 3 for the length of your project. Each alternate row builds the fans and the next secures and creates the framework for the next set of fans.