Sea Creature Crochet Stingray Amigurumi Pattern Step By Step
Impel ocean collection with our free Crochet Stingray Amigurumi, ideal for bringing a colorful touch of aquatic whimsy to any space.
This adorable stingrays are here to add a wave of cuteness to your crochet project. Perfect for gifts, quirky home decor, or just an adorable new friend, these patterns make crochet feel like a playful adventure. They’re super easy to follow, so you’ll be whipping up these underwater cuties in no time. With minimal materials, you can dive right into crafting these charming creatures, turning yarn into smiles.
Crochet Stingray Amigurumi Tutorial
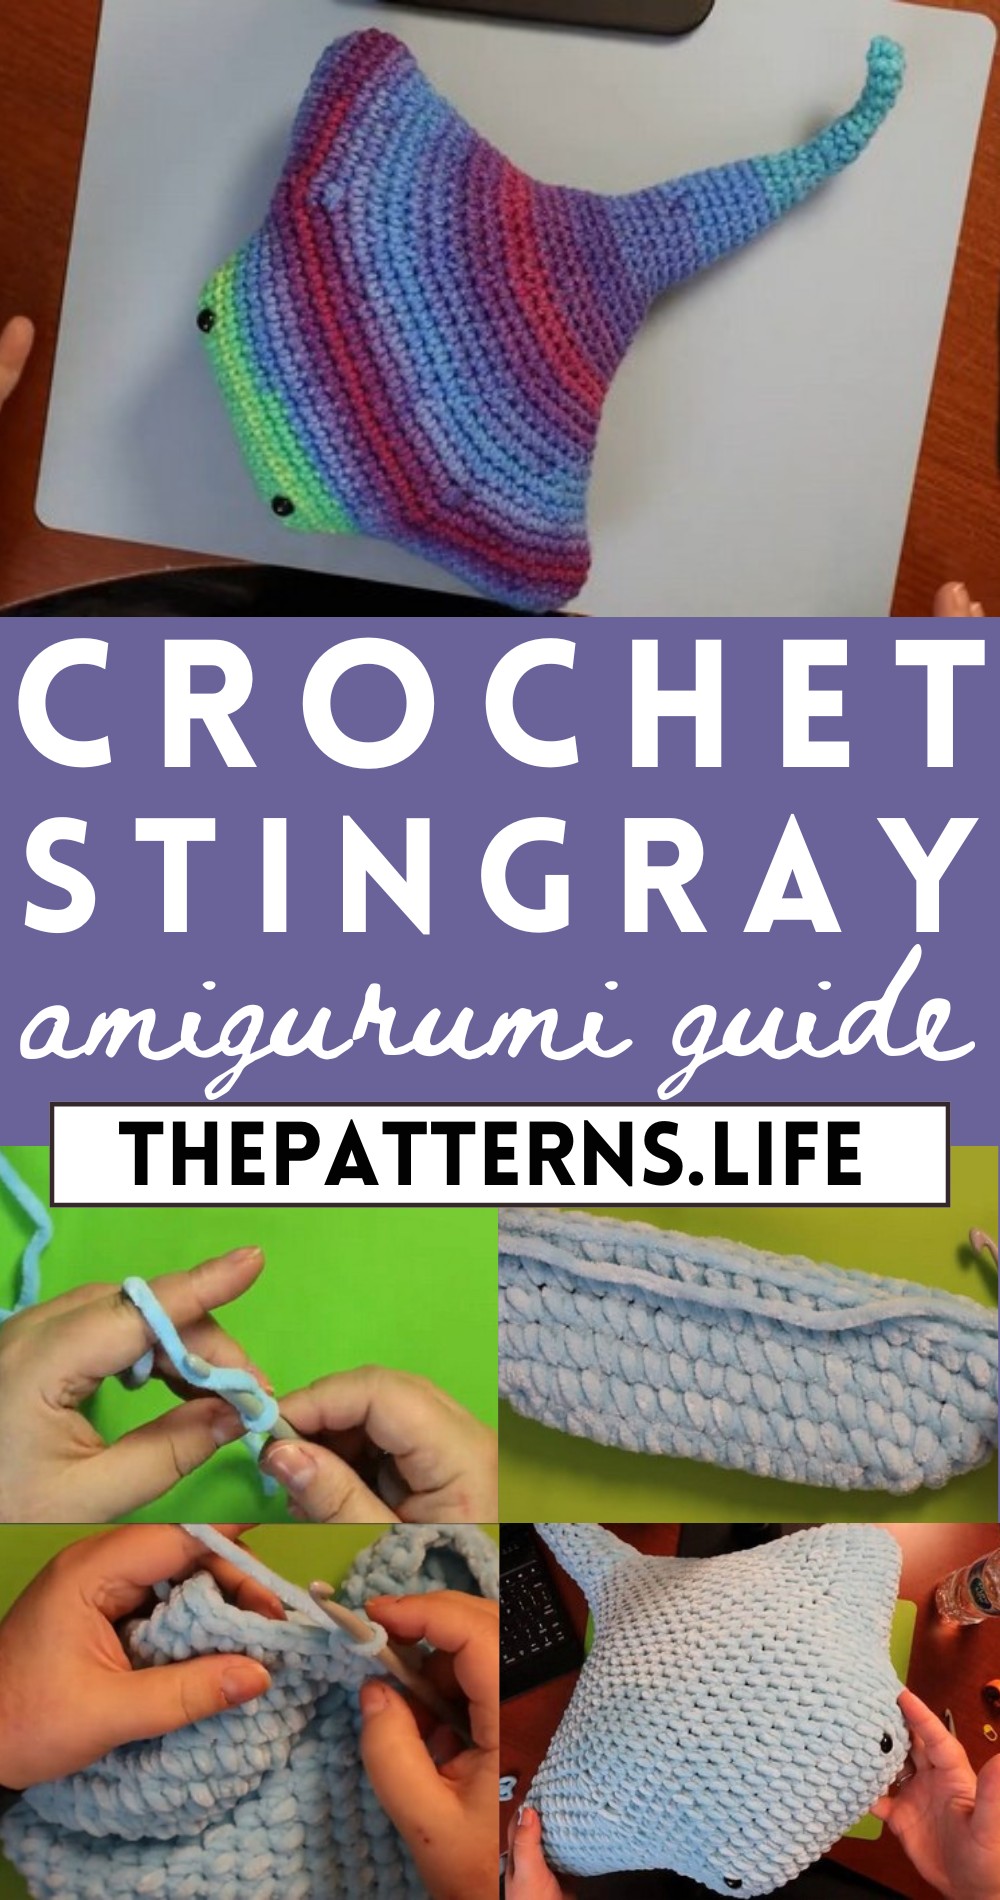
Look at their delightful curves and playful shapes emerge from your crochet hook, bringing a touch of ocean magic wherever they go. Whether you’re experienced or just starting out, these stingrays will have you hooked on the fun of crochet. So grab your yarn and let the good times roll with these fantastic and free pattern!
Materials Needed:
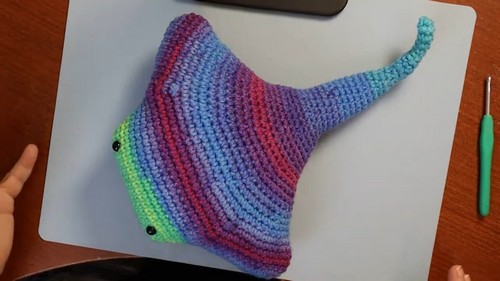
- Red Heart Super Saver Yarn in Parrot Stripe or a chunky velvet yarn for a larger size
- Crochet hook size 4.5mm for a smaller stingray or size 7mm for a larger one (adjust hook size based on yarn weight if necessary)
- Safety eyes (12mm for smaller stingray, 16mm for larger one)
- Polyester fiberfill for stuffing
- Yarn needle for weaving ends
- Pattern Steps
Abbreviation:
- SC = Single Crochet
- DEC = Decrease
- INC = Increase):
Start Body:
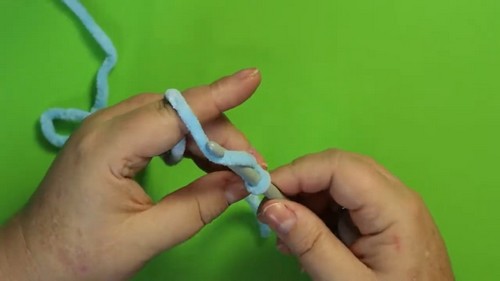
- Create a slip knot and chain 15.
- Work 13 SC starting from the first chain away from the hook.
- Put 4 SC into the last stitch to curve around.
Working in the Round:
- Continue to the other side of the chain and do 12 SC.
- Place 4 SC into the last stitch, then follow around to the first SC of the round.
Shaping the Body:
- Place a marker and work 13 SC.
- At the wider end (will be the front of the stingray), do a small increase by placing 2 SC into several stitches.
- Work SC all around back to the marker.
Making the Fins:
- Continue adding rounds of SC with occasional evenly spaced increases to keep the body flat.
- Begin making the fins by chaining out from the side of the body and working back towards the body with SC.
- Incorporate a “Pico decrease” technique to smoothly join fins to the body without gaps.
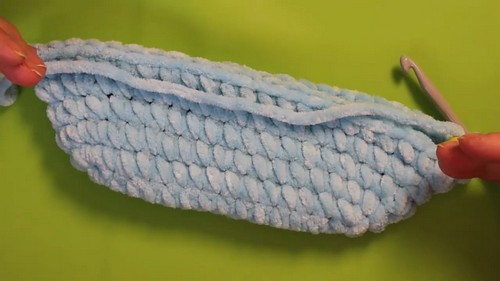
Finishing the Body:
After fins are created, continue increasing on the body rounds to ensure the fins position correctly, then carry on with SC until reaching the desired length.
- Follow the video’s instructions for exact placement and number of increases.
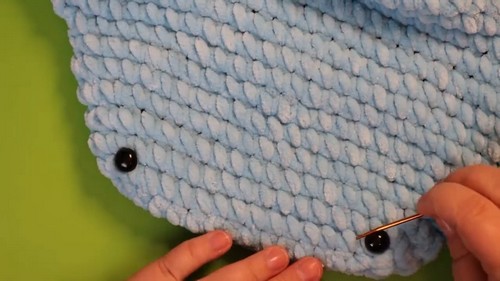
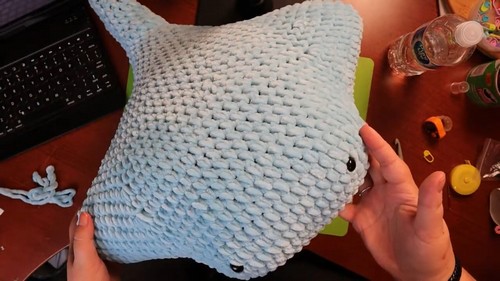
Adding Safety Eyes:
- Place safety eyes between rows (as mentioned in the video, above where you initially worked in the round).
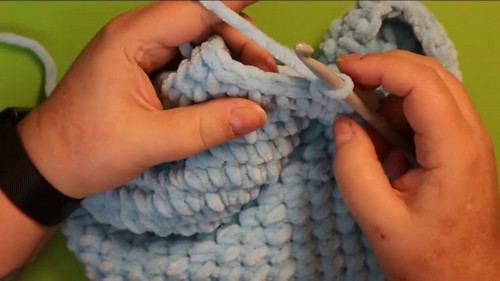
Decreasing for Tail:
- Start decreasing at the end opposite the fins to shape into the tail.
- Use various rounds of decreasing, with regular SC in between to taper the body into the tail shape.
- Continue these steps, gradually decreasing the number of stitches between decreases until only six stitches remain.
Finishing Tail:
- Work a number of rounds with all SC to lengthen the tail.
- Once desired tail length is reached, close the tail and fasten off.
Stuff and Finish:
- Stuff the stingray with polyester fiberfill before the tail decreases get too small.
- Be sure not to overstuff, especially towards the end of the tail if you wish to curve it.
- Close the tail end neatly and weave in all ends.