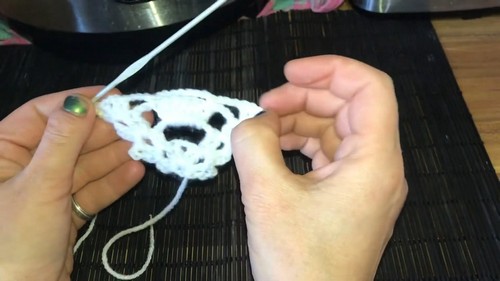
Crochet Hanging Skull Pattern For Halloween Decor
Elevate your spooky decor with the Crochet Hanging Skull, featuring easy instructions for fun and eerie addition just in time for Halloween!
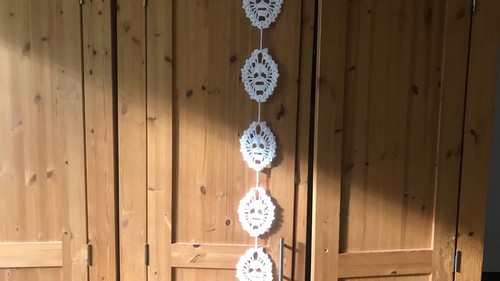
Crocheting this skull not only enhances your holiday decorations but also provides a creative outlet that promotes relaxation and satisfaction. The pattern’s clarity ensures a smooth crocheting experience, leading to a beautifully handmade piece that showcases your skills. Its open mouth and compelling eyes make it scary. The lightly coming of sunrays give a touch of Halloween decor.
Crochet Hanging Halloween Skull

This hanging skull is versatile, serving as an eye-catching decoration during spooky season or an interesting conversation piece year-round. Engaging in this project brings a sense of achievement and a personal touch to your seasonal decor. The Crochet Hanging Skull Pattern stands out with its detailed design and spooky charm, making it an ideal addition to Halloween decor.
Materials Needed:
- Worsted weight yarn in white (or black, if preferred)
- 3mm crochet hook
- Darning needle
- Scissors
Stitches Used:
- Slip Stitch (sl st)
- Single Crochet (sc)
- Half Double Crochet (hdc)
- Double Crochet (dc)
Pattern Instructions:

Starting the Skull:
- Create a slip knot and chain 4.
- Slip stitch into the first chain to form a ring.
- Chain 3 (counts as first dc) and do 1 dc into the ring.
First Shell:
- Chain 1, then 2 dc back into that ring. This forms the first shell.
- Chain 2, then repeat the shell pattern (2 dc, chain 1, 2 dc) into the ring.
Second Round:
- Chain 1 and turn your work.
- Slip stitch back to the chain 1 space of the first round’s shell, repeating the shell pattern.
Skull Foundation:
- Chain 7, skip over the chain 2 space, and work another shell into the next chain 1 space.
Chin Creation:
- Chain 3, then work 7 dc’s over the chain of 7 to form the skull’s chin followed by a shell pattern in the next shell’s chain 1 space.
Mouth Formation:
- Chain 3, single crochet into the first dc, chain 7 (for the mouth opening), and sc into the last dc.
Top Lip:
- Mirror the pattern from step 6, then chain 3 on each side of the new formations.

Nose Creation:
- Continue with a similar pattern as previous steps, incorporating a chain 1 space for the nose hole.
Eye Formation:
- Chain 3, half double crochet for the start of the eye sockets, chain 7 for each eye hole, and continue with shells as in previous rounds.
Finalizing the Skull:
- Continue shaping the skull by reducing stitches where the forehead is, and close up the top part of the skull with further dc reductions.
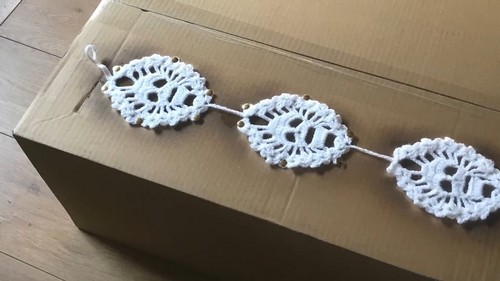
Finishing the Skull and Adding to the Chain:
Final Round and Chain:
- Perform a final shell in the first shell space, then proceed to make as many skulls as desired by repeating the whole process.
- To connect the skulls, chain a desired length between each skull, start a new skull by slip stitching over the shell and chain spaces, akin to the pattern described.
Varnishing (Optional):
- To make the skulls durable and weather-resistant, especially if they will be displayed outside, you can block them and apply a spray varnish. Allow to dry fully.