
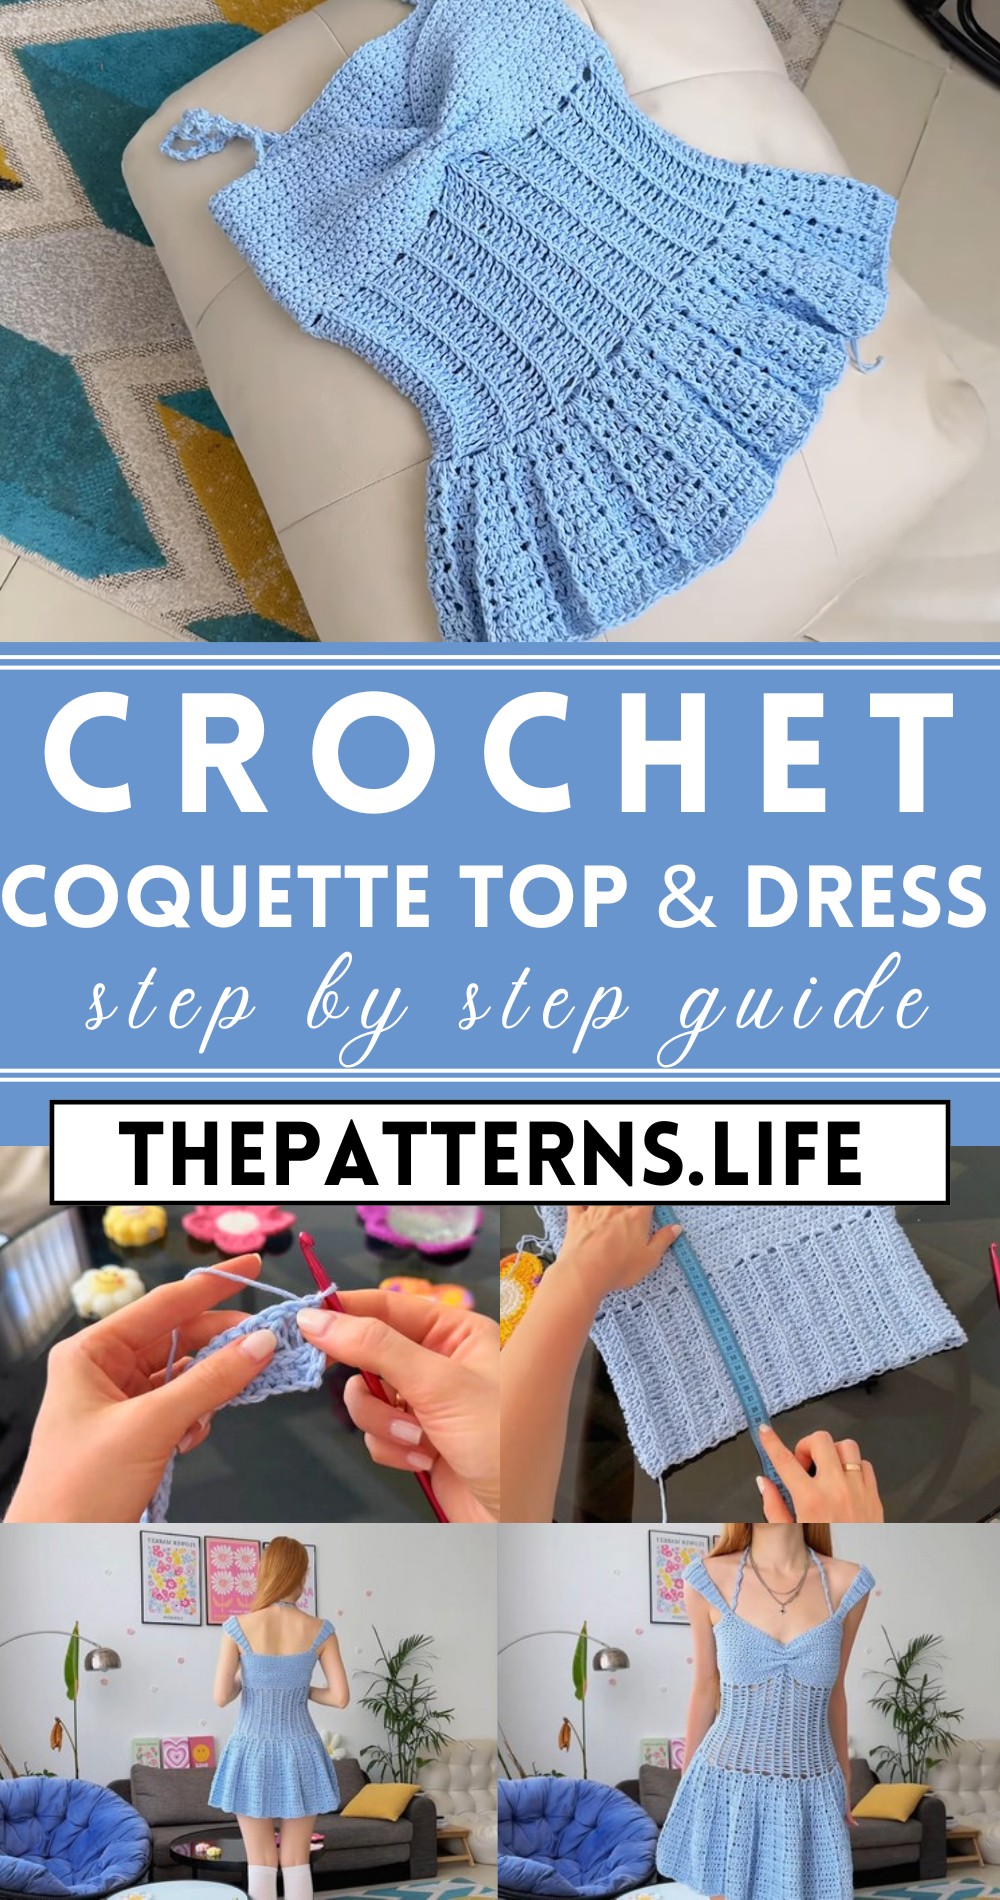
Stunning Good Crochet Coquette Top & Dress Tutorial + Pattern
Wallow in the art of crochet with our Free Crochet Coquette Top & Dress Pattern, where intricate designs intertwine to create delicate and sophisticated ensembles that captivate the eye.
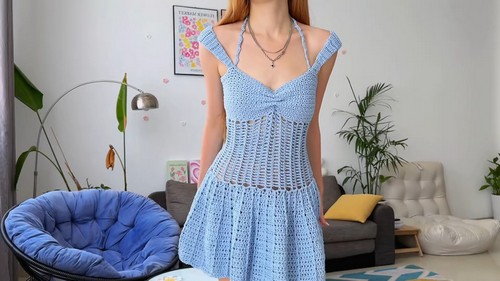
This pattern is meticulously crocheted to highlight delicate stitches and complex motifs, resulting in garments that are as eye-catching as they are timeless. The top features a flattering neckline and graceful silhouette, ideal for layering or wearing solo in warmer climates. The dress extends these elements into a stunning full-length or midi piece, perfect for any occasion from casual outings to formal events.
Crochet Coquette Top & Dress Tutorial Pattern
With options for various yarn types and colors, you can tailor each creation to your style and preference, ensuring each piece is uniquely yours. The Coquette Top & Dress Pattern offers the perfect balance of challenge and reward, allowing crocheters to embrace detailed craftsmanship with a clear vision and attention to every stitch.
Tip:
Use a fine cotton or silk blend yarn to enhance the intricate details and ensure a smooth, elegant finish.
Materials Needed:
- Yarn: Approx. 435g for the dress, 1 and 2 skeins for the top (MIL cotton or stretchable yarn recommended)
- Hook: 5mm
- Markers
- Needle
- Scissors
- Tape measure
Pattern Instructions:
Top Part:
Start with a Chain:
Make a chain of air loops. The number of loops can vary; for the waist area, consider making fewer loops as it stretches (e.g., 23 or 26).
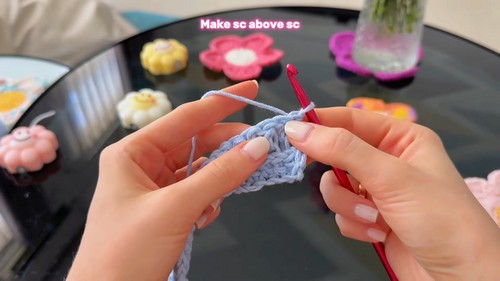
First Row (Double Crochet):
- Yarn over, insert the hook into the fourth loop from the hook (the one on the hook doesn’t count), pull the yarn out, and make a double crochet. Continue double crocheting until the end of the chain. Note: The first row may look short, but it will stretch significantly.
Straight Edge:
- Turn the work. You can crochet through the loops under the braid for a consistent pattern or through the front or back loop as preferred.
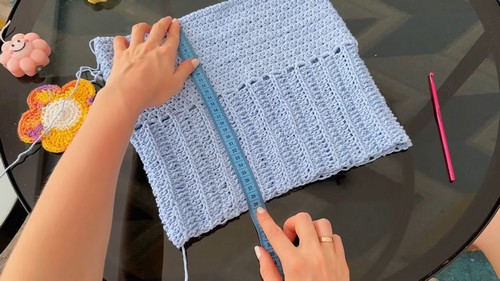
Continue Building the Top:
- Keep crocheting until the piece wraps around your chest comfortably. The number of rows should be an even number. (E.g., 38 rows were made in the tutorial for a good fit.)
Joining Edges:
- Join the edges with slip stitches. Make one chain and turn your work. Insert the hook into the first single crochet and make a slip stitch. Continue until the edge is fully joined.
Adding Straps:
- Try on the top and mark where you want the straps with markers. Follow the method for crocheting straps by making a chain and single crochets until you reach the desired length, then sew them onto the top.
Transition to Dress:
Skirt Part:
- Start by inserting the hook into the row near the seam, make three double crochets into the same space, and continue making three double crochets into each row around. This process creates the skirt’s first row.
Increases:
- To widen the skirt gradually, incorporate increases in specified rows (every 6th stitch, then every 7th, etc., depending on the desired fullness and length of the skirt).
Concave/Convex Double Crochets:
- Alternate between concave and convex double crochets to create a textured pattern for the skirt. Concave double crochets are made by inserting the hook from behind the stitch, and convex double crochets are made similarly but from the front side in specified rows.
Finishing the Skirt:
- After reaching the desired length for the skirt (e.g., after 22 rows or as preferred), you can stop increases and crochet a few more rows evenly.
Strap Adjustments:
- If necessary, adjust the straps for better fit or style. The tutorial suggests making them wider for more support.
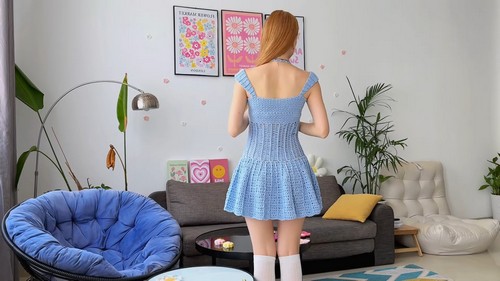
Completing the Dress:
- Finish off the dress by trimming and hiding any leftover yarn ends. Optionally, add decorations or additional details as desired.


