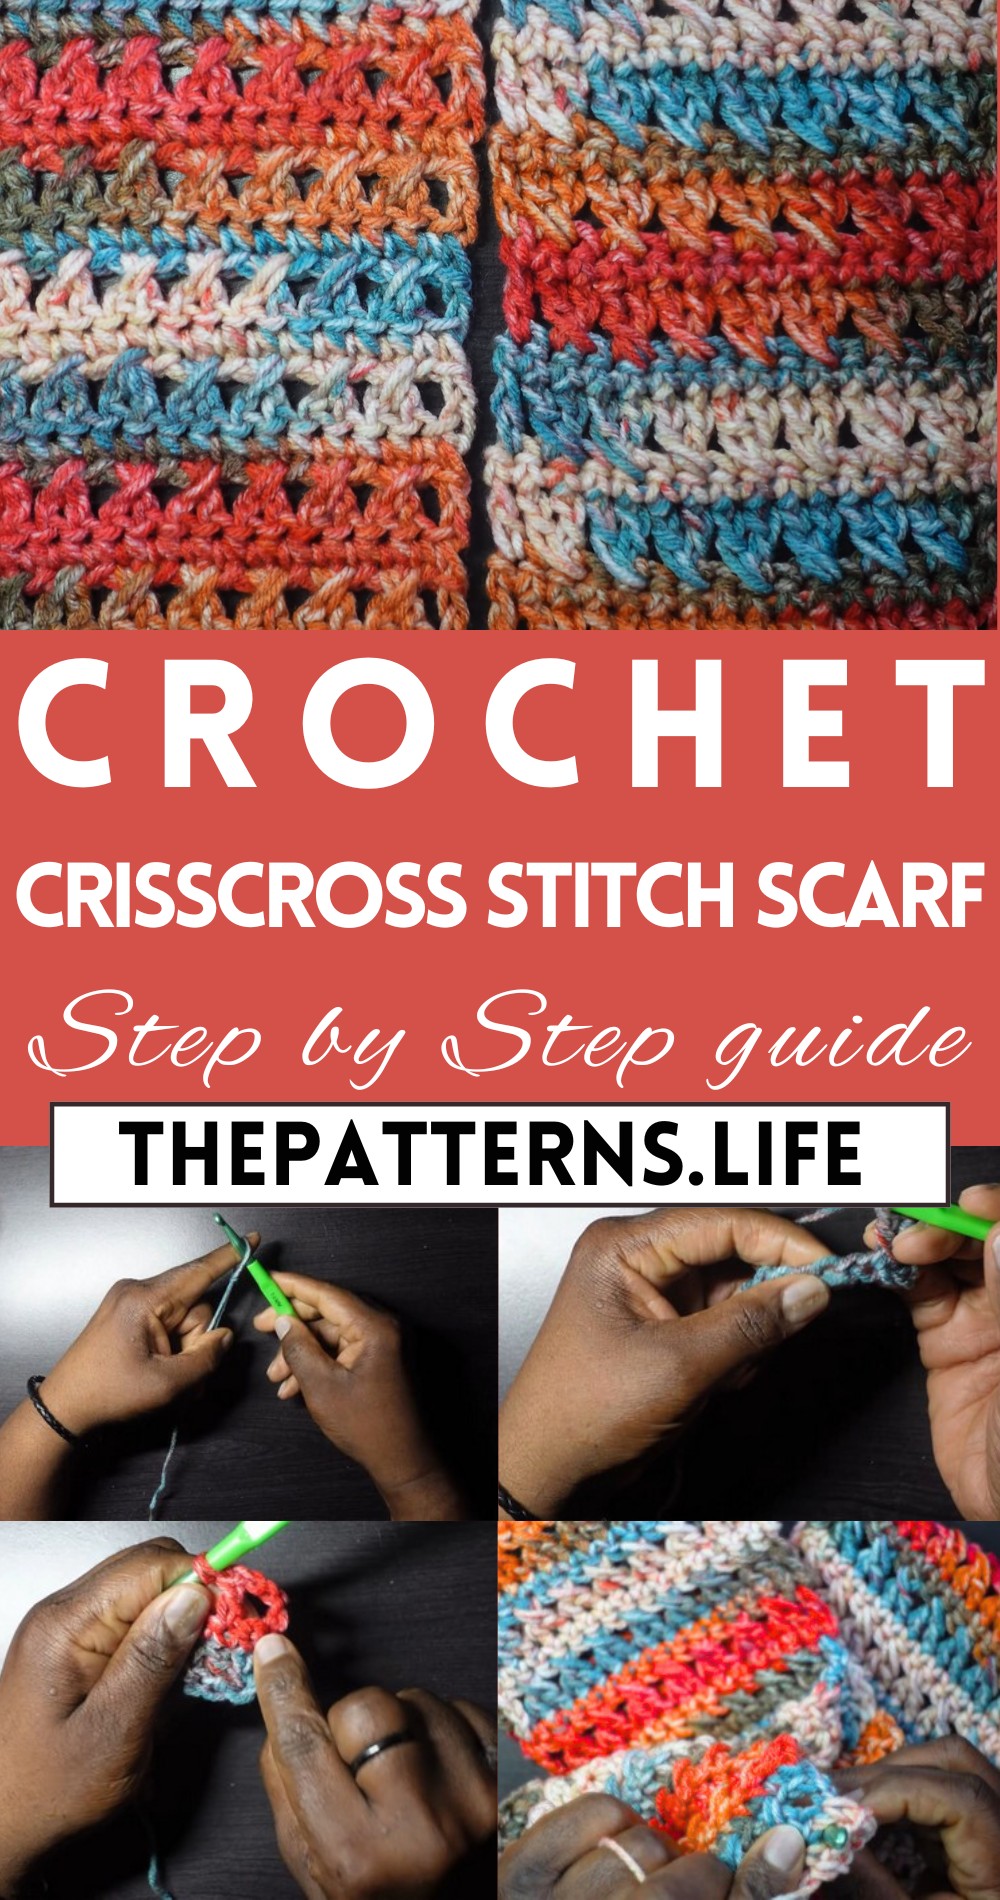
Simple & Easy Crochet Crisscross Stitch Scarf Pattern
Spice up your winter look with the Free Crochet Crisscross Stitch Scarf Pattern – a fun and cozy way to stay warm in style!
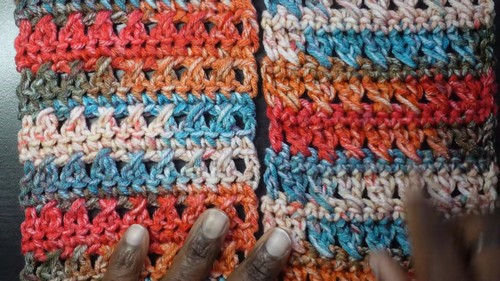
This pattern enables you to design a beautiful scarf featuring elegant crisscross stitches, adding both texture and visual appeal to your wardrobe. Perfect for keeping warm in chilly weather, this scarf combines functionality with style, making it an ideal project for both beginners and experienced crocheters. It’s an ideal project for those looking to add a bit of warmth and style.
Crochet Crisscross Stitch Scarf Tutorial
The pattern allows for customization, letting you choose your favorite colors and yarn types to create a unique piece that matches your personal taste. Additionally, the crisscross stitch technique offers a satisfying challenge that enhances your crochet skills.
Tip:
For a luxurious feel, use soft, high-quality yarn to make your scarf extra cozy and comfortable!
Materials Needed:
- Yarn (The example used: Royal Gorge from Hobby Lobby)
- Crochet hook (Recommended size: 5mm; Tutorial uses: 7mm)
- Scissors
- Darning, weaving, or tapestry needle
Instructions:
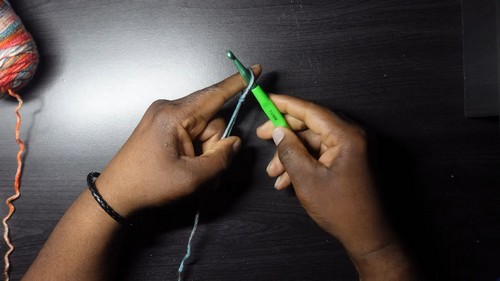
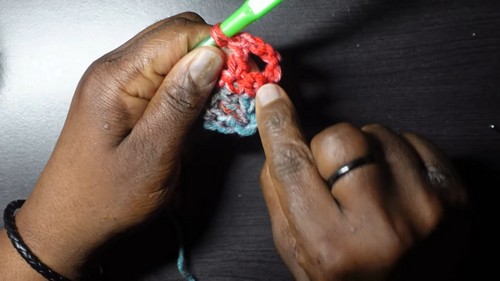
Starting the Scarf:
- Begin with a slip knot.
- Chain an even number of stitches (+2 for the foundation chain). For example, chain 16 (an even number), then add 2 more chains for a total of 18 chains.
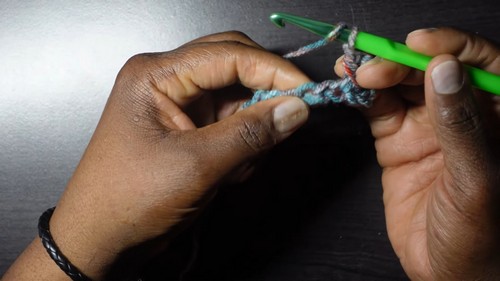
Row 1 (Setup for Crisscross Pattern):
- Double crochet (DC) into the 5th chain from the hook. The first 3 chains count as your first DC.
- Skip the next chain (the 4th chain from your hook), then DC into the next chain (5th from hook). Once done, go back and DC into the chain you skipped. This creates your first “crisscross.”
- Repeat from to until you reach the end of the row.
- To end the row symmetrically, DC in the last chain.
Row 2 (Single Crochet Row):
- Chain 1 and turn your work.
- Single crochet (SC) in every stitch across the row.
- This row aims to create a smooth edge and prepare for the next set of crisscross stitches.
In Row 3 (Repeat of Crisscross Pattern):
- Chain 3 (counts as your first DC) and turn your work.
- Skipping the first SC (directly beneath the chain 3), DC into the next SC. Then, DC into the skipped SC, creating a crisscross.
- Continue the crisscross pattern across the row.
- DC in the last SC to complete the row symmetrically.
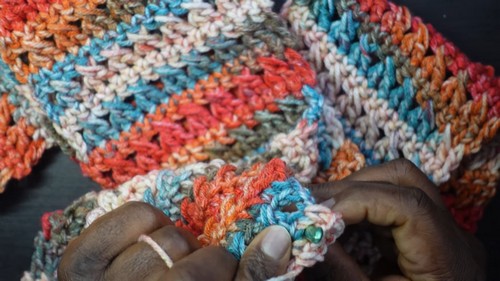
Row 4 and Beyond:
- Repeat rows 2 and 3 for the pattern. Alternate between a row of single crochet (to keep the scarf’s edges smooth and neat) and a row of the crisscross double crochet pattern until you reach your desired scarf length.
Finishing the Scarf:
- To finish, after your last repeat of the crisscross pattern, do a final row of single crochet for a clean edge.
- Cut your yarn, leaving a long tail for weaving in.
- Use your needle to weave in all ends securely.
Additional Tips:
- Make sure to keep an eye on those hidden stitches, especially after completing a crisscross row. You don’t want to miss crocheting into any stitches because of the crossing.
- At the end of the project, ensuring your scarf edges are symmetrical will give your scarf a professional finish.
- Remember to adjust hook size or yarn type according to your tension and desired scarf size.