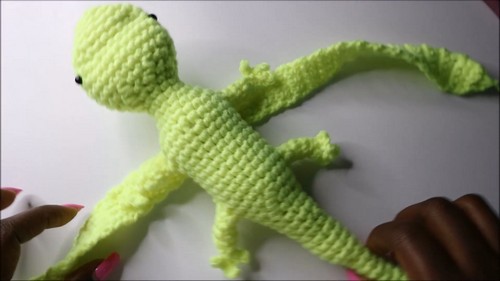
Crochet Gecko Amigurumi Pattern For Curtains Decor Step By Step
Get hooked on fun with our crochet Gecko Amigurumi Pattern—create your own cute, colorful lizard that’s sure to brighten up your day and your decor!
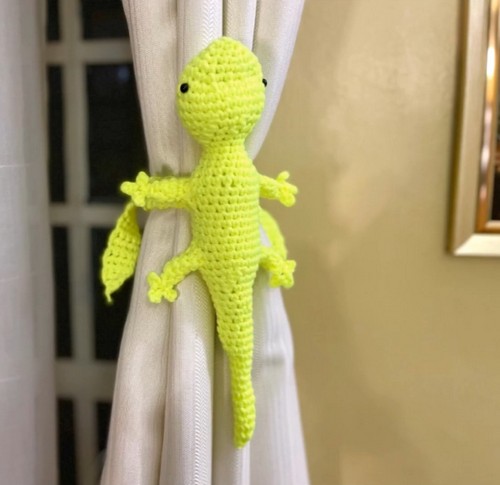
This pattern guides you through creating a charming, colorful gecko. Its bright and yellowish color make it real that can be start creeping. Using basic crochet techniques and vibrant yarn, you’ll assemble a cute, cuddly reptile that’s great for gifting or decorating your space. Try something different that can attract to anyone.
Crochet Gecko Amigurumi
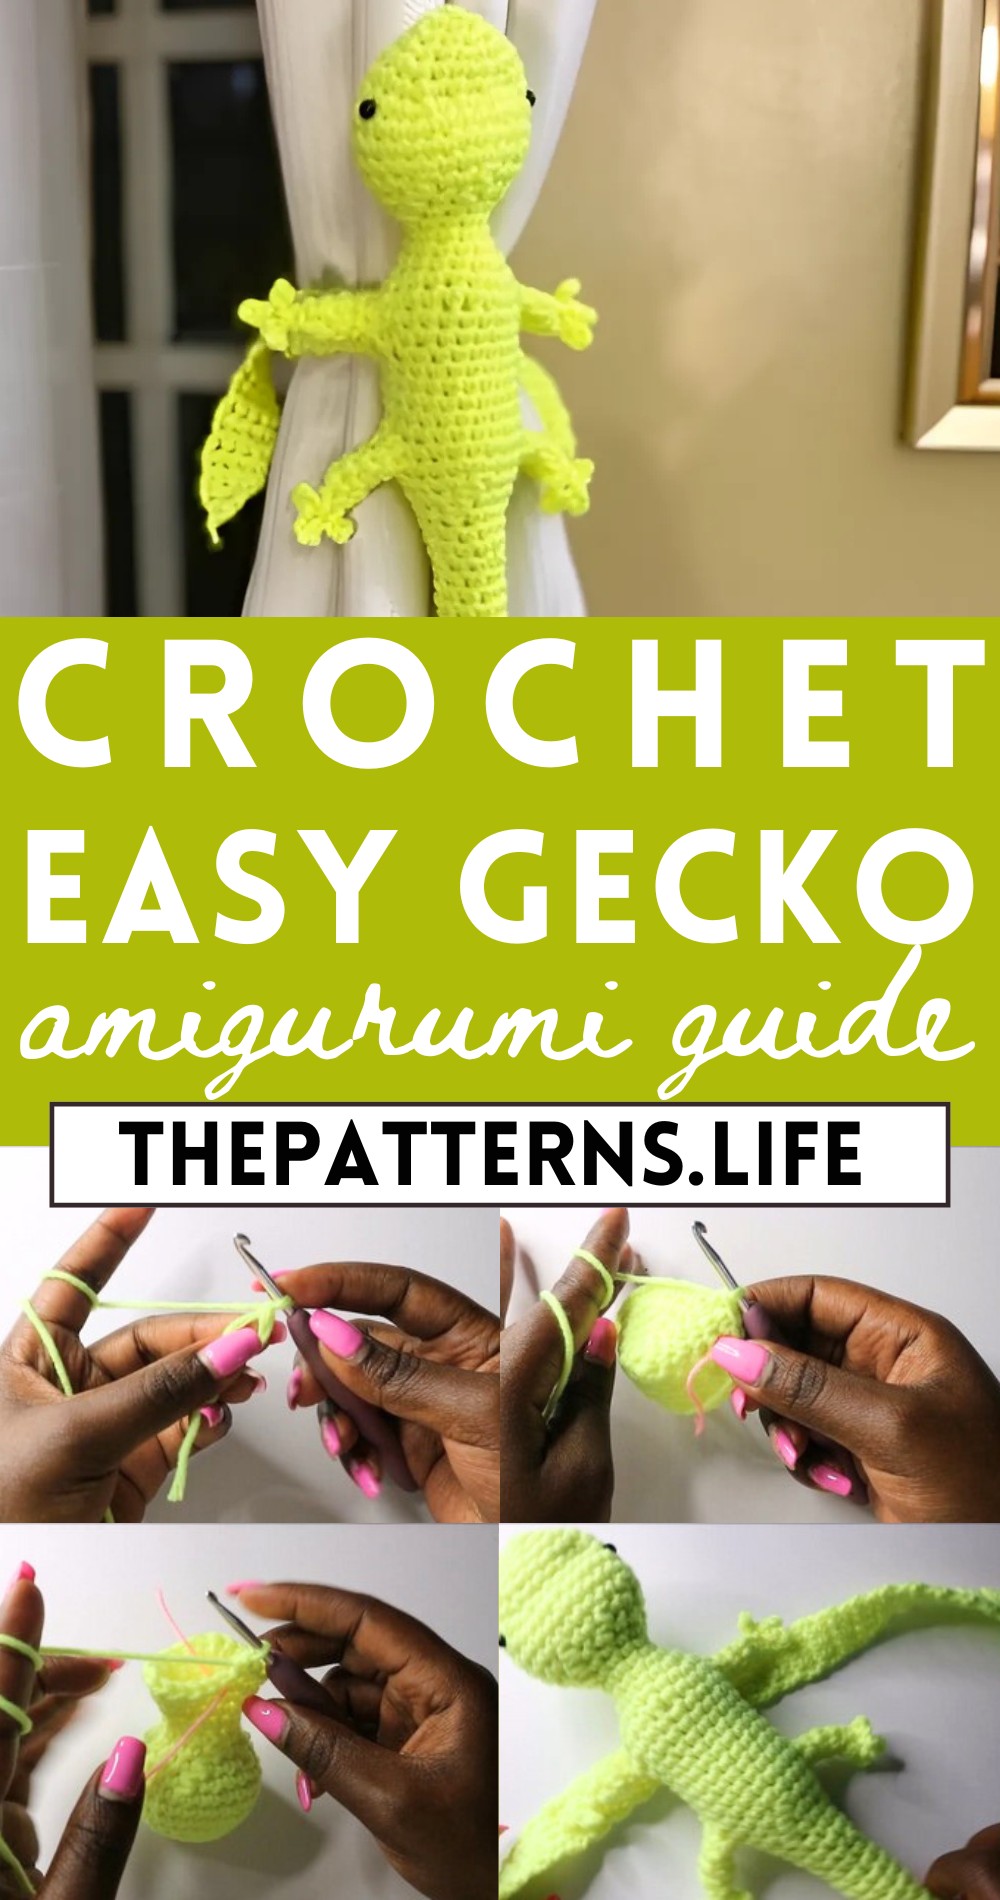
The benefits of making this gecko include enhancing your crochet skills, reducing stress through a fun and creative activity, and producing a unique, handmade toy that’s sure to bring a smile to anyone’s face. This amigurumi project is also an excellent way to use up leftover yarn and explore different color combinations.
Tip: For added cuteness, use safety eyes to give your gecko a lively, expressive look!
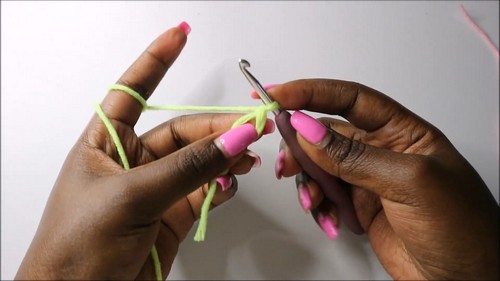
Materials Needed:
- [Start of the video lists specific materials]
Crochet Pattern:
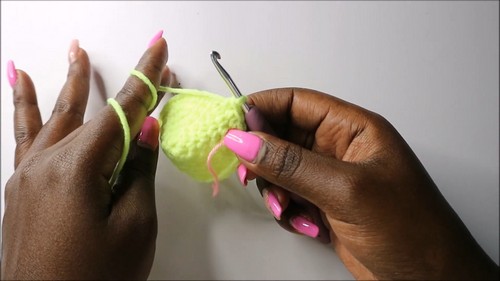
Head and Body:
Round 1:
- Start with a magic ring.
- Make 6 single crochets into the ring and then close the gap.
Round 2:
- Place a marker. Single crochet, then increase. Repeat this sequence two more times for a total of 9 stitches.
For Round 3:
- Two single crochets, then increase. Repeat this sequence two more times to reach a total of 12 stitches.
Round 4:
- Single crochet, then increase. Repeat this sequence six times for a total of 18 stitches.
Round 5:
- Two single crochets, then increase. Repeat this around for a total of 24 stitches.
For Round 6:
- 10 single crochets, increase two times, and repeat this sequence once more for a total of 28 stitches.
Rounds 7-9:
- Single crochets all around, maintaining 28 stitches.
Round 10:
- Five single crochets, then a decrease. Repeat this four times for a total of 24 stitches.
In Round 11:
- Two single crochets, then a decrease. Repeat this six times for a total of 18 stitches.
For Round 12:
- Single crochet and decrease. Repeat around for a total of 12 stitches.
Rounds 13-15:
- Single crochets all around, keeping 12 stitches.
Round 16:
- Three single crochets, then increase. Repeat this three times for a total of 15 stitches.
For Round 17:
- Four single crochets, then increase. Repeat this three times for a total of 18 stitches.
Round 18:
- Five single crochets, then increase. Repeat this three times for a total of 21 stitches.
Rounds 19-29:
- Continue with single crochets all around, maintaining 21 stitches.
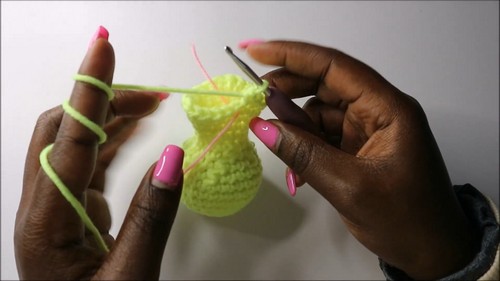
Tail Shaping:
In Round 30:
- Five single crochets, then decrease. Repeat this three times to reduce to 18 stitches.
Round 31:
- Four single crochets, then decrease. Repeat three times to reduce to 15 stitches.
Round 32:
- Three single crochets, then decrease. Repeat three times for a total of 12 stitches.
For Rounds 33-34:
- Continue with single crochets all around, keeping 12 stitches.
Round 35:
- Two single crochets, then decrease. Repeat three times to reduce to 9 stitches.
Rounds 36-40:
- Continue with single crochets, maintaining 9 stitches.
For Round 41:
- Start with a decrease, continue with two single crochets. Repeat, totaling 7 stitches.
Rounds 42-44:
- Single crochets all around with 7 stitches.
Round 45-48:
- Gradually decrease to close the tail, completing the body shaping.
Legs:
- Count rounds from the neck; attach yarn as shown.
Base:
- Start with 7 base single crochets.
- For 5 rounds, follow the pattern of decreasing as needed to shape the legs.
- Create fingers using chain and slip stitch methods.
Finishing Touches:
Ties:
- Crochet straps as shown, decreasing at the ends to taper.
Face Detailing:
- Add eyes and any additional detailing as needed to give character.