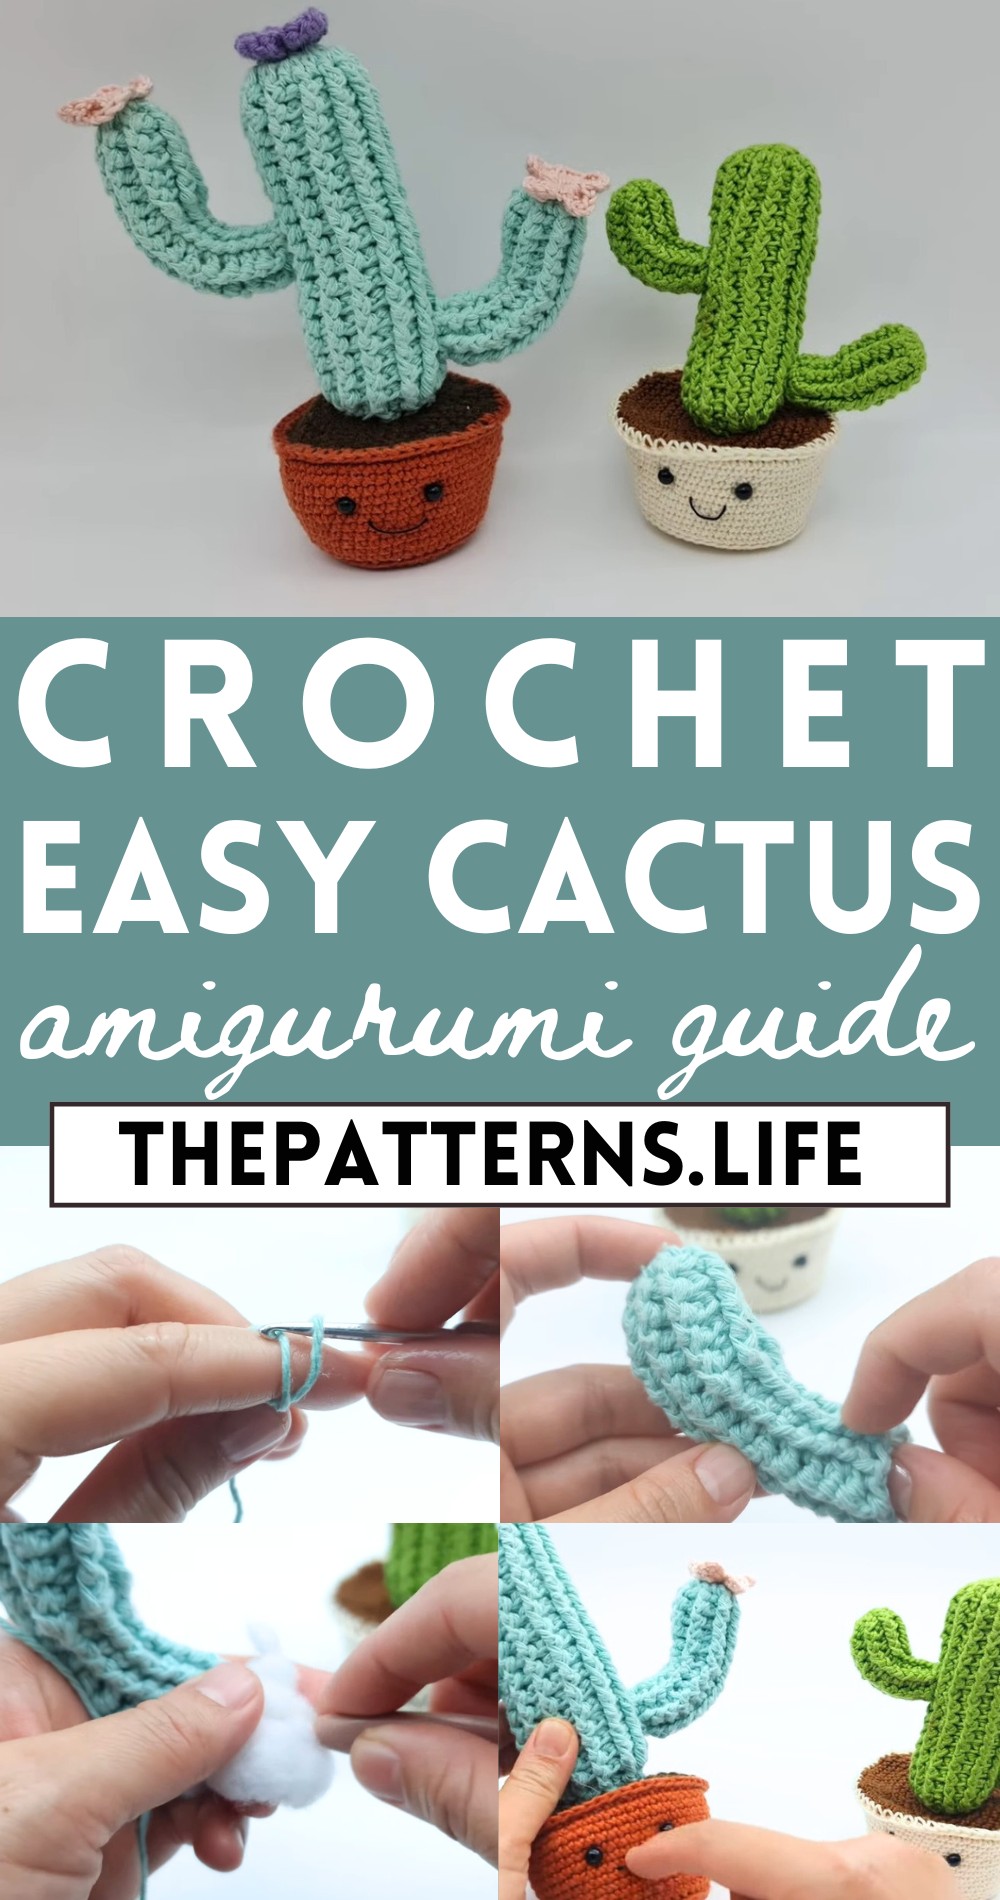
Crochet Cactus with little pot Amigurumi Pattern – Complete Guide
Spruce up your crochet collection with the delightful Cactus & Little Pot Amigurumi pattern, perfect for a stylish, handmade touch.
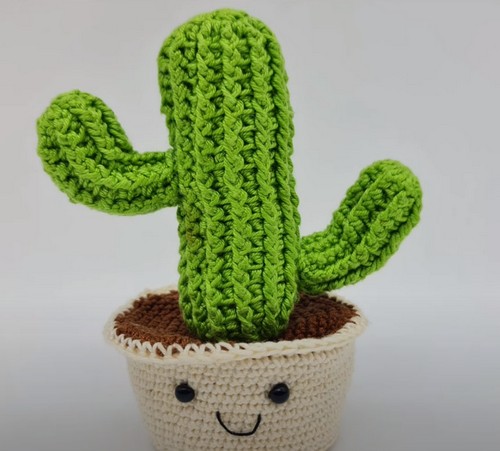
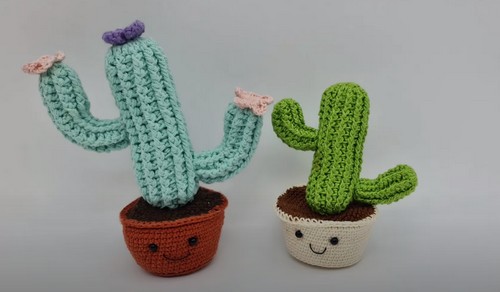
This charming design features a cute, spiky cactus nestled in an adorable little pot, combining fun and minimalism in one package. With simple and detailed instructions, you’ll enjoy stitching each piece together, from the cactus body to the tiny pot, its two open arms appears as they posed to move and start dancing .
Crochet Cactus Amigurumi Pattern
The finished product offers a stylish, no-maintenance way to add some greenery to your home or workspace. Perfect as a whimsical decor piece, a quirky gift, or a unique collectible, this amigurumi pattern provides a fantastic opportunity to brighten up any space. The compact size and delightful appearance make it a favorite among crafters of all ages, proving that sometimes the smallest touches can make the biggest impact.
Supplies:
- Cotton yarn (or yarn of choice)
- Crochet hook that matches your yarn size (suggested 2mm hook for this pattern)
- Safety eyes (optional, for decoration)
- Embroidery floss (optional, for decoration)
- Tapestry needle
- Stitch marker (or a small piece of contrasting color yarn)
- Polyfill or other stuffing material
- Beans, rice, or small stones for the pot’s stability (optional)
Big Trunk and Two Babies Cactus Pattern:
Magic Ring:
- Wrap yarn to make an X, insert hook and make a magic ring.
- Chain 2 (counts as the first double crochet).
Row 1:
- Make 15 more double crochets into the magic ring for a total of 16 double crochets.
- Slip stitch to the first double crochet, not the chain 2.
Row 2:
- Chain 2.
- Alternate front post double crochet and back post double crochet around each of the double crochets from the previous row.
- Slip stitch into the first front post double crochet of the row to join.
Repeat Row 2:
Repeat Row 2, maintaining the alternating pattern of front and back post double crochet for approximately 4 centimeters, depending on your tension and yarn.
Creating the Curve:
- Chain 2 to start a new row.
- Alternate front post double crochet and back post double crochet for the first couple of stitches.
- At the marked stitch (or after a few stitches), work a half double crochet instead of a double crochet to create the curve shape.
- Switch to single crochets for a section to make the curved area lower.
- Continue with the pattern, alternating post stitches and including half double crochet decreases to enhance the curve.
- Work approximately seven rows, or until the desired curve is reached.
Increase for the Big Trunk:

For a larger trunk:
- Make a magic ring with 12 double crochets.
- Increase in every stitch to double the stitch count to 24 double crochets.
- Continue with the front post and back post double crochet pattern until the piece measures about 12-13 centimeters or to your desired height.
Decrease for Closing:
To close off the trunk:
- Chain 2.
- Alternate front post and back post double crochets.
- Implement decreases by pulling through several stitches at once with a yarn-over pull-through.
- Continue this pattern until the top is closed, leaving a long yarn tail for sewing.
Assembly:
- Stuff the smaller cactus parts lightly.
- Position and pin the smaller cactuses onto the big trunk.
- Sew the small cactuses onto the trunk using a tapestry needle.
- Fill the big trunk with stuffing material.
- Crochet or find the pot pattern on the creator’s channel, fill with weights for stability if desired.
- Sew the big cactus trunk onto the pot.
Decoration:
- Make and attach flowers.
- Add safety eyes if desired.
Finishing:
Secure all ends, trim excess yarn, and ensure the cactus can stand properly and is well shaped.