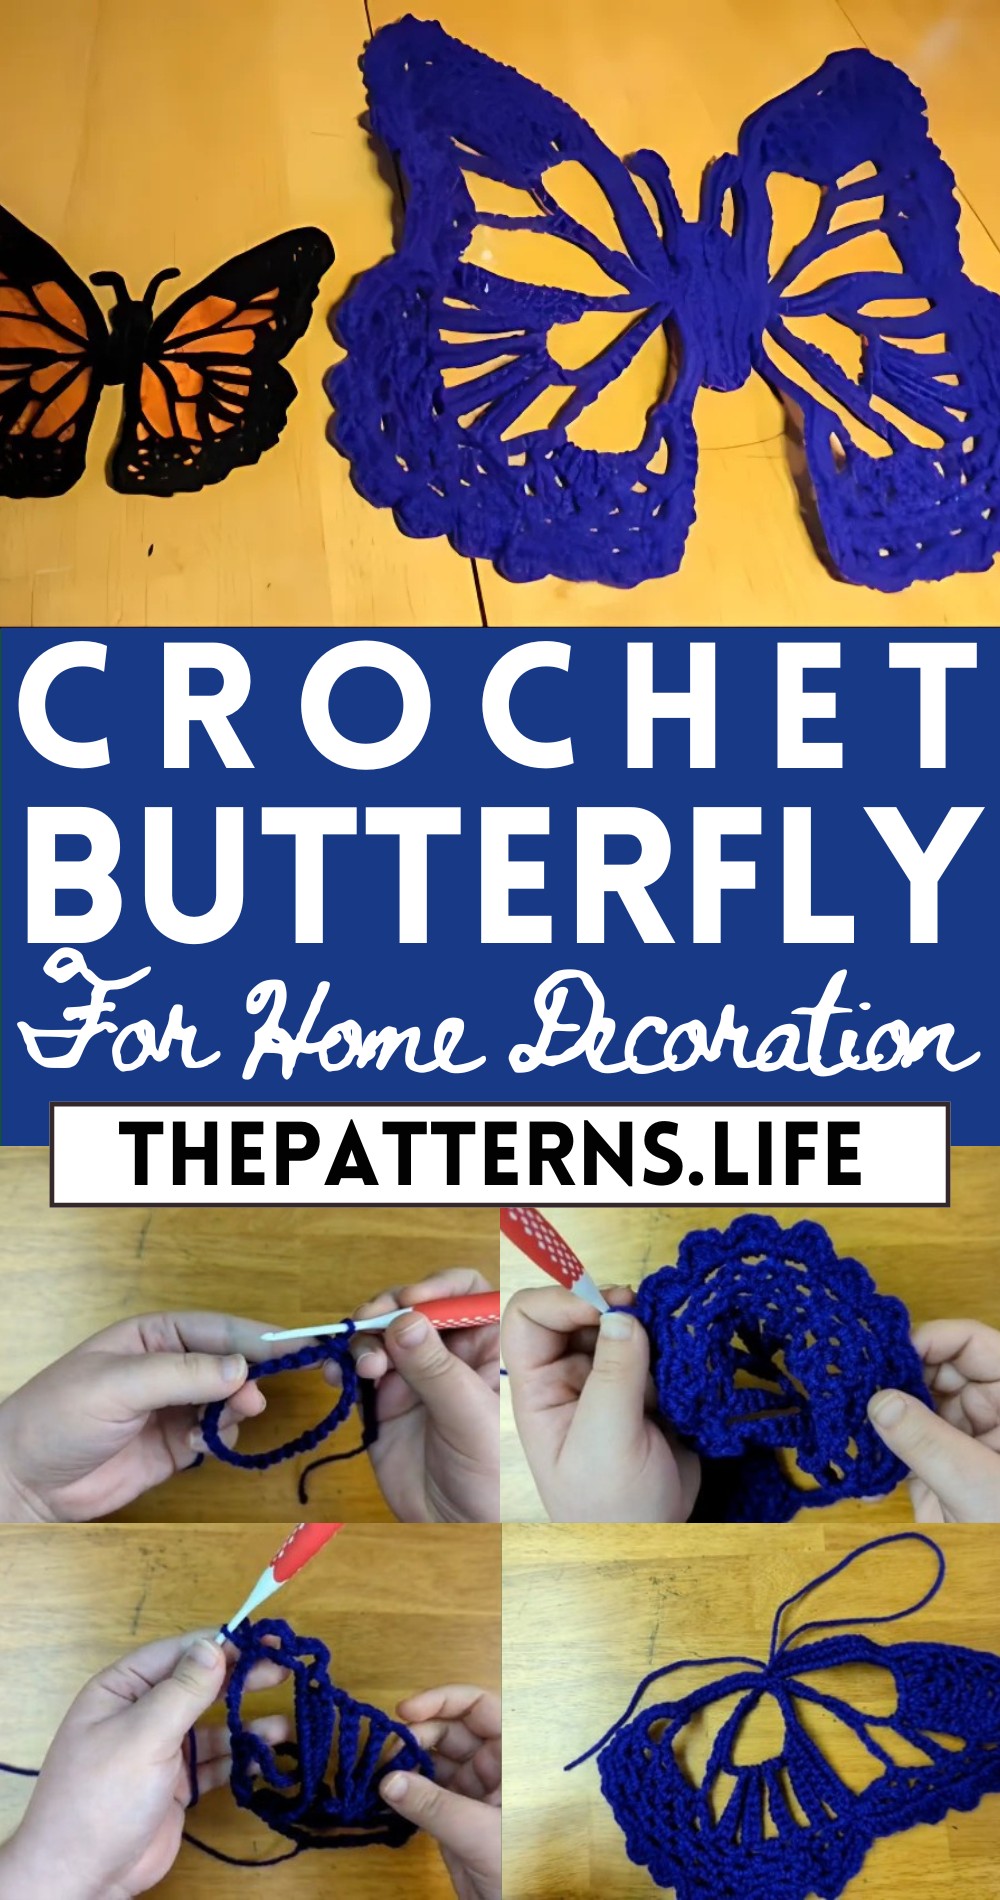
Cute & Adorable Crochet Butterfly Pattern For Home Decoration
Flutter into fun with our “Crochet Butterfly Pattern,” perfect for adding playful and vibrant accents to all your creative projects!
This captivating pattern walks you through each step to crochet intricate butterfly accents, ideal for adorning hats, scarves, bags, or even as charming standalone decorations. With beautifully detailed wings and a delicate body, these fluttery friends come to life with rich textures and vibrant yarn choices.
Crochet Butterfly
Whether you’re new to crochet or an experienced crocheter, this pattern offers a delightful mix of ease and creativity, helping you enhance your skills while producing stunning results.
Tip:
Experiment with metallic or glitter yarn for a touch of sparkle and extra flair in your butterflies.
Materials Needed:
- Aunt Lydia’s size 10 crochet thread (for small lace butterfly)
- Size 1.5 millimeter hook (for small lace butterfly)
- Red Heart Super Saver yarn in the color Amethyst (for large yarn butterfly)
- Size 3.5 millimeter hook (for large yarn butterfly)
- Scissors
- Yarn Needle
- Water, pins, and a cushion for blocking
- Optional: Tulle in your choice of color, sewing needle, and thread to match
Butterfly Wing Pattern:
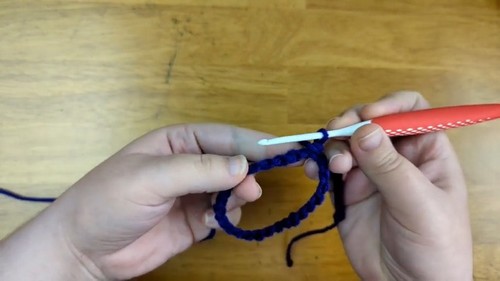
Create a Slip Knot:
- Start your project by making a slip knot.
Chain 34:
- Chain 34 stitches to begin the foundation of your butterfly.
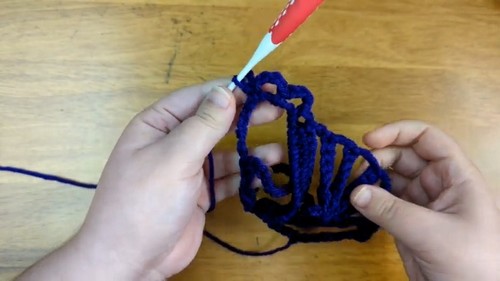
Single Crochet into the 26th Chain:
- Find the 26th chain from the hook and make a single crochet stitch. This creates a long loop that will form part of the butterfly wing.
Single Crochet Around the Chain 26 Loop:
- Turn your work and make six single crochet stitches around the loop.
Chain 21:
- Next, chain 21 stitches for the next loop.
Single Crochet into the 9th Chain:
- Turn your work again and single crochet into the same chain as before in the foundation (9th from the beginning or 26th from the hook).
Single Crochet 12 Times onto Chain 21 Loop:
Work on the Single Crochet Stitches:
- Turn your work and single crochet into the stitches you’ve just made, starting with the first stitch.
Chain 15:
- Continue by chaining 15 stitches for another loop.
Single Crochet into the Foundation Chain:
- Then, single crochet into the same foundation chain as before.
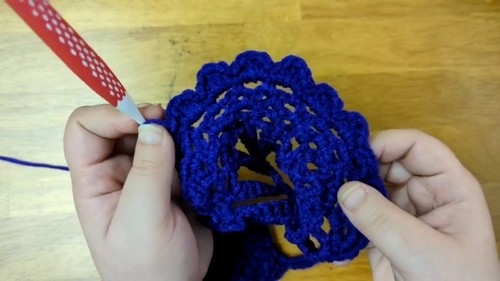
Repeat the Process for Additional Loops:
- Continue with turning the work and creating loops with chains and single crochets as outlined, building up the complex pattern of the butterfly wing.
Creating Scallops for the Wing Edge:
- To create the scalloped edge, work on the outside of the wing with a series of single crochets, half double crochets, and double crochets into chain spaces you’ve created. This will form the intricate edge of the butterfly wings.
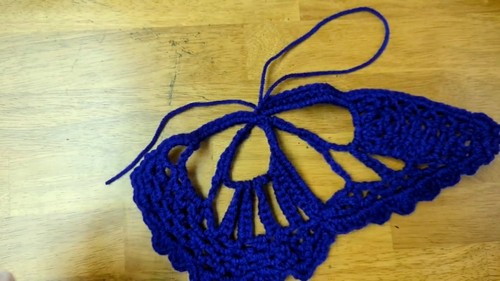
Finishing the Wing:
- Once you complete the scallop edging, finish off the work by cutting the yarn, leaving a long tail for sewing the wings together if creating a 3D butterfly.
Blocking the Piece:
- Use water, pins, and a cushion to block your piece into the correct shape and size.
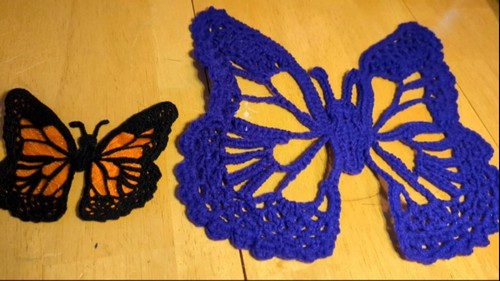
Optional Tulle Addition:
- For detailed texture or to mimic the look of a monarch butterfly, sew a few layers of tulle to the backside of the wings.