Crochet Cute Smiling Keroppi Plush Amigurumi Pattern
Frolic into happiness with crochet Cute Smiling Keroppi Plush Amigurumi Pattern – guaranteed to frog-hop your way into a ribbiting good time!
This chuckle project lets you create your very own cheeky buddy, perfect for a quirky gift or a hilarious home decor piece. Whether you’re a crochet newbie or an expert, the detailed, easy-to-follow instructions will guide you every hop of the way.
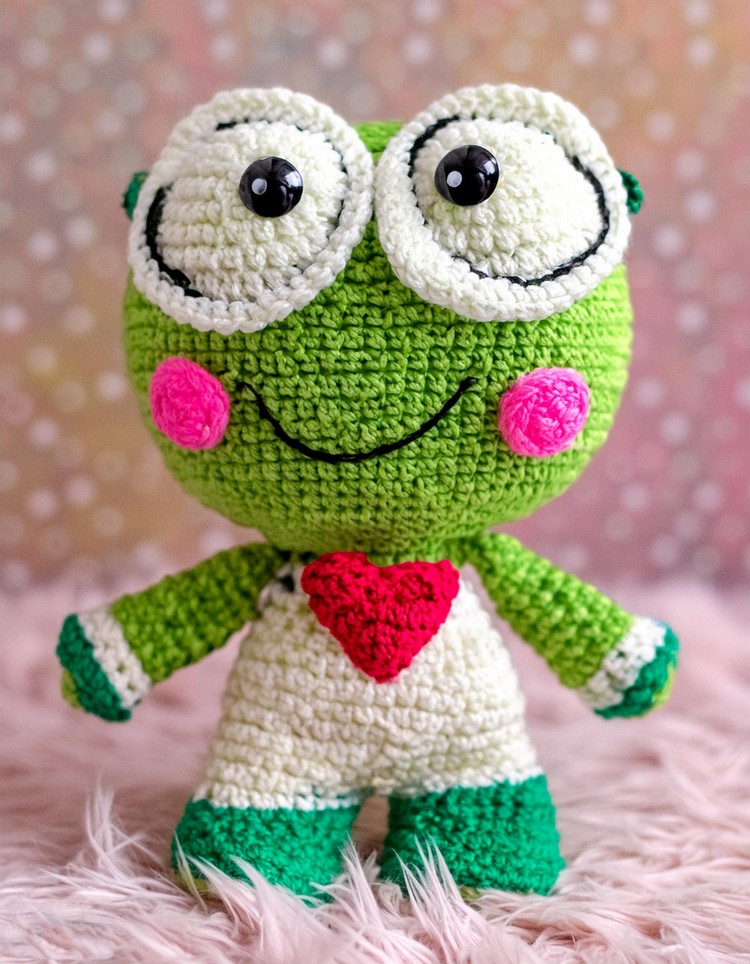
Crochet Keroppi Plush Amigurumi
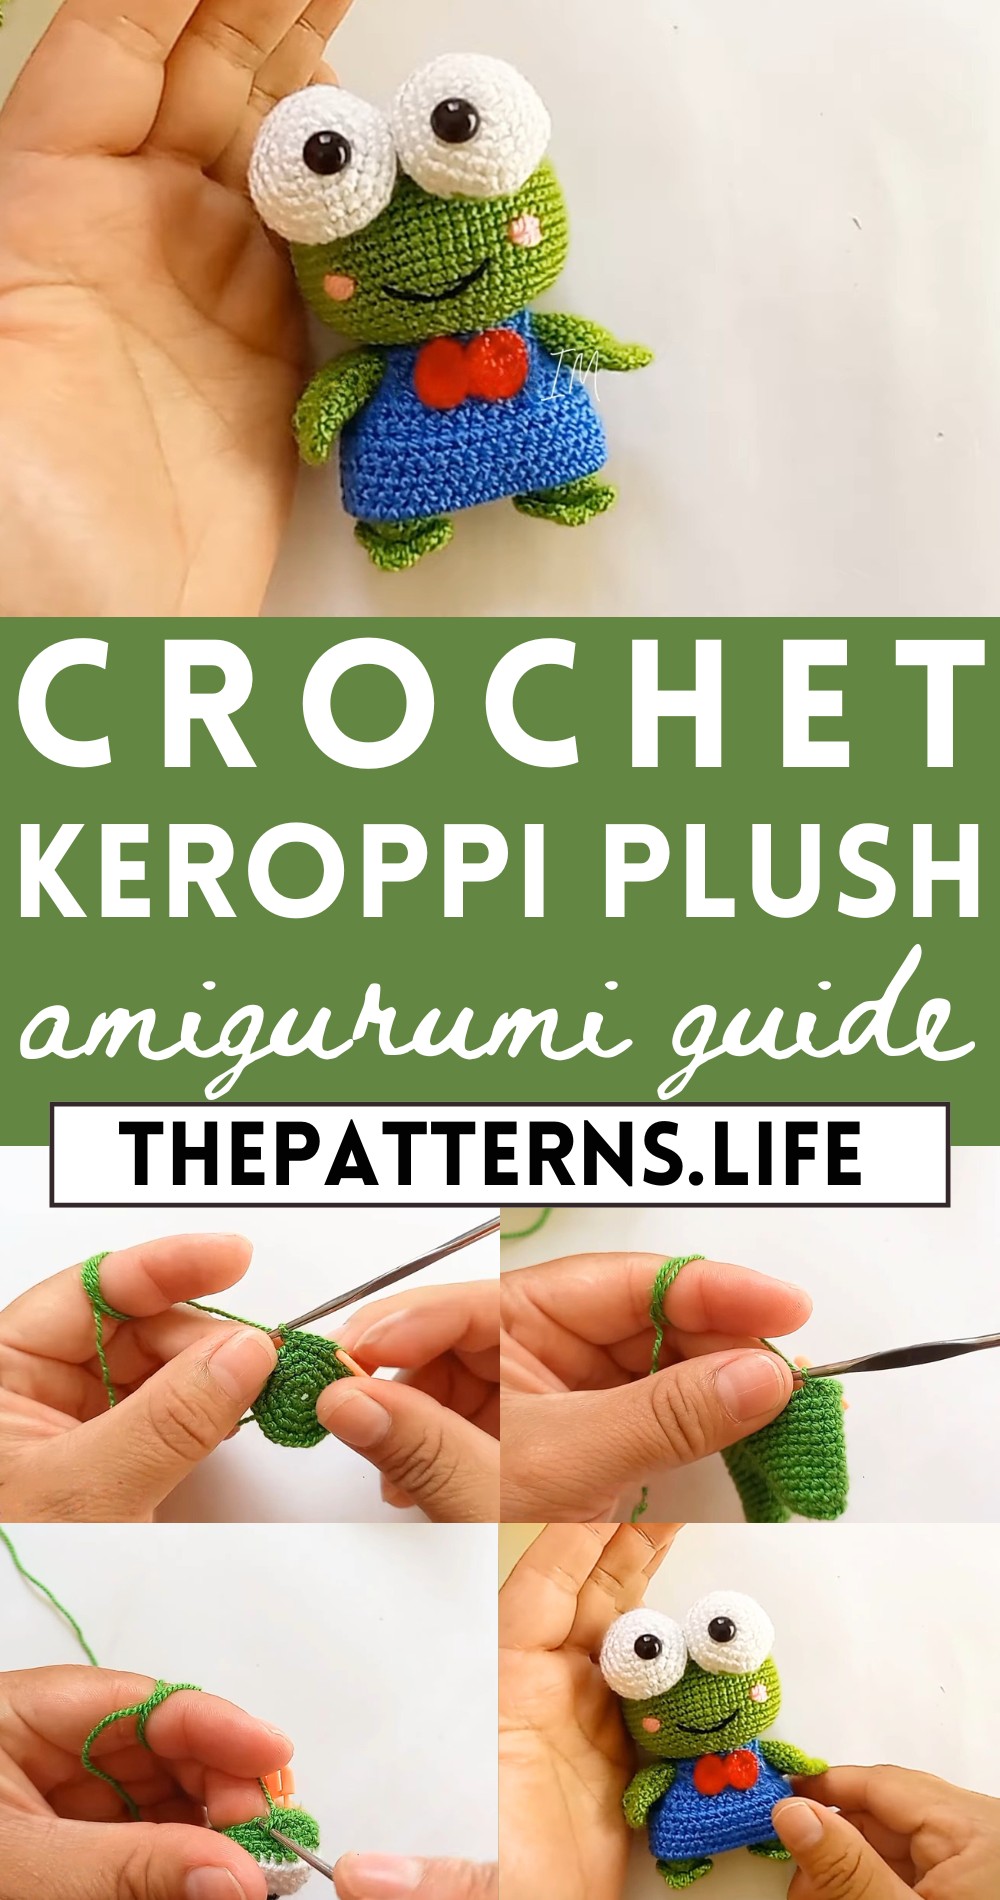
His face is complete with a big smile that will surely make anyone feel joyful just by looking at it. At the top it can wears white googles, which are quite eye-catching. Plus, it’s a fabulous way to flex those creative muscles while having a ribbiting good time.
Tip: Use bright, contrasting yarn colors to make Keroppi’s grin and eyes really pop – because a frog’s gotta see where he’s hopping!
Materials and Notes:
- The pattern seems to focus on creating a low-sew plushie, which is ideal for assembly. It includes specific crochet techniques such as the bobble stitch.
- It’s recommended to incorporate the beginning tail of your yarn into your stitches for a tighter finish without gaps.
- The notation (sc 1, inc)x6 [18] represents crochet pattern instructions, where “sc” stands for single crochet, “inc” means increase, and the numbers in brackets indicate the total number of stitches you should have by the end of the round.
Head:
- Round 1: Start with the head color yarn. The specific instruction for starting the round (e.g., magic ring, chain amount) wasn’t provided in the scraped data.
- Round 2: (sc 1, inc) repeat 6 times [18].
- Round 3: sc 1, inc, (sc 2, inc) repeat 5 times, sc 1 [24].
- Rounds 4-8: Continue increasing at each round’s specified pattern until the head reaches 54 stitches in circumference.
- Rounds 9-12: sc around [54].
- Rounds 13-17: Further rounds are detailed, ending with 60 stitches at its widest.
- Rounds 18-23: Begin decreases according to the pattern instructions, ending with 24 stitches.
- Finish the head by tying off and hiding the tail; make sure to stuff the head firmly.
Arms (Make 2):
- In green yarn.
- Round 1: Magic ring with 6 stitches [6].
- Round 2: Increase in each stitch around [12].
- Round 3: sc 3, (bobble stitch, sc 1) repeat 3 times, sc 3 [12].
- Rounds 4-9: Follow the instruction, ending with a series of sc around [9].
- Tie off, leaving a small tail for attachment.
Legs (Make 2):
- In green yarn.
- Round 1-6: Begin with a magic ring, increase, and have specific instructions including back loop only (BLO) and bobble stitches giving texture.
- Switch to dark green: Continue crocheting the leg and then proceed with the instructions until you end up with two legs. The second leg connects directly to the body as you progress.
Body:
- In dark green yarn.
- Begin with connecting the legs and continue crocheting to build the body, incorporating the arms at Round 17.
Eyes (Make 2):
- In white yarn.
- Round 1-10: Start with a magic ring and follow the increasing and decreasing pattern, placing safety eyes between rounds 2 and 3.
- Switch to green to finish up and stuff lightly before sealing.
Additional Parts:
- Blush spots: In pink, make a small circle and fasten off with a tail for sewing.
- Bow: In red, work a decorative bow to be attached to your amigurumi.
Finishing Touches:
- Assemble all pieces according to the pattern directions, ensuring all parts are securely attached.
- The pattern encourages personal touches and reaching out for assistance if needed.