Crochet Shiny Sun Amigurumi Keychain Pattern For Beginners
Putting Successful rays in your day with the free crochet Shiny Sun Amigurumi Keychain, offering a delightful handmade accessory that brings cheer and charm everywhere you go.
This Bright pattern brings a touch of sunshine to your everyday accessories, making it an ideal gift or a cheerful addition to your own collection. The delight, happy design of the sun keychain not only adds a burst of color to your keys or bags, but also spreads joy wherever you go.
Crochet Sun Amigurumi Keychain
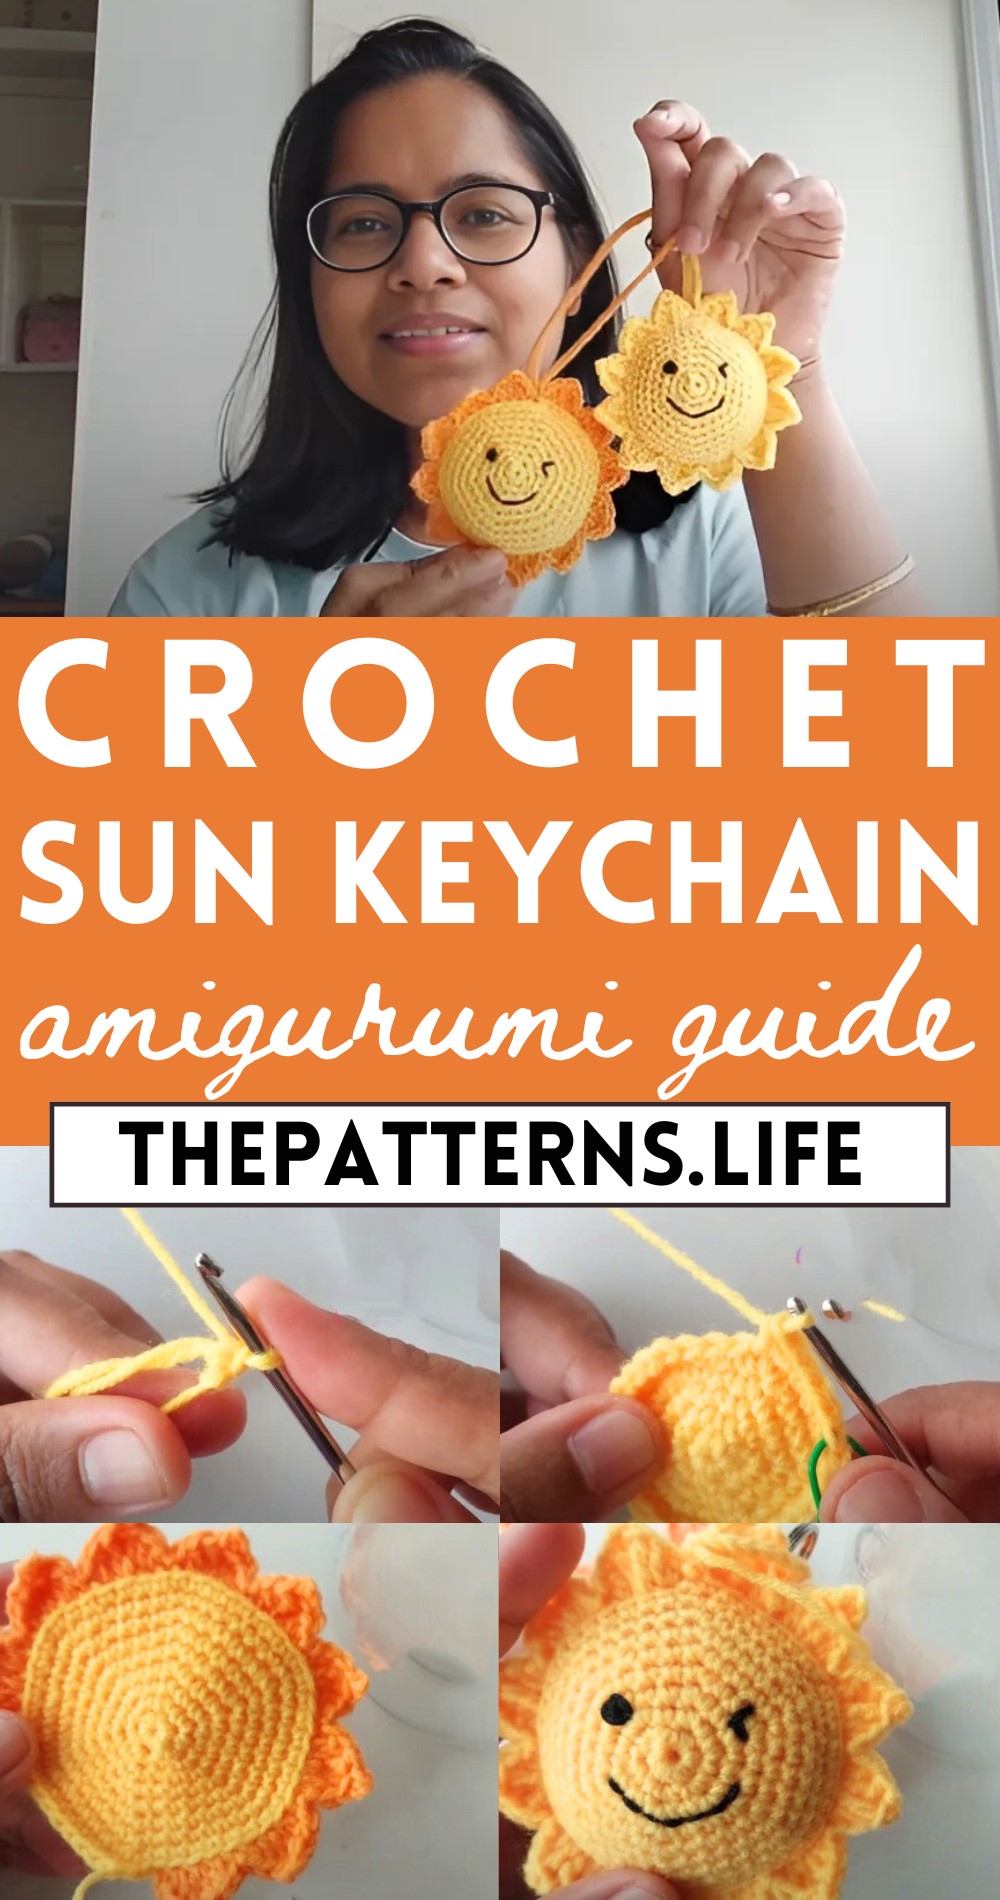
Moreover, this pattern helps you utilize leftover yarn, promoting a sustainable approach to your hobby. The small size of the finished piece makes it a quick and satisfying project, allowing you to enjoy the process and the result in no time. Bringing warmth and positivity, the Shiny Sun Amigurumi Keychain is sure to brighten up your day and those around you.
Materials Needed:
- Yarn
- Crochet Hook
- Keyring (Optional)
- Stuffing Material
- Needle
Crochet Pattern:

Making the Body:
Row 1:
- Start with a magic ring. If unsure how to make a magic ring, refer to the tutorial mentioned. Crochet six single crochets (sc) around this magic ring.
Row 2:
- For each of the six stitches in the previous row, make two single crochets in each. This will double your stitches to 12.
For Row 3:
- Alternate between one single crochet and two single crochets in the next stitch. You end this row with 18 stitches.
Row 4:
- Follow the pattern of one single crochet in the first stitch, one in the second, and two single crochets in the third stitch, leading to a total of 24 stitches by the end.
Row 5:
- One single crochet in the first, second, and third stitches, followed by an increase (two single crochets in the same stitch) in the fourth stitch. Repeat around to end up with 30 stitches.

For Row 6:
- Single crochet in the first four stitches, then do an increase in the fifth stitch. Repeat around to have 36 stitches.
Row 7:
- Single crochet in the first five stitches, then an increase in the sixth stitch. You will have 48 stitches by the end.
Row 8:
- Single crochet in each stitch around without increasing. This will keep the count at 48 stitches.
Joining and Making the Rays:

- Create another piece identical to the first one for the back side.
Joining Pieces:
- Place the two pieces with their back sides facing each other. Start joining from the first stitch of row 10 of the front piece and the second last stitch of row 10 of the back piece, using only the back loops.
Row 11 (Making Rays):
- Begin with a half double crochet (hdc), then make a double crochet (dc) in the same stitch. Next, create a triple crochet (tr) in the next stitch. Follow it with two chain stitches. Slip stitch into the third chain from the hook to form a picot. Repeat the sequence of stitches (triple crochet back into the same stitch, double crochet, and half double crochet in the next) to form a ray. Slip stitch into the back loop of the next stitch to secure the ray. Repeat around the edge to create a total of 12 rays.

Stuffing:
- After completing 9 rays, start stuffing the keychain. Continue stuffing as you complete the remaining 3 rays to ensure an even fill.
Final Touches:
- If you want to attach it directly to a keyring, make 20 chains and then slip stitch to form a loop before attaching it to the keyring. For a hanging string without a keyring, make 70 chains, then slip stitch in the round to create a loop.

Eyes and Lips:
- For the face details, the video suggests positioning but specifics on making the eyes and lips were not included in the provided text. Typically, eyes and lips can be added using black and red yarn respectively, through stitching or using safety eyes and embroidery.