Quick and Easy Amigurumi Pig Keychain Crochet Pattern
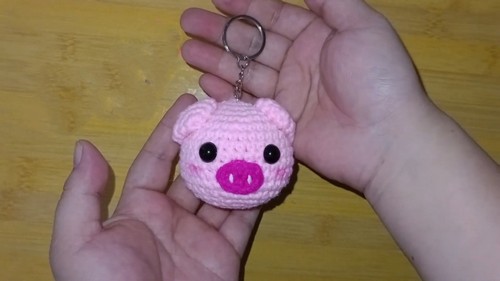
Revamp your keychain collection using this free, quick, and easy Amigurumi Pig—perfect for crocheting a cute, personalized accessory in no time!
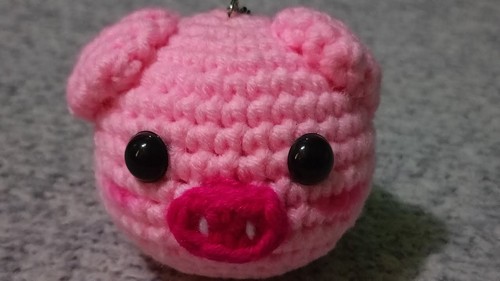
This pattern guides you in making an adorable pinkish pig keychain with intricate details and a charming smile. Perfect for accessorizing bags or giving as thoughtful handmade gifts, its compact size and cheerful design make it an eye-catching practical companion for keys. Its big and open nose make it so funny.
Crochet Adorable Pig Amigurumi Keychain
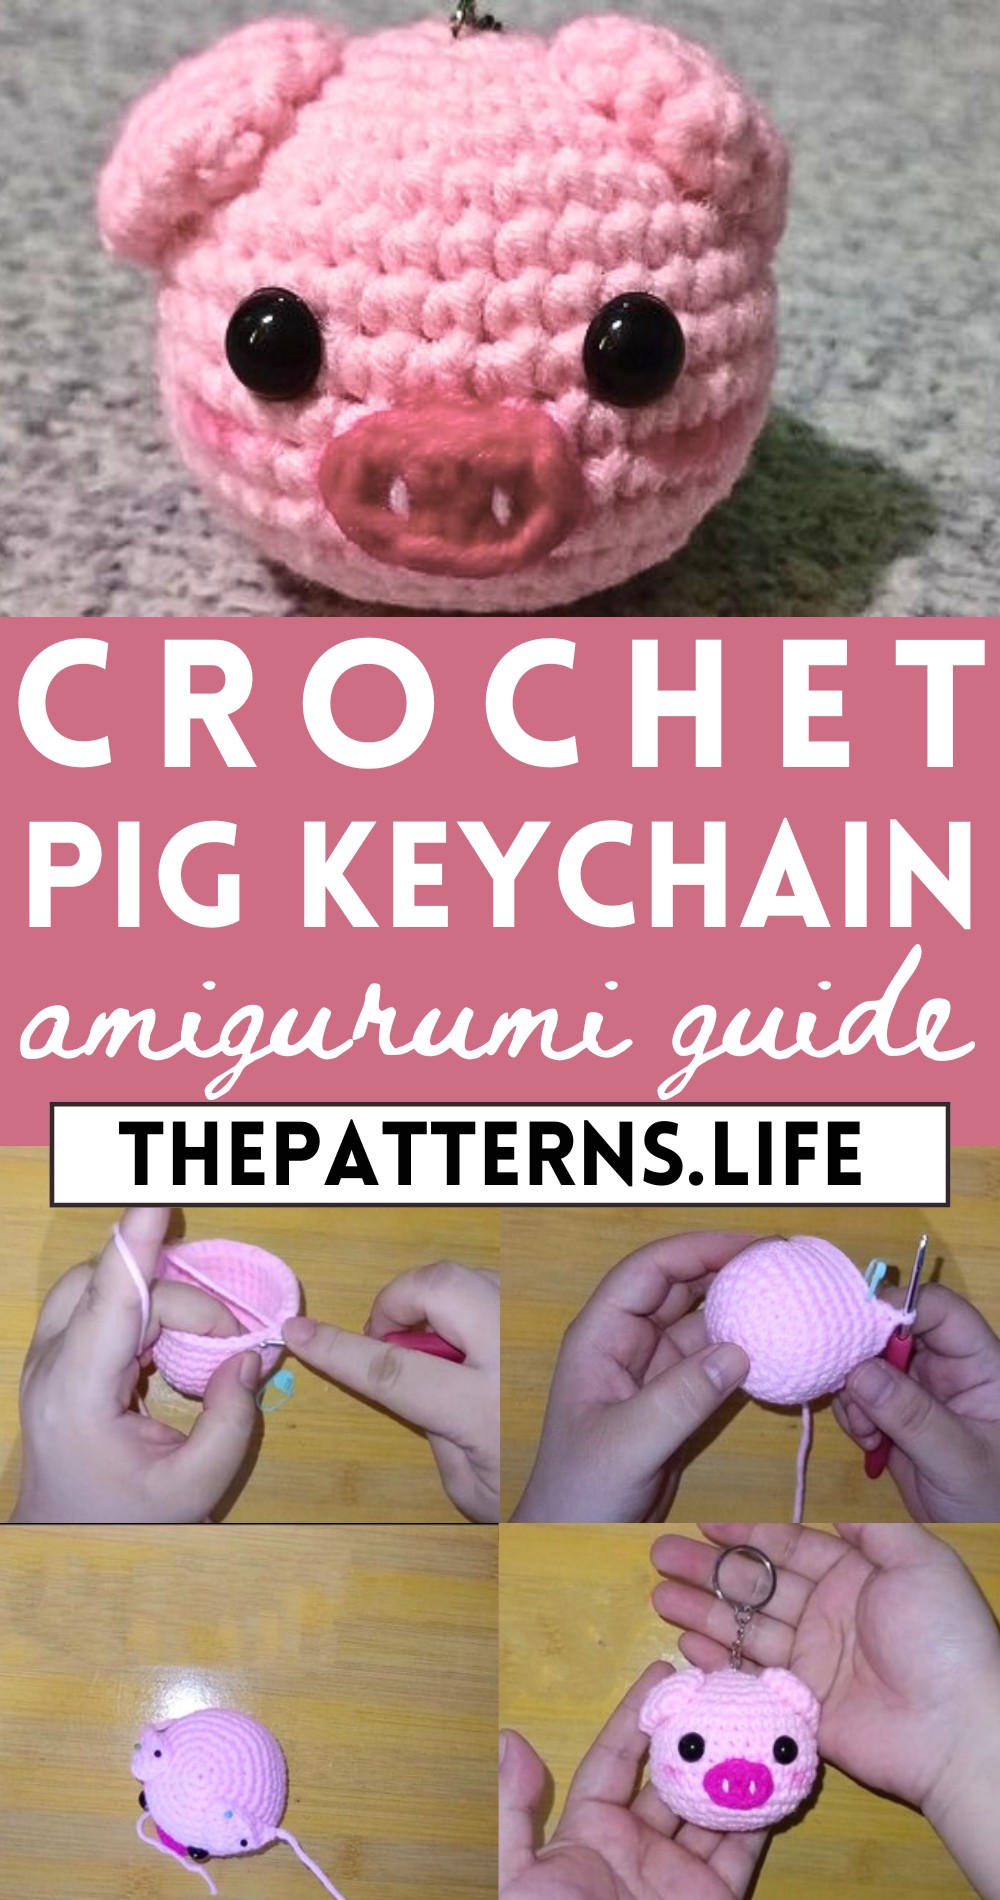
The finished product is not only cute but also highly durable, making it a lasting addition to your collection. Designed with a playful appearance and practicality, this Amigurumi pig keychain brings a touch of whimsy and personalization to everyday items. Enhance your crochet skills while making something beautiful and useful; it’s the perfect blend of creativity and functionality.
Materials:
- 5 ply yarn
- 3 mm crochet hook
- Needle
- Marker
- 8 mm safety eyes
- Fiberfill for stuffing
- Blush (optional for added color)
Abbreviations:
- sc – single crochet
- inc – increase (2 sc in the same stitch)
- dec – decrease (sc 2 stitches together)
Pattern:
Head:
Round 1:
- 6 sc in a magic ring. [6]
Round 2:
- Inc in each stitch around. (6 inc) [12]
For Round 3:
- (Sc in next stitch, inc) repeat 6 times. [18]
Round 4:
- (Sc in next 2 stitches, inc) repeat 6 times. [24]
In Round 5:
- (Sc in next 3 stitches, inc) repeat 6 times. [30]
Round 6:
- (Sc in next 4 stitches, inc) repeat 6 times. [36]
Rounds 7-12:
- Sc in each stitch around. [36]
For Round 13:
- (Sc in next 4 stitches, dec) repeat 6 times. [30]
Round 14:
- (Sc in next 3 stitches, dec) repeat 6 times. [24]
Round 15:
- (Sc in next 2 stitches, dec) repeat 6 times. [18]
For Round 16:
- (Sc in next stitch, dec) repeat 6 times. [12]
- Stuff with fiberfill at this stage.
Round 17:
- Dec 6 times. [6]
Ears (make 2):
- 1st: 6 sc in a magic ring. [6]
- 2nd: (Sc in next stitch, inc) repeat 3 times. [9]
- 3rd: (Sc in next 2 stitches, inc) repeat 3 times. [12]
- 4th: Sc in each stitch around. Slip stitch to join. [12]
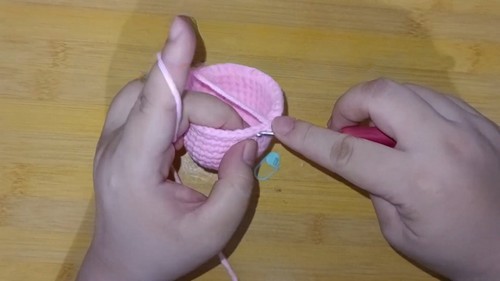
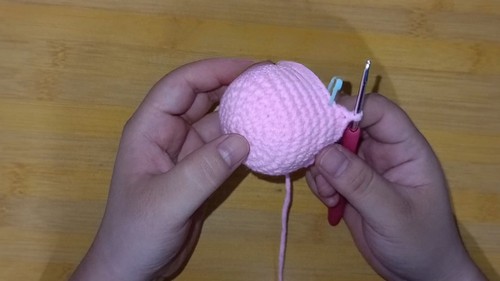
Assembly:
Nose:
- Glue the nose in place.
Eyes:
- Glue the 8mm safety eyes in place.
Ears:
- Position the ears on the head. Glue and sew them in place (optional: sewing provides extra strength).
Blush:
- Apply some blush to add color to the cheeks (optional).
Finish:
- Attach the keychain holder at the top of the head.