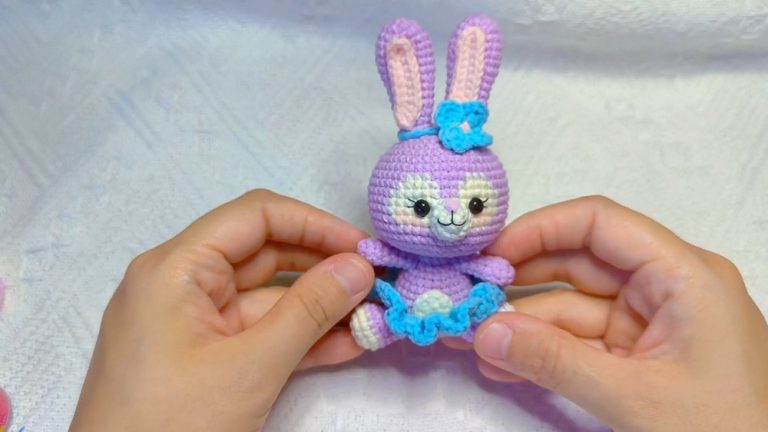
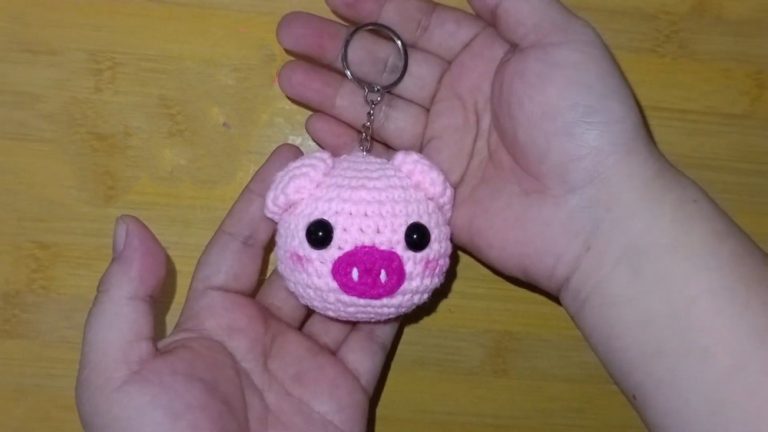
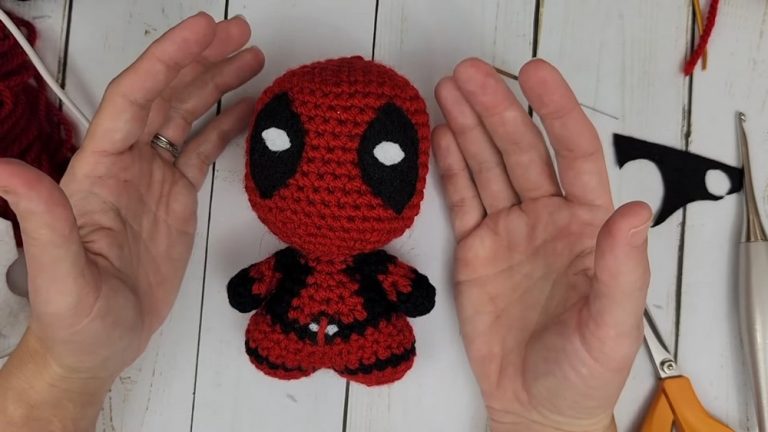
Crochet Cute and Funny Ollie The Octopus Amigurumi Pattern
Meet with the joy of crocheting with our free crochet Ollie the Octopus amigurumi pattern, perfect for adding a whimsical touch to your home.
Stylish creativity by using whimsy Ollie. Detailed instructions make this pattern both accessible and enjoyable, suitable for beginners and seasoned crocheters alike. Ollie isn’t just another project—he’s a delightful addition to your home decor or a charming handmade gift. His whimsical design and friendly face bring smiles to anyone who sees him. Crocheting Ollie provides a relaxing break from the hustle and bustle, where each stitch contributes to mindfulness and creativity.
Crochet Ollie The Octopus
Customize Ollie with various colors and patterns for a truly unique companion. Beyond aesthetics, creating Ollie fosters a sense of accomplishment and joy, making every loop and knot worthwhile. This versatile piece can elevate a nursery, add character to your living room, or serve as a thoughtful gift that carries the warmth of a handmade creation. move into the world of amigurumi with Ollie the Octopus, and see the magic unfold.
Materials Needed:
- Scissors
- Darning needle
- Crochet hook (Size 4 recommended for chunky yarn)
- Premier Parfait Chunky Yarn (or equivalent chunky yarn)
- Fiber fill (for stuffing)
Head and Body:
Row 1:
- Start with a magic circle or chain 2. Crochet 6 sc in the ring (6 stitches).
Row 2:
- Increase in every stitch (12 stitches).
In Row 3:
- Sc in the first stitch, increase in the next stitch repeat around (18 stitches).
Row 4:
- Sc in the next two stitches, then increase repeat around (24 stitches).
Row 5:
- Sc in the next three stitches, then increase repeat six times (30 stitches).
For Rows 6-9:
- Sc in each stitch around (30 stitches). This creates a rounded head.
Row 10 (Closing Row for the head):
- Sc in the next three stitches, then decrease repeat around (24 stitches). Use an invisible decrease for smoother texture.
Tentacles (Make 8):
- Slip stitch then chain 8.
- Start in the second chain from the hook: Increase in the first, sc in the next, half-double crochet (hdc) in the next three, and finish with a double crochet (dc) in the last two chains.
- Skip one stitch on the head/body, then slip stitch to the next to secure the tentacle. Repeat this process until all 8 tentacles are attached around the bottom of the body.
Assembly:
Bottom of Octopus:
- Repeat rows 1-4 identical to the top for the bottom piece. This will also end with 24 stitches.
- Sever the yarn leaving a long tail for sewing.
- Attach the bottom of the octopus to the body over the tentacles’ base, ensuring the tentacles are facing correctly. Stuff before completely sealing.
Sewing Tips:
- Pay attention to aligning stitches between the top and bottom parts.
- Utilize an invisible decrease for neatness.
- Ensure the filling is sufficient for shape but not overstuffed.
Final Touches:
- Weave in any loose ends.
- For eyes and mouth, you can sew on details as per preference around rows 8 (for eyes) and between rows 9 and 10 (for mouth).


