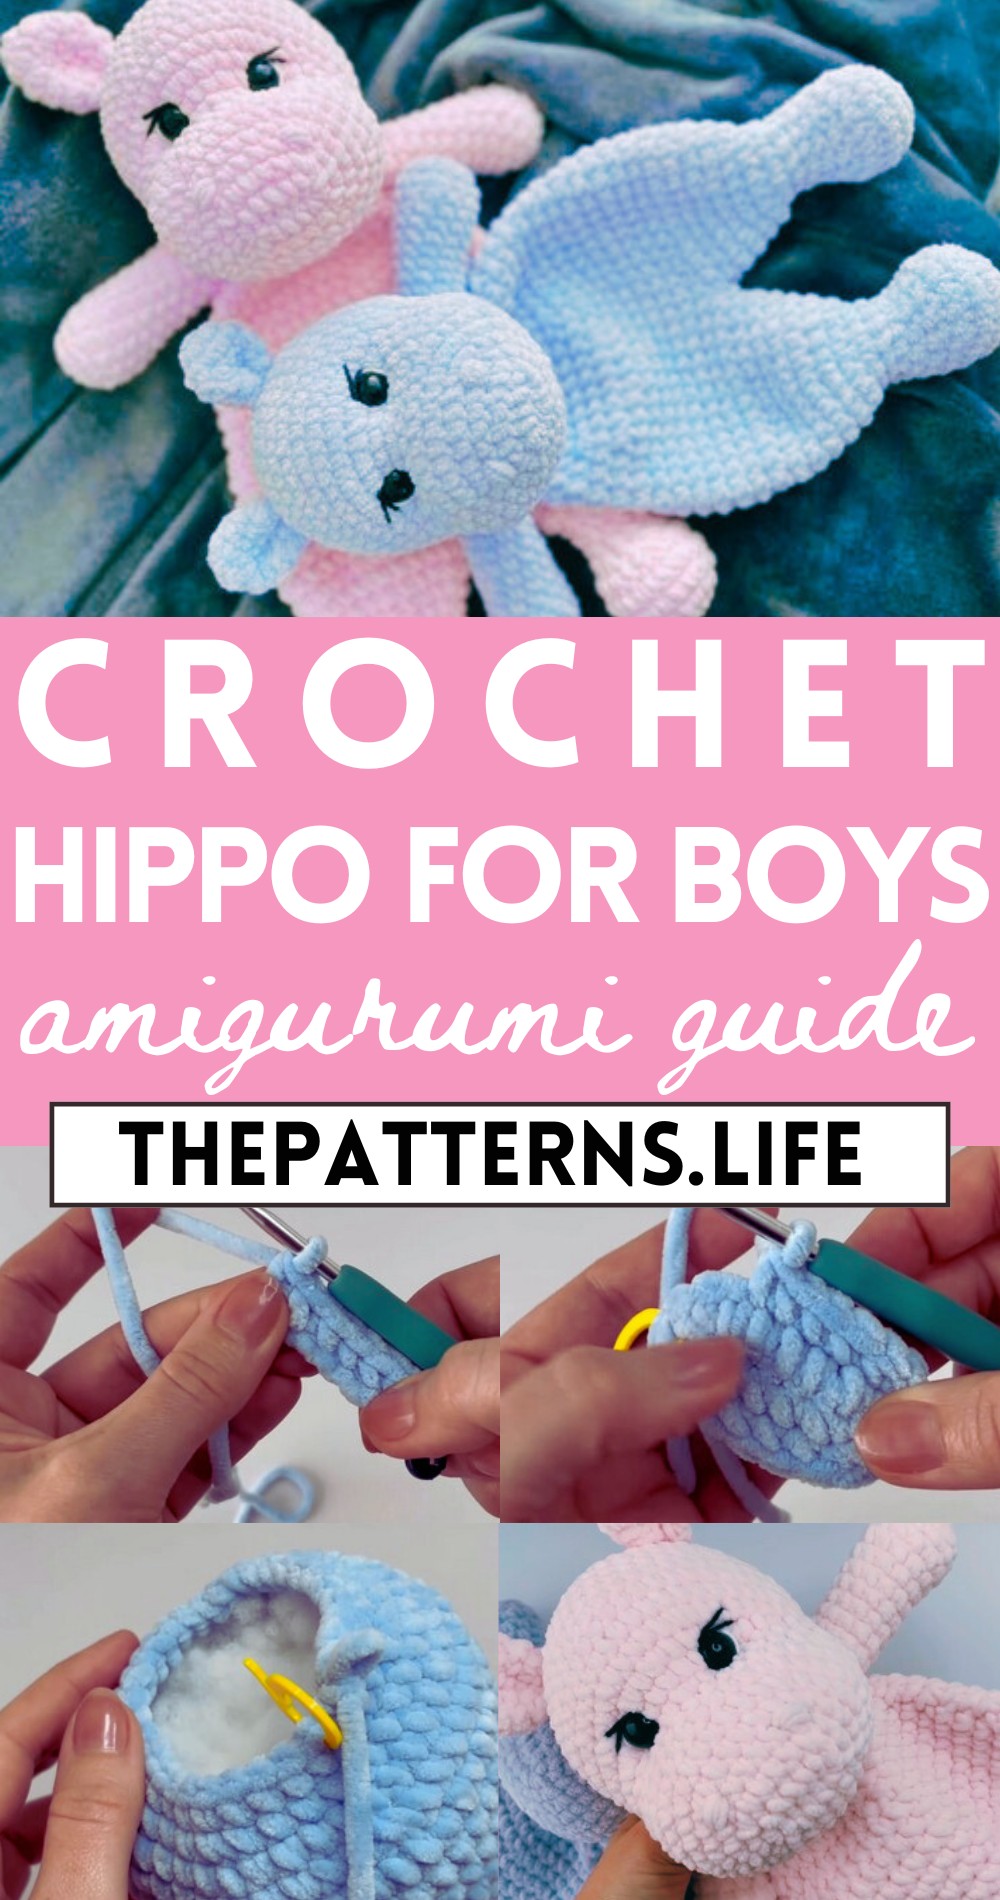
Crochet Cute Hippo Amigurumi Pattern For Baby Toys
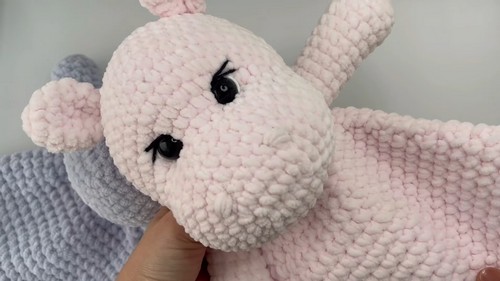
Introducing the delightful free crochet Cute Hippo Amigurumi pattern, a charming project that adds a touch of whimsy and warmth to your handmade creations.
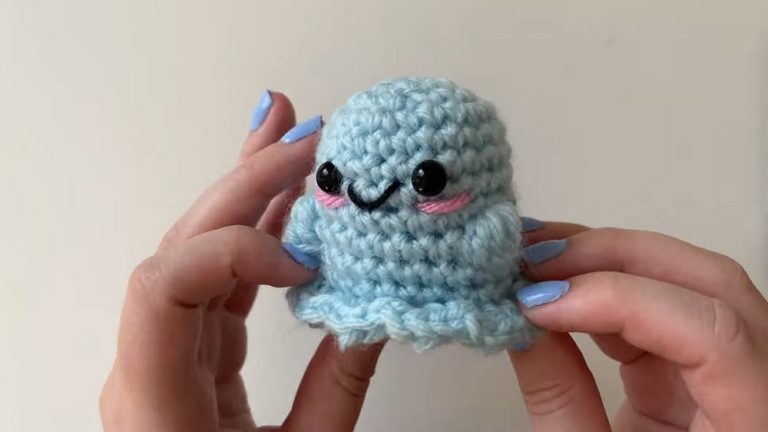
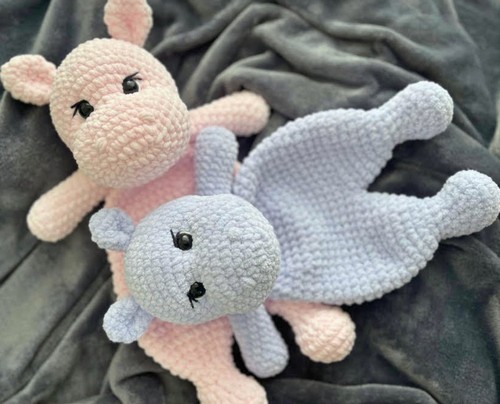
Adding a touch of whimsy to your crochet repertoire, the free crochet Cute Hippo Amigurumi pattern is nothing short of delightful. This charming hippo, with its rounded features and endearing expression, makes for an adorable companion or unique gift. Designed for both beginners and seasoned crocheters, the pattern offers easy-to-follow instructions that turn yarn and hook into a lovable plush toy. This amigurumi project marries creativity with relaxation, providing a soothing break from daily routine while honing your crocheting skills. The finished hippo, with its huggable size and playful charm, brings joy and warmth wherever it goes. Soft and cuddly, this little hippo adds personality and a handmade touch to any room. Perfect for personal enjoyment or spreading smiles to others, the Cute Hippo Amigurumi is a heartwarming addition to any collection.
Crochet Hippo Tutorial
Materials Needed:
- 2 balls of plush yarn (example: DOL from Yarn Art, Dolphin Baby from Himalaya, 100g, 120m)
- 4.5 mm crochet hook (for the head, arms, and ears)
- 6.5 mm crochet hook (for the body)
- Stitch marker
- Eye buttons (1.8 cm or 2 cm)
- Polyester fiber fill for stuffing
Head Pattern:
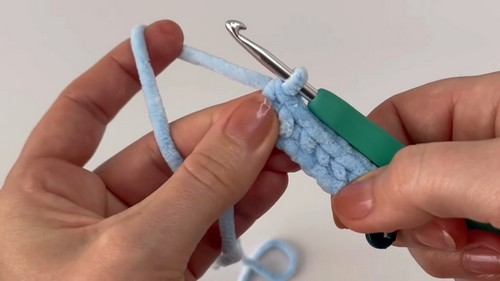
Start:
- Chain 7.
- Start from the second chain, make 5 single crochets (sc).
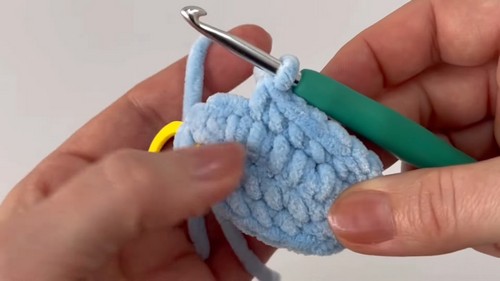
First Round:
- Mark the first stitch with a stitch marker.
- In the last chain, make 3 sc in the same chain.
- Crochet on the other side of the chain and make 1 sc in the next 4 chains.
- In the very last stitch, make 2 sc.
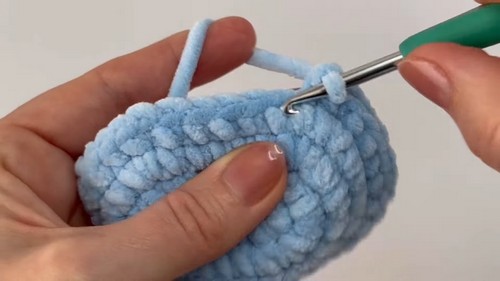
Following Rounds:
- Continue increasing and making sc as per the increases described in the video, shaping the muzzle and the head.
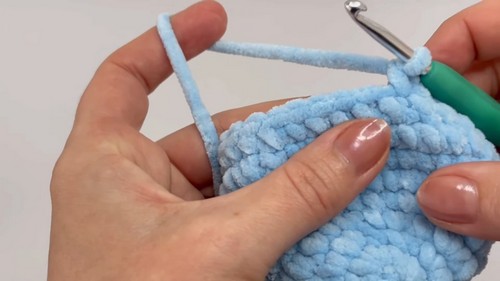
- After shaping the head, make two rounds of 38 sc each without increases.
- Start decreasing by removing every fifth stitch in the following round, then decrease in every fourth stitch, and so forth.
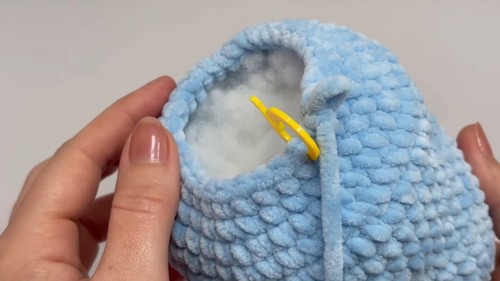
- Insert the safety eyes and finish stuffing the muzzle.
- Close the head with a yarn needle after the final decreases.
Ears Pattern:
Start:
- Make a magic ring using a 4.5 mm hook.
- Chain 1, then make 5 sc into the magic ring (6 sc including the chain).

Rounds:
- Increase each stitch in the next round to double the number of stitches.
- Make 1 sc in each stitch for two rounds.
- Decrease twice in the next round.
- Finish with a round of 1 sc in each stitch. Slip stitch at the end.
Arms Pattern:
Start:
- Make a magic ring.
- Make 6 sc into the magic ring and join with a slip stitch.
Following Rounds:
- Increase every stitch in the next round.
- Make 1 sc in each back loop only for 12 rounds.
- Fill with polyester fiber partially to shape the arms.