
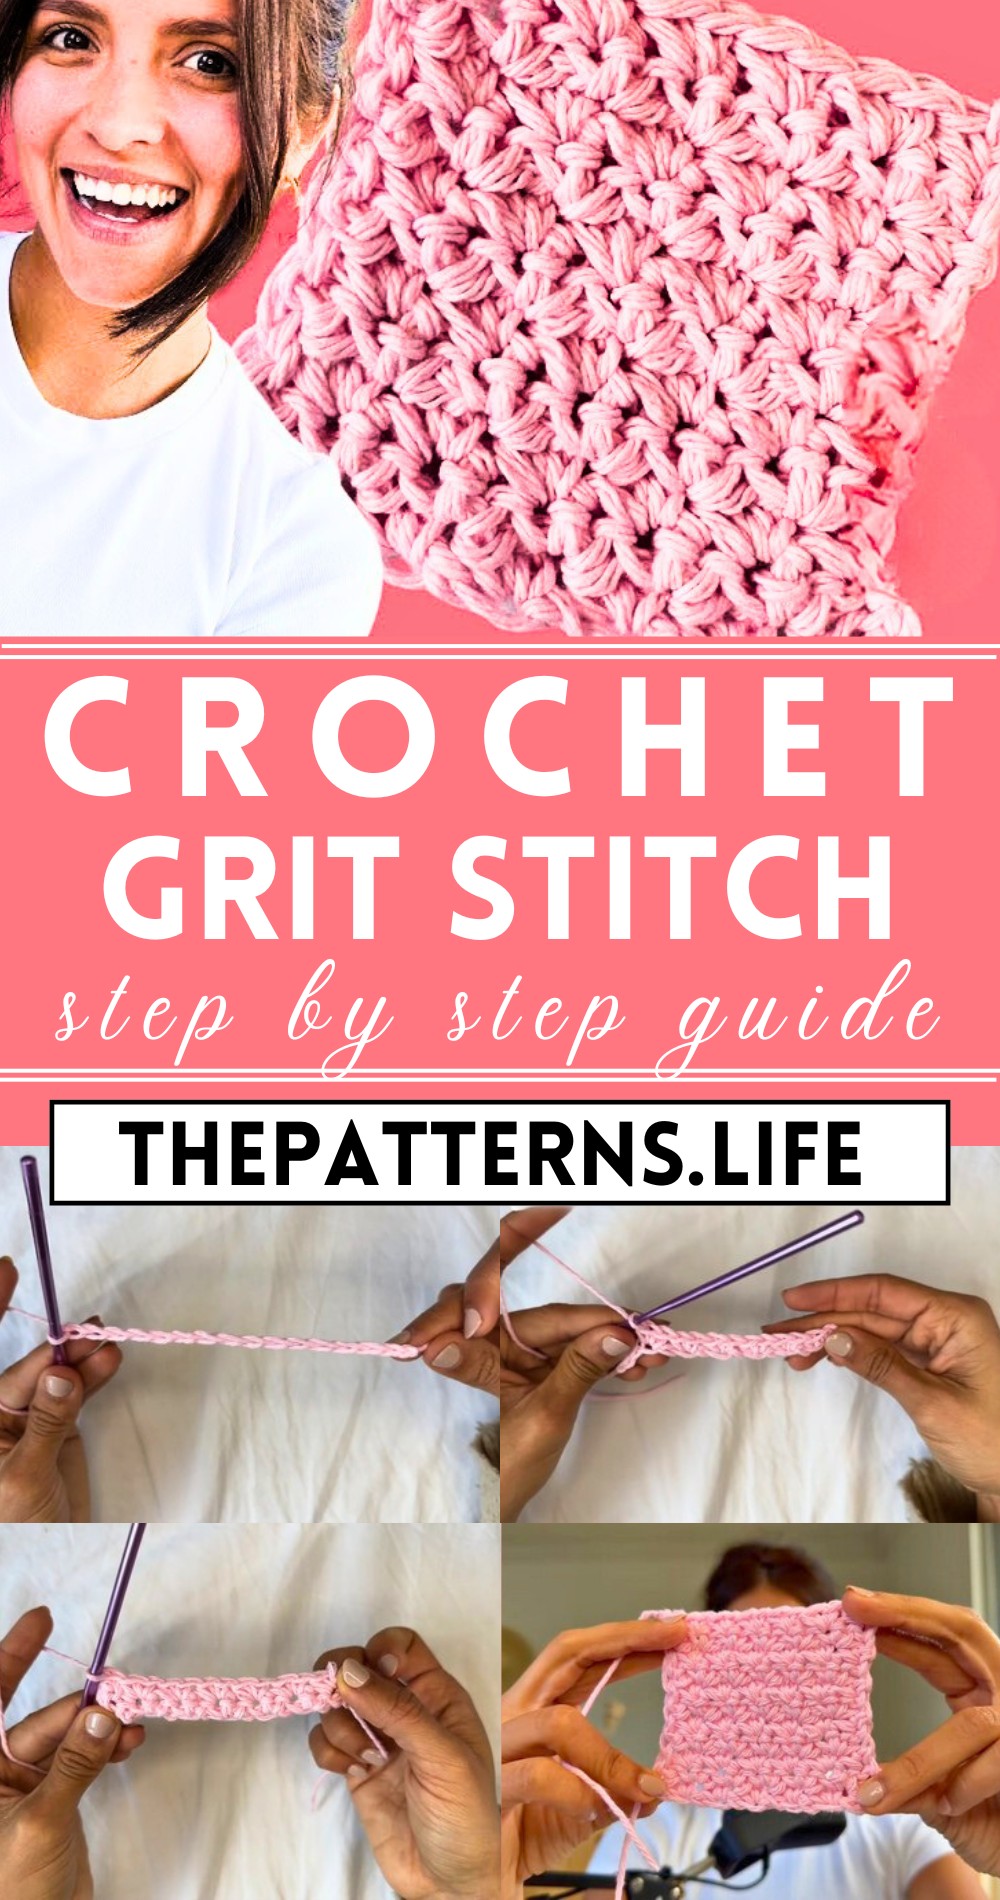
Easy Crochet Grit Stitch Step By Step Simple Pattern
Add rich texture and durability to your creations with the Crochet Grit Stitch Pattern, perfect for cozy blankets and stylish accessories.
This stitch, with its alternating single and double crochet rows, offers a delightful texture that’s both visually appealing and touchably soft. Ideal for stylish scarves, and sophisticated home décor, this is a go-to for adding a classy yet robust element to your creations.
Crochet Grit Stitch Guide
Imagine the satisfaction of crocheting pieces that exude warmth and elegance, all while enjoying the rhythmic and meditative process of this stitch. This Pattern is like a fun friend who can’t wait to show you the ropes, minus the complicated jargon.
Tip:
Combine the Grit Stitch with ombré yarn to highlight its texture and add a stunning gradient effect to your projects.
Materials Needed:
- 4 mm crochet hook
- Cotton yarn, size 4
Pattern Instructions:
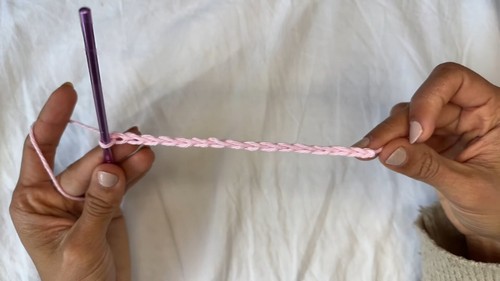
Foundation:
- Begin by creating a foundation chain that’s a multiple of 2 + 3. For example, 15 chains (12 + 3).
Row 1:
- Skip 2 chains (these count as a single crochet).
- Make 1 single crochet into the 3rd chain from the hook.
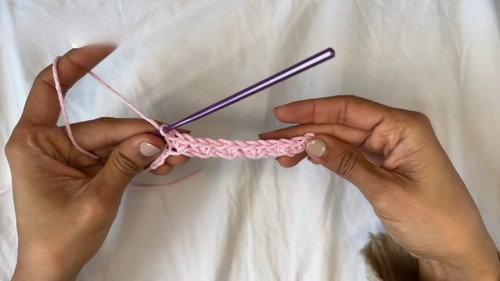
Row Repeat:
- Skip 1 chain, then make 2 single crochets into the next chain.
- Continue the row repeat (skip a chain, 2 single crochets in the next) until you reach the end of the row.
- When you’re left with 2 chains, skip 1 chain.
- Make 1 single crochet into the very last chain.

For Row 2:
- Chain 1, which counts as a single crochet, then flip your work.
- Make 1 single crochet into the very first stitch.
Row Repeat:
Skip 1 single crochet, then make 2 single crochets into the next stitch.
- Continue the row repeat (skip a stitch, 2 single crochets in the next) until you reach the end of the row.
- When left with the last 2 stitches (a single crochet and turning chain), skip the single crochet.
- Make 1 single crochet into the turning chain stitch.
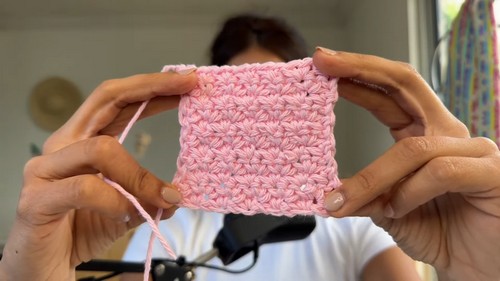
Following Rows:
- Repeat Row 2 for each subsequent row until you reach the desired length of your project.


