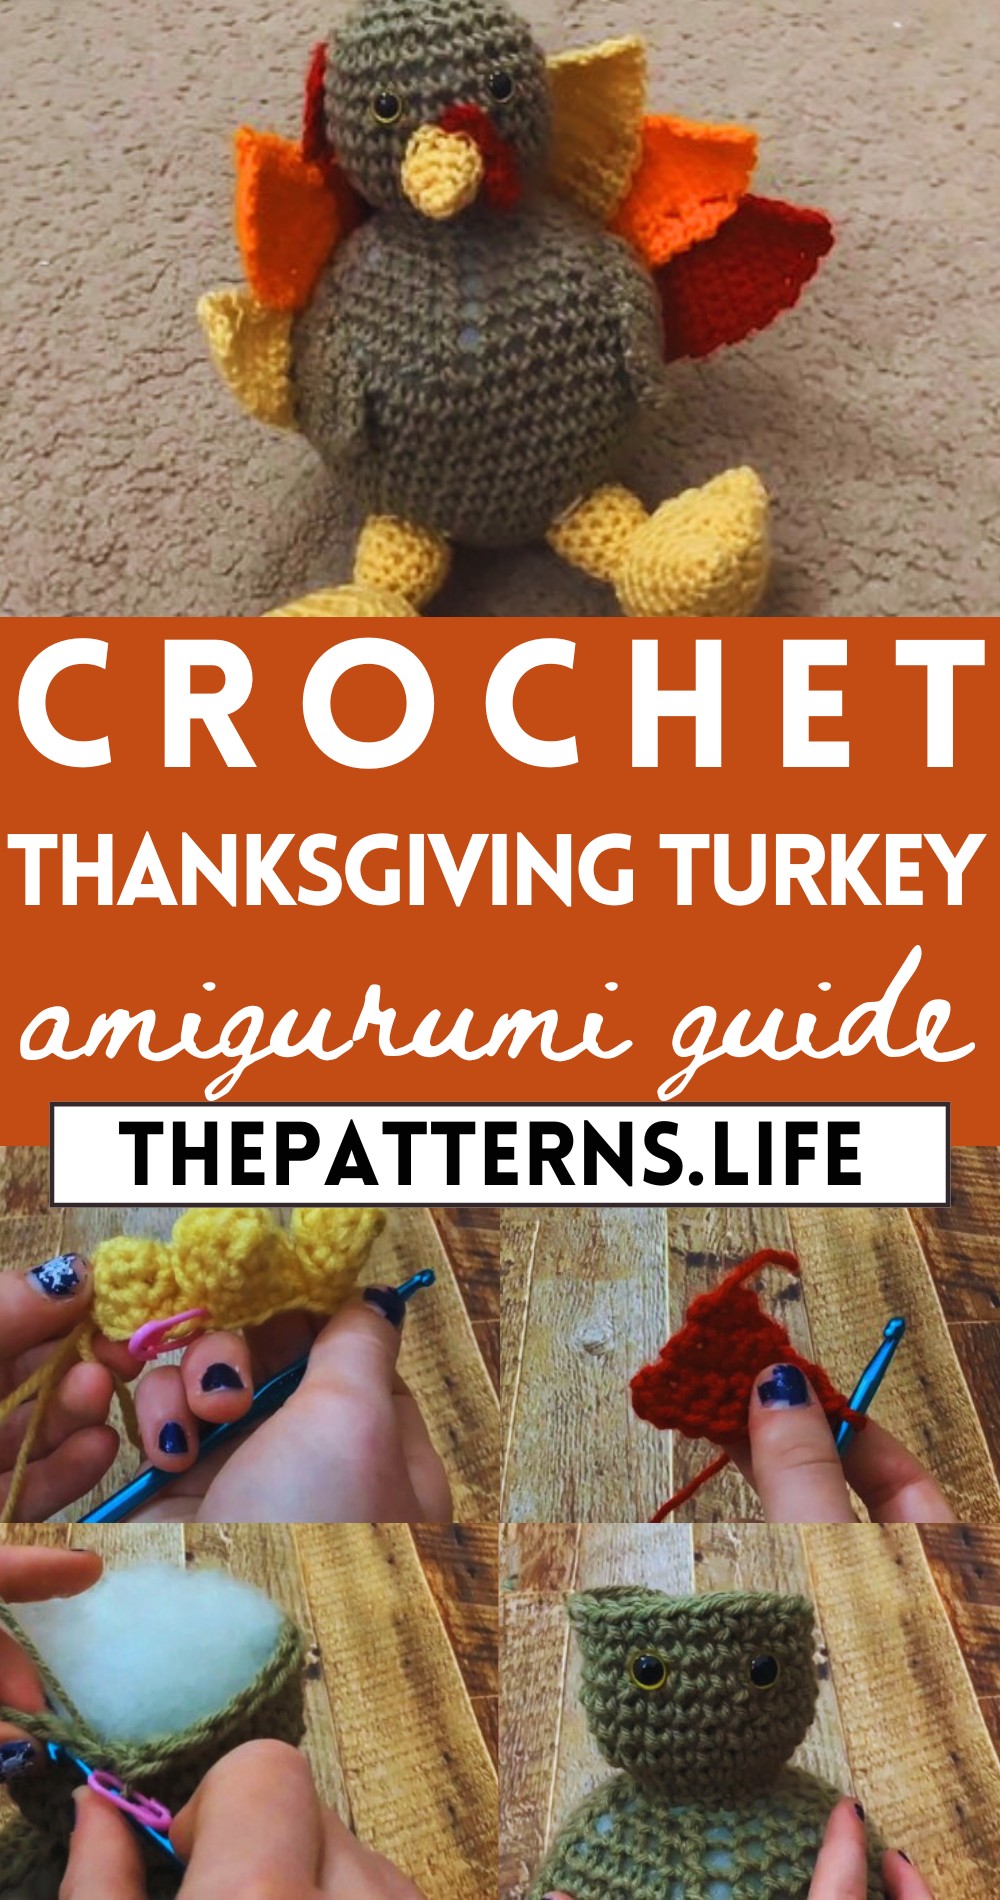
Crochet Cute Thanksgiving Turkey Pattern – Step Step Guide
Celebrate the season with a free crochet Cute Thanksgiving Turkey Pattern—perfect for creating festive decor or unique handmade gifts full of holiday charm!
With their charmingly rounded bodies and tiny, delicate fins, these baby whales are irresistibly cute and sure to bring smiles wherever they go. It’s beak is also show a baby look. This pattern is simple to follow, making it suitable for both beginners eager to improve their skills and seasoned crocheters looking for a quick, delightful project. The keychains make perfect charming gifts, adding a touch of handmade love to everyday accessories like keys, bags, or backpacks.
Crochet Thanksgiving Turkey
Beyond their visual appeal, these crochet baby whales offer the benefit of honing your crochet techniques, especially with small details and shapes. Whether you’re making them to share with friends and family or to keep for yourself, the Crochet Baby Whale Amigurumi Keychain Pattern provides a satisfying way to spread a bit of joy and charm.
Material:
- Brown, red, orange, and yellow yarn
- Stuffing material
- Scissors
- Needle
- Crochet hook (5mm suggested)
- Eyes (or materials to crochet eyes)
- Stitch marker
Body:

Start with brown yarn and create a magic ring.
- Crochet 6 single crochets into the magic ring, then pull it tight.
- Increase round: Make two single crochets in each stitch all the way around.
- Increase by one stitch pattern:
- Increase, then one single crochet; repeat all the way around.
- Increase, then single crochet two; repeat all the way around.
- Increase, then single crochet three; repeat all the way around.
- Increase, then single crochet four; repeat all the way around.
- Increase, then single crochet five; repeat all the way around.
- For the final increase round, increase, then single crochet six; repeat around to the stitch marker.
- Work eight rounds of single crochets without increasing.
Decrease Rounds (for shaping):

Decrease, then single crochet six; repeat all the way around.
- Decrease rounds, reducing the number of single crochets between each decrease by one each round (five, four, three, two).
- Begin stuffing before the opening gets too small.
- Continue with decrease and single crochet one; repeat all the way around.
Head:

- Start with increase rounds similar to the body but reversed, increasing the number of single crochets between increases.
- Work six rounds of single crochet without increasing.
- Insert eyes or crochet eyes and attach to the head.
- Start stuffing the head more as you decrease with the following rounds.
- Decrease rounds, reducing the number of single crochets between each decrease as before until the head is formed.
Turkey Beak:
- Start with a magic ring, single crochet two, and pull it closed to form the tip of the beak.
- Chain one, increase, and then single crochet one; repeat this sequence.
- Continue the pattern, increasing the number of single crochets between the increases each round.
- Single crochet all the way around and finish off with a slip stitch, chain one, and cut a long tail to attach the beak to the turkey.

Gobbler:
- Using red yarn, make a magic ring and single crochet six into the ring.
- Pull it closed, cut a long tail, and knot it off to attach later.
Legs and Feet:
- Create a magic ring with four single crochets and close it.
- Increase every stitch to get eight stitches.
- Single crochet all around for one round.
- Finish off with a slip stitch and chain one, leaving a small string.

Connecting Legs and Feet:
- Do not finish off the last leg; instead, connect the legs by doing single crochets between them.
- Sew any remaining holes closed, and single crochet all around again before starting the decrease rounds for the leg shaping.
- Stuff the legs, continue with decrease, and then cut a long tail for sewing the legs to the body.
Wings:
- Start with a slip knot instead of a magic ring and chain one.
- Increase and single crochet by turning and creating rows to form the wings’ shape.
- Repeat the pattern for several rows and finish with a long string to attach the wings.
Feathers:
- Use different colored yarn to create feathers by starting with a slip knot, then chaining, and increasing.
- Turn and follow the pattern of increasing and single crocheting across to form several rows.
- Create enough feathers (in red, yellow, brown, and orange colors) to assemble at the back of the turkey.