Crochet Easter Bunny Amigurumi Pattern For Decoration
Infuse charm and style into your holiday by crochet Easter Bunny Amigurumi, ideal for a chic and delightful festive decoration or gift!
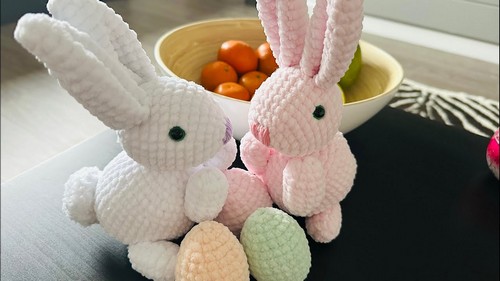
Celebrate Easter with the delightful charming project that brings joy and creativity. the bowel of potato’s give a realistic touch. the vibrant color eggs enhance its charm. This pattern guides you to make an adorable bunny with a cute little face and fluffy tail, perfect for adding a festive touch to your decorations. It offers a pleasurable and rewarding experience.
Crochet Easter Bunny
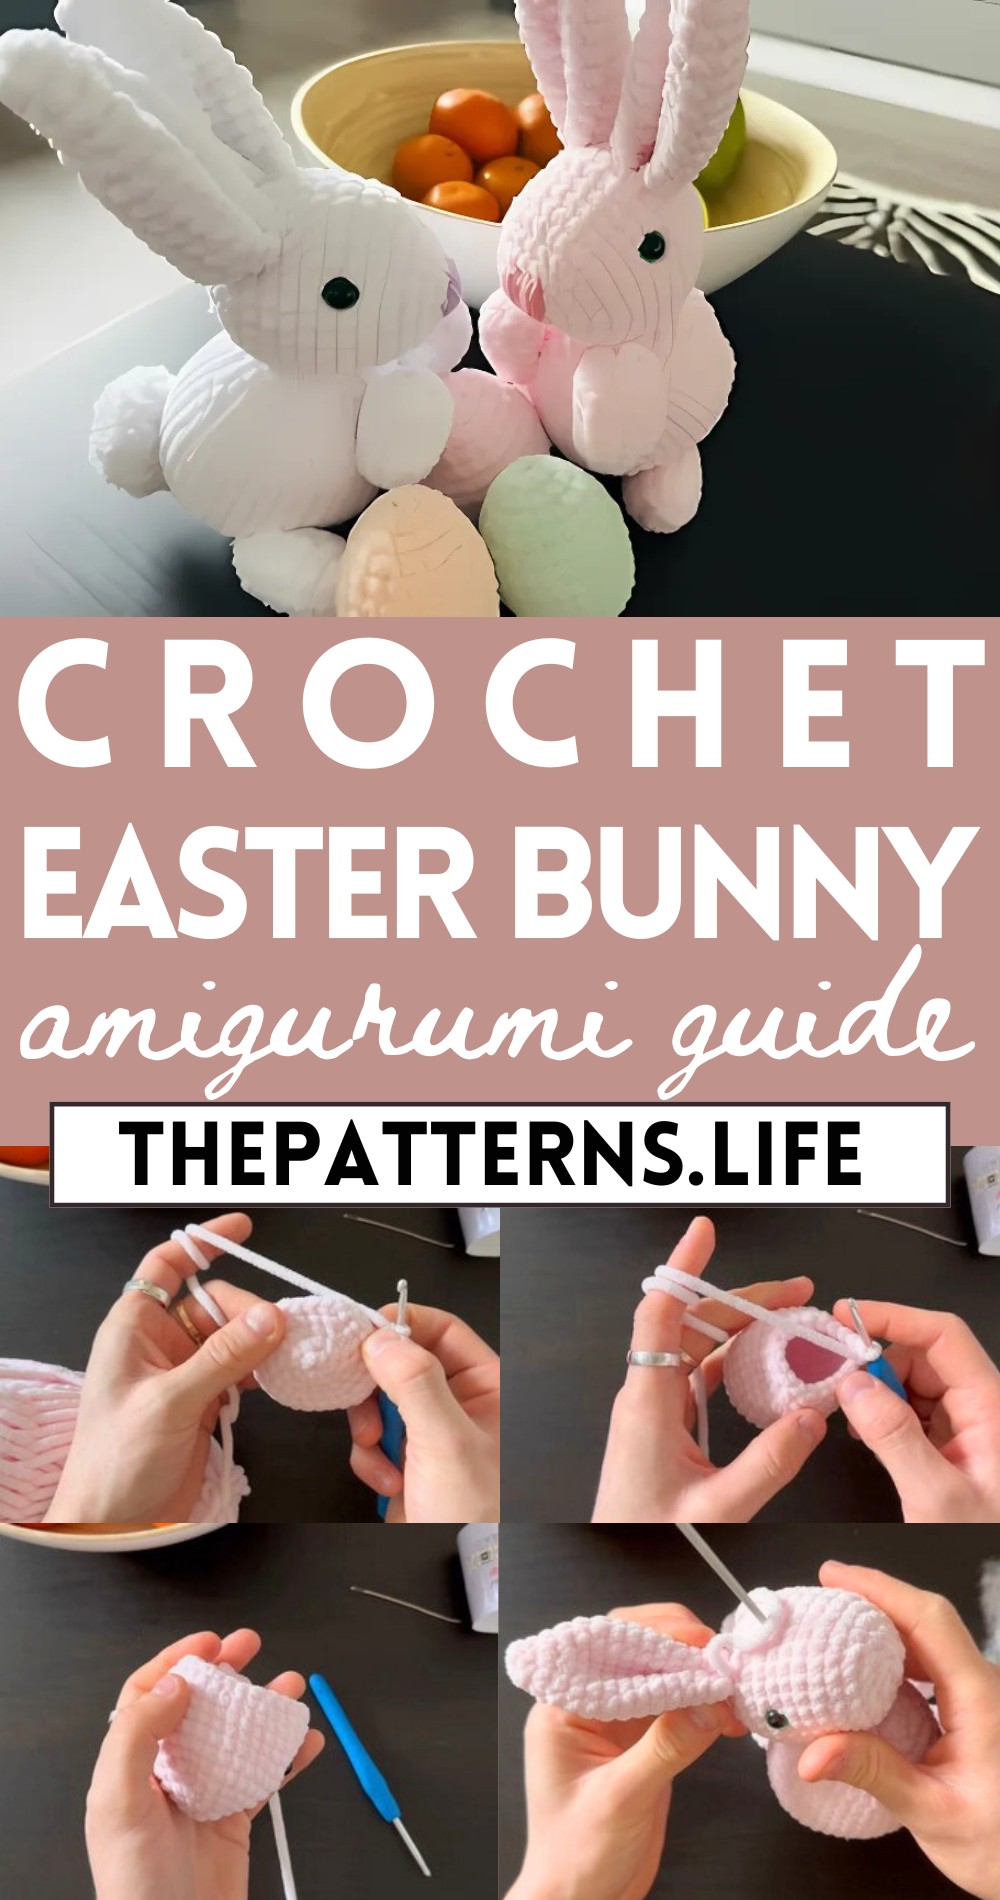
The finished bunny makes a wonderful handmade gift for children and adults alike, spreading holiday cheer. Its small size is ideal for Easter baskets, table settings, or as a charming piece to brighten any room. The soft fluffy yarn and appealing design make it an instant favorite. Enjoy the satisfaction of making something truly special for yourself or your loved ones.
Material:
- Yarn
- Crochet Hook
- Safety Eyes
- Polyester Fiberfill
- Yarn Needle
- Scissors
- Stitch Markers
- Embroidery Floss (Optional)
- Ribbon or Fabric (Optional)
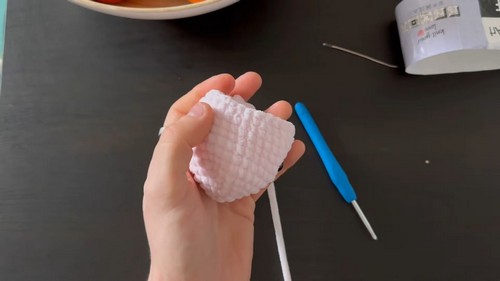
Head:
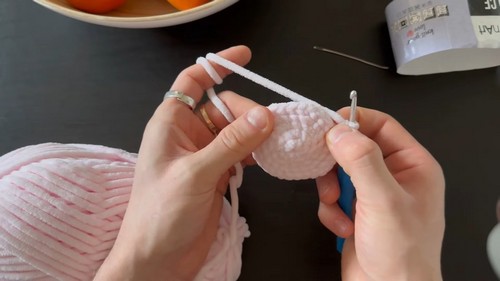
Start with 2 loops and do 6 single crochets (sc) in the second loop from the hook.
- Do 6 increases (two sc in each stitch), ending up with 12 stitches.
- (Next row) One sc, then one increase, repeated six times to total 18 stitches.
- (Fourth row) Two sc, then one increase, repeated six times for a total of 24 stitches.
- (Fifth row) Three sc, then one increase, repeated six times to total 30 stitches.
- For the sixth to twelfth rows, crochet without any increases or decreases (30 sc each row).
- Begin decreases: three sc, then a decrease (two stitches crocheted together).
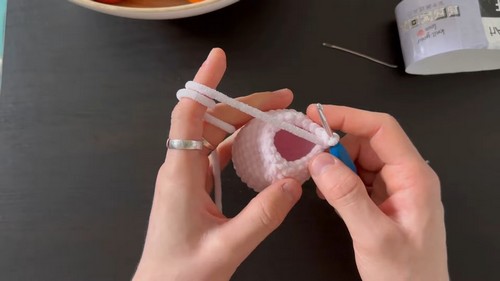
- Insert the eyes between the 7th and 8th rows, with 11 stitches between them.
- Next row: two sc, then a decrease, repeated six times for a total of 18 stitches.
- Following that: one sc, then one decrease, repeated six times.
- Then six decreases in the next row.
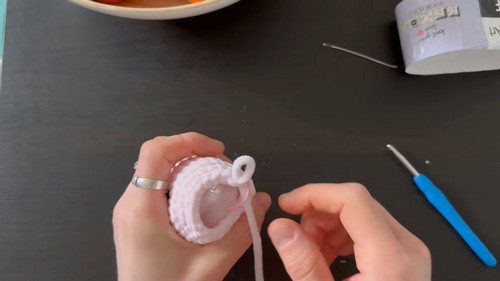
- Fill the head with stuffing to shape.
- Close the head by sewing the remaining stitches together.
Ears (make two):
- Chain 2 loops, do 6 sc in the second loop from the hook.
- (Next) One sc, one increase, repeated six times to total 18 stitches.
- Crochet eight rows without changes (18 sc each row).
- Fold ear flat and crochet 15 stitches across to join the sides.
- Finish with a slip knot.
Body:
- Chain 2 loops; 6 sc in the second loop.
- Do 6 increases.
- Next row: one sc, one increase, six times (18 stitches).
- Continue increasing for each subsequent row, adding one stitch between increases until reaching five stitches between each increase.
- Seven rows with no changes once the maximum number of stitches is reached.
- Decrease each row by reducing the number of sc between decreases down to one sc between decreases, then do six decreases.
- Fill with stuffing and sew the body closed.
Feet (make four):
- Chain 2 stitches; do 6 sc in the second stitch.
- Six increases for a total of 12 stitches, then crochet five rows up without changes.
- Add minimal stuffing to give a soft shape and perform six decreases.
- Sew the opening closed.
Tail:
- Chain 2 stitches; do 8 sc in the second stitch.
- Increase to 16 stitches.
- Next row: one sc, one increase, eight times for a total of 24 stitches.
- Three rows up with no changes (24 stitches each).
- Twelve decreases, then finish with a slip knot.
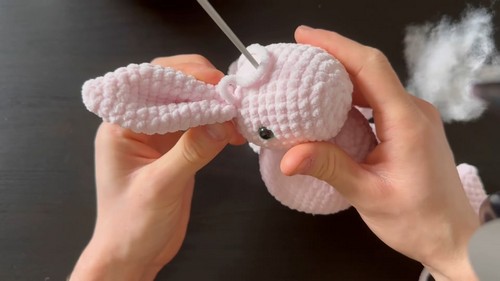
Assembly:
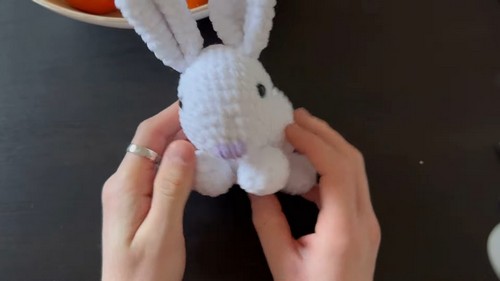
- Sew everything together, positioning the ears, feet, and tail as instructed in the video.
- For the nose, create a triangle, fill it in, and use stitching to define the mouth.
Additional Notes:
- Always mark the end of the row to keep track of your progress.
- Periodically fill the parts with stuffing, being generous to ensure proper shaping.
- Give extra attention to the placement of the eyes and shaping of the ears and limbs.