Crochet Sweet and Colorful Bird Amigurumi Keychain Pattern
Overhaul yarn into delight with our crochet Sweet and Colorful Bird Keychain, a charming accessory perfect for gifts and personal use.
Make it easy and fun to crochet your very own bird Amigurumi keychain. Ideal for both newbies and seasoned crocheters, this pattern offers clear instructions to help you every step of the way. The tiny bird can brighten up your keys, add a cute touch to your bag, or be a heartfelt, handmade gift for a friend. Crocheting can also be a great way to relax and unwind, giving you a sense of fulfillment as you complete each stitch.
Crochet Bird Keychain Pattern

The charming design and playful colors make this bird keychain a delightful addition to any accessory collection. Grab your yarn and hook; this project promises not only a delightful outcome but also a rewarding experience. It’s a simple way to add a splash of creativity and fun to your day.
Material:
- Yarn in colors of your choice for the bird, plus black for the eyes
- Blank keychain (if making a keyring)
- Stuffing material
- Crochet hook (3mm recommended for tighter stitches)
- Yarn needle
- Stitch marker or alternative (e.g., paper clip)
- Scissors
Pattern Overview:
Head and Body:
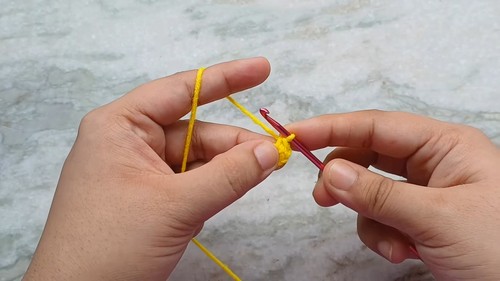
- Start with a magic circle.
- Round 1: Make 6 single crochets (sc) into the circle. Pull the tail to tighten the circle.
- Round 2: Increase in each stitch around (12 sc).
- Round 3: [1 sc, increase] repeat around (18 sc).
- Rounds 4-6: Sc in each stitch around (18 sc).
- Change color if desired for the body, continuing in sc for specified rounds.
Tail:

Chain 7, then work single crochets back down the chain to create the tail shape.
- Continue crocheting around the body, incorporating the tail into the body’s rounds.
Decrease for Body Shape:
- Begin rounds of decrease following the pattern to form the rounded bird shape, reducing the stitch count gradually until the opening is small enough to be closed.
Beak:

Using a contrasting yarn (e.g., light pink), attach it to the desired spot for the beak.
- Chain 2, then join with a slip stitch back into the body to form a small beak.
Eyes:
- Using black yarn, create French knots for the eyes, positioning them according to the pattern instructions.
Wings (Make 2):

- Start with a magic circle.
- Round 1: 6 sc in the circle, join with a slip stitch.
- Round 2: Follow the pattern for creating the wing shape, including a picot for the feathered effect.
- Sew the wings onto the sides of the body as instructed.
Assembly:
- Finish stuffing the amigurumi firmly.
- Close the remaining opening with decreases.
- Attach any additional features such as a keychain loop, crests, or cheek blushes with makeup for color detail.
Final Touches:
- Secure all yarn ends and weave in tails.
- Apply blush where appropriate for added color (optional and not washable).