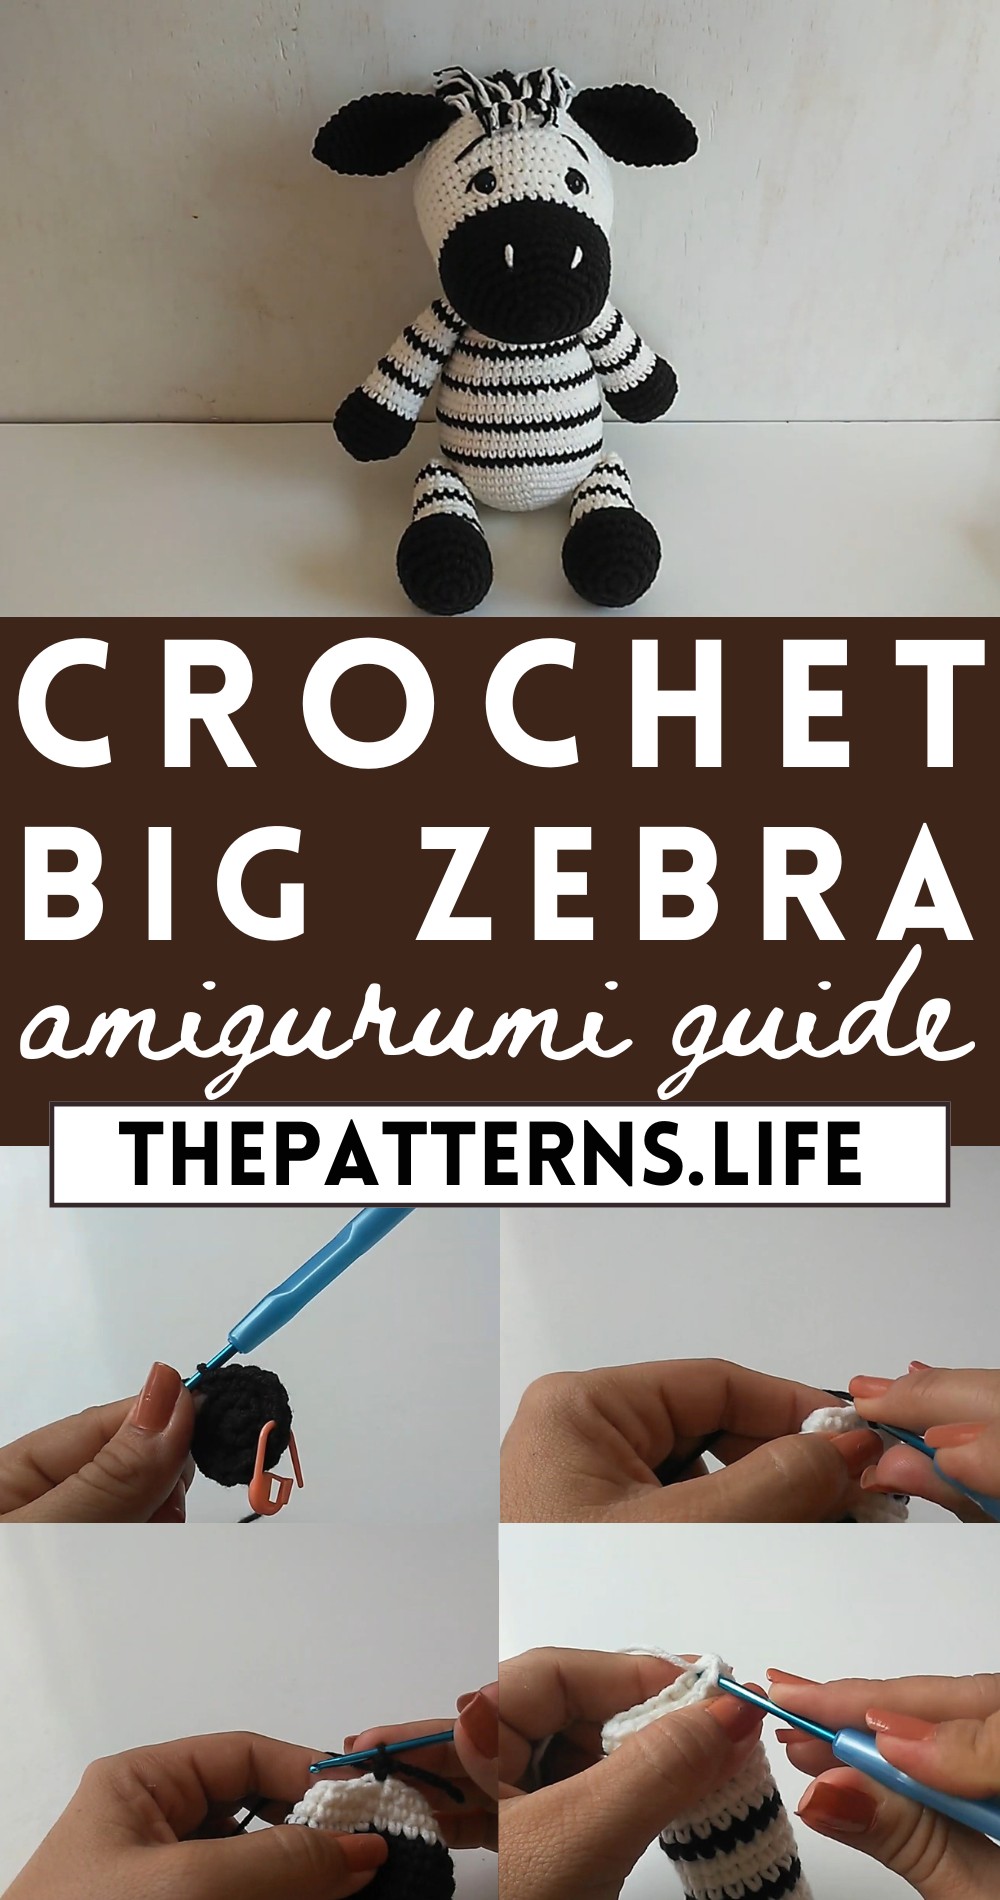
Crochet Lovable Big Zebra Amigurumi Pattern Step By Step
Begin an adventure with the Crochet Lovable Big Zebra Amigurumi pattern, perfect for creating an adorable and huggable handmade treasure.
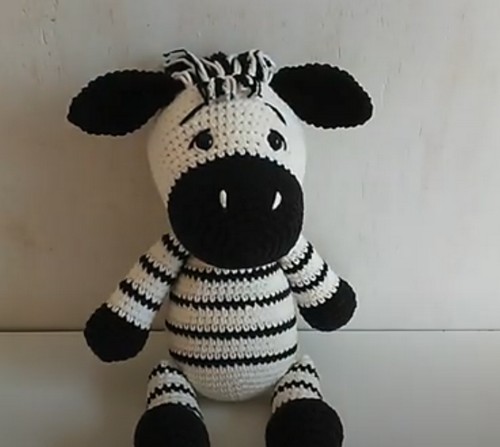
This delightful pattern offers clear, step-by-step instructions to help you bring an adorable zebra to life. Standing tall and proud, this zebra features charming stripes and playful eyes, making it a captivating addition to any space. its black and white stripes with yarn make it realistic.
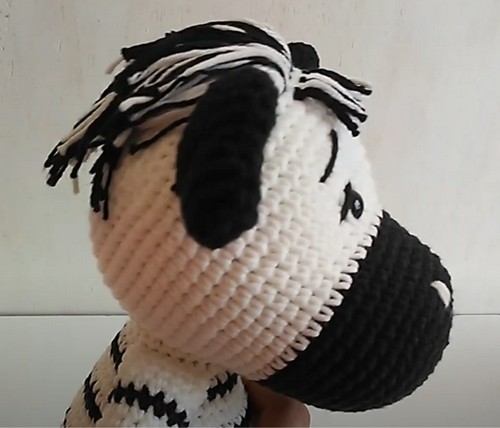
Crochet Zebra Amigurumi Pattern
The few hairs on his head give a funny look .The resulting zebra is not just a cute toy but a cuddly companion, ideal for children’s rooms or as a unique and thoughtful gift. Its soft and huggable texture ensures comfort for little ones, while its whimsical design adds a touch of charm to your home. Embrace the joy of handmade with this wonderful pattern, filled with opportunities to express creativity and spread smiles.
Materials Needed:
- White and black yarn (the video uses soft amigurumi yarn, but you can opt for any preferred type)
- Tapestry needle
- Stitch markers
- Crochet hook (2.5 mm suggested)
- Safety eyes (11 mm suggested)
- Scissors
- Stuffing material
Zebra Legs (Make 4):
Magic Ring:
- Create a magic ring.
- Crochet 6 single crochets (SC) inside the magic ring.
- Close ring tightly.
Row 2:
- Increase in each stitch around (12 SC).
Row 3:
- [1 SC, increase] 6 times (18 SC).
For Row 4:
- [2 SC, increase] 6 times (24 SC).
Row 5:
- [7 SC, increase] 3 times (27 SC).
For Rows 6 to 8:
- SC in each stitch around (27 SC).
Row 9:
- 12 SC, 1 decrease, 1 SC, 1 decrease, 1 SC, 1 decrease, 7 SC (24 SC).
Change to Black Yarn
Row 10:
- 10 SC, [1 SC, decrease] 3 times, 5 SC (21 SC).
For Row 11:
- SC in each stitch around (21 SC).
Row 12:
- 10 SC, 3 decreases, 5 SC (18 SC).
Change Yarn as Needed and Continue with Black and White Stripes
- Alternate following the pattern’s increase and decrease as shown in the leg pattern until desired length is achieved, closing off with a similar method for black and white yarn changes and securing stitches well.
Zebra Arms (Make 2):
- Follow a similar start as the legs with adjustments for fewer increases as desired to make the arms slightly smaller.
Head and Body:
- The video does not provide explicit instructions for the head and body within this excerpt. Typically, it starts with a magic ring, followed by continuous increases to form a sphere, and then decreases to close off, attaching the eyes and sewing parts together where indicated.
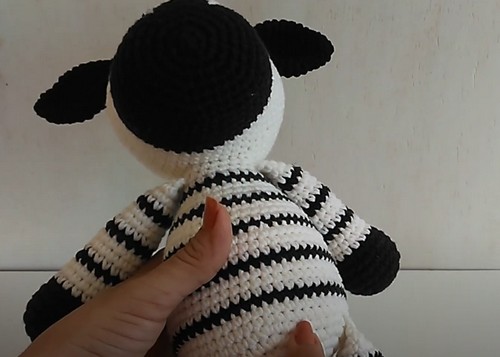
Ears and Muzzle:
- Made separately and attached to the head. Start with a magic circle for the ears and work in rounds, increasing and then decreasing to shape. The muzzle is typically crocheted as part of the head or made separately and sewn on.
Tail:
- Crochet a small chain and attach it to the back of the body.
Assembly:
- Sew the head to the body.
- Attach the arms and legs to the body without sewing if constructed as part of the body or sew on if made separately.
- Sew the ears to the head.
- Add the safety eyes and any additional facial features or accessories.
Remember to adjust the stuffing as you close each part to ensure the zebra stands and maintains its shape.
This pattern provides the basics for creating a zebra plush. Experiment with colors and embellishments to personalize your zebra. Happy crocheting!