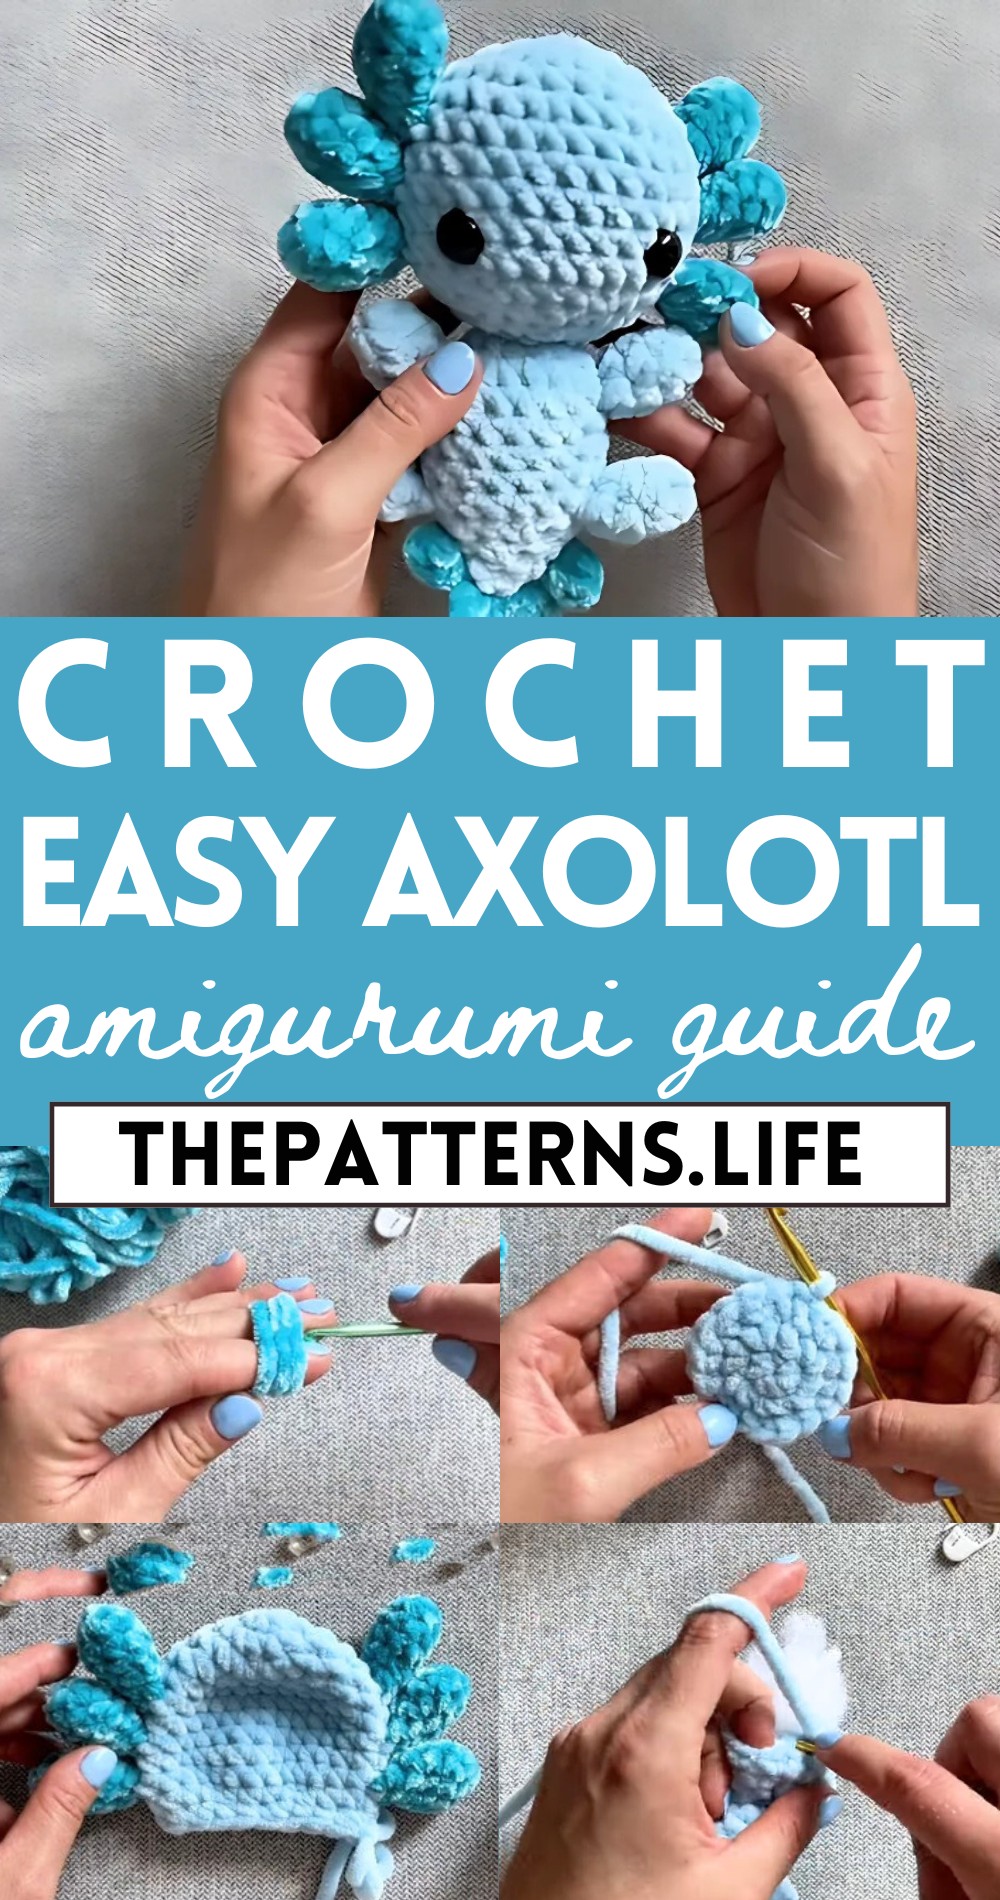
Crochet Axolotl Amigurumi Pattern – For kids
Step into the fun with the Axolotl Amigurumi pattern, perfect for adding a cute and quirky touch to your crochet collection .
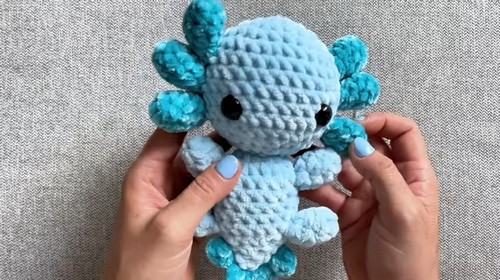
This delightful pattern brings the charm of the adorable axolotl into your hands, allowing you to stitch together a unique, plush companion. A perfect blend of quirky design and simple construction, this pattern is for crochet lovers. Its short legs make it funny but its sky blue color make it more attractive, to feel like a real sea creature.
Who doesn’t love a squishy, adorable axolotl? With crochet and a little patience, you can stitch up your very own axolotl amigurumi. This delightful project brings a smile with its cute little face and playful features. It’s perfect for gift-giving or keeping as a cheerful companion for yourself.
Crochet Axolotl Amigurumi
Clearly outlined steps make the assembly easy and enjoyable, leading you effortlessly through each stage of the project. Use it as a cute decorative piece, an educational toy to spark interest in these fascinating creatures, or a heartfelt handmade gift that showcases your creative touch. With this free pattern, you’ll not only make a charming axolotl but also celebrate the joy of bringing a little piece of aquatic enchantment into everyday life.
Materials Needed:
- Loops and Threads Sweet Snuggles Light yarn in Umal Lo
- A #4 velvet yarn (aqua blue color used in tutorial)
- Polyfill for stuffing
- Crochet hooks (6 mm and 4.25 mm)
- Yarn needle
- Stitch marker
- Scissors
- Safety eyes (16 mm) and plastic washers for securing
Gills (make 6):
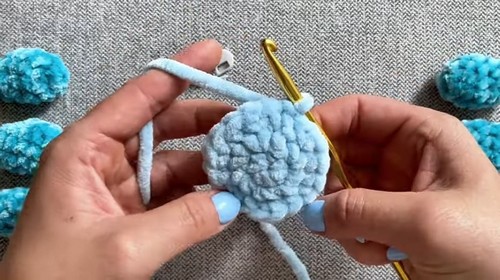
With the 4.25 mm hook and velvet yarn, create a magic circle.
- Row 1: Work 6 single crochets (sc) into the circle, and then pull it tight.
- Row 2: 1 sc, then increase (inc) (repeat 3 times for a total of 9 sc).
- Rows 3-4: Sc around (9 sc each row).
- Row 5: 1 sc, then decrease (dec) (repeat 3 times to go back to 6 sc).
- Row 6: Sc around (6 sc), slip stitch to finish and fasten off.
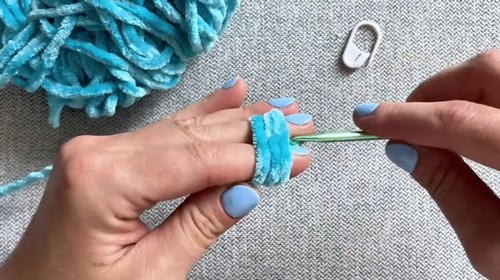
Arms and Legs (make 4):
- With the 6 mm hook and Loops and Threads yarn, start with a magic circle.
- Row 1: Work 6 sc into the circle.
- Rows 2-4: Sc around (6 sc each row), fasten off and cut yarn.
Head and Body:
With the 6 mm hook and Loops and Threads yarn, create a magic circle.
- Row 1: Work 6 sc into the circle.
- Row 2: Chain 1, work 6 increases around (12 sc).
- Row 3: Chain 1, 1 sc, inc repeat 6 times (18 sc).
- Row 4: Chain 1, 1 sc, inc, 2 sc, repeat 5 times, ending with 1 sc (24 sc).
- Row 5: Chain 1, 3 sc, inc repeat 6 times (30 sc).
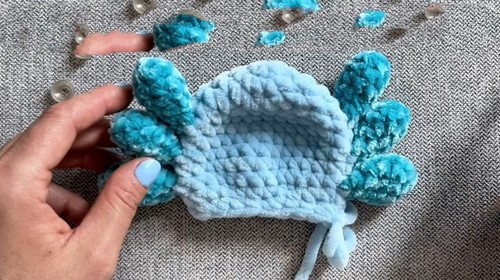
- Row 6: Chain 1, 12 sc, attach first gill using no-sew method (3 sc), 12 sc, attach second gill with no-sew method (3 sc).
- Row 7: Chain 1, sc around (30 sc).
- Row 8: Repeat Row 6 to attach the next two gills.
- Row 9: Repeat Row 7.
- Row 10: Repeat Row 6 to attach the last two gills.
- Row 11: Chain 1, 3 sc, dec repeat 6 times (24 sc).
- Row 12: Chain 1, 1 sc, dec, 2 sc, dec repeat 5 times, ending with 1 sc (18 sc).
Add Eyes:
- Position safety eyes between rows 9 and 10, about 8 stitches apart, and secure with plastic washers.
Continue Head and Body:
- 14. Row 13: Chain 1, 1 sc, dec repeat 6 times (12 sc). Begin stuffing head with polyfill.
- Row 14: Chain 1, 6 decreases (6 sc). Finish stuffing head.
- For the body, work similar to the head, with increases and decreases to shape, attaching limbs using the no-sew method described and interspersed with rows of sc.
- Finish by stuffing the body and closing the final hole, cutting the yarn, and weaving in ends.
Tail Detail:
- With the 4.25 mm hook and blue velvet yarn, add some stitches along the tail to simulate gills.
- This is a high-level outline. For detailed execution, refer to each step described in your scraped notes, where specific crochet stitches, increases, decreases, and no-sew attaching methods are mentioned. Be sure to use stitch markers and safety eyes as indicated to achieve the best results for your plushie.